40MUAA: Installation Instructions
Manufacturer reserves the right to change, at any time, specifications and designs without notice and without obligations.
10
Fig. 21 —Reinstall Sensor Plugs and Electronic
Expansion Valve
10. The evaporator is assembled in place.
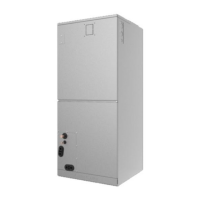
Fig. 22 —Assembled Evaporator
11. Reinstall evaporator cover plate.
Fig. 23 —Reinstall Cover Plate
12. Connect the wire according to the wiring diagram.
13. Reassemble the upper cover.
Cut the foam gasket.
Remove knockouts
Hook the wire into the
buckle and go down
from the wire slot.
Replace foam gasket.
Use cable ties
to fix the room
temperature
sensor as
shown in the
figure.
 Loading...