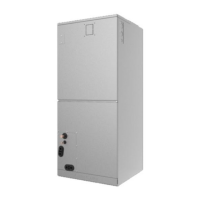
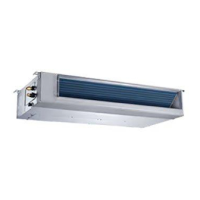
40MUAA: Installation Instructions
Manufacturer reserves the right to change, at any time, specifications and designs without notice and without obligations.
9
5. Remove T1, T2, T2A, T2B, EEV sensor wire ties.
Fig. 17 —Remove Sensor Wire Ties
6. Take out the evaporator and drain pan and rotate 180°.
Fig. 18 —Remove and Rotate Drain Pan
7. Adjust the position of the mounting parts.
Fig. 19 —Adjust Mounting Parts Position
8. Reinstall the evaporator and drain pan.
Fig. 20 —Reinstall Evaporator and Drain Pan
9. Reinstall T1, T2, T2A, T2B sensor plugs and electronic expansion
valve (EEV) and tie up the sensor wires.
NOTE: The wire body needs to pass through the wire groove
from the drain pan and be stuck on the hook of the
drain pan.

 Loading...
