To Set the Current Time
TA1. Press the button (located on the back of the remote
controller; see Fig. 23) with an instrument screwdriver or
similar small, pointed tool, and the current time indica-
tion symbol flashes.
Note that the controller comes preset from the factory set for
6:00 a.m.
2. Set the current time with the hour and minute buttons on
the front of the remote controller (see Fig. 22) while the
current time indication is flashing. Note that a.m. and p.m.
are also indicated as the times are scrolled through.
TA
3. Press again. The flashing will stop and the current
time will be reset to the new setting.
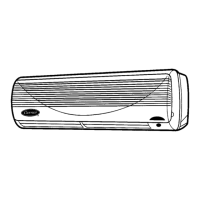
To Remove and Clean or Replace Air Filters
Operating your system with dirty air filters may damage
the indoor unit and can also cause reduced cooling per-
formance, intermittent system operation, frost build-up
on the indoor coil, and blown fuses. Inspect and clean
or replace the air filters monthly.
TO REMOVE AIR FILTERS
1. Open fan coil unit front panel (lift). See Fig. 24.
2. Pull the filters down to remove.
TO CLEAN OR REPLACE FILTERS — Filters should be
vacuumed and washed with warm water (see Fig. 24). Shake
filter to remove any excess water, dry thoroughly, and re-
place by sliding filter behind front grille until filter snaps in
place.
If the filter has begun to break down or is torn, it needs to
be replaced. Replacement filters are available through your
Carrier distributor.
To Clean Indoor Unit Front Panel — If the front
panel of the unit becomes dirty or smudged, wipe the out-
side of the front panel with a soft dry cloth. If necessary, use
a mild liquid detergent and wipe off carefully with a dry cloth.
When cleaning the front panel, NEVER use water
hotter than 105 F, and DO NOT pour water onto the fan
coil unit. Do not use abrasive or petroleum-based clean-
ers — damage to unit appearance will result.
To Clean Indoor Coil — To clean the coil, remove in-
door unit front panel, and vacuum the coil fins. Use care not
to bend or damage fins.
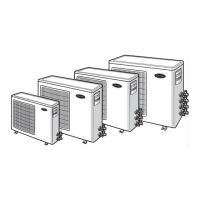
To Clean Outdoor Coil (Outdoor Unit)
Some metal parts and sharp fins of outdoor unit coil can
cause personal injury during cleaning. Clean coil
carefully.
To clean the outdoor coil:
1. Remove any dirt or obstruction from discharge opening.
2. Use a garden hose to spray water on the coil. Debris that
collects between coil fins inhibits heat transfer — direct
the water spray between coil fins to flush out debris.
Cleaning Condensate Drains — Clean all drains and
drain pans at the start of each cooling season. Check the flow
by pouring water into the drain.
PRESS SET TIME PRESSTA TA
Fig. 23 — Setting The Current Time
REMOVE FILTER VACUUM CLEAN RINSE WITH WATER
Fig. 24 — Air Filter Maintenance
19
 Loading...