8
OUTDOOR AIR
SCREEN
(HIDDEN)
CONTROL BOX
ACCESS PANEL
FILTER AND
INDOOR COIL
ACCESS PANEL
INDOOR BLOWER
ACCESS PANEL
GAS SECTION
ACCESS PANEL
C11475
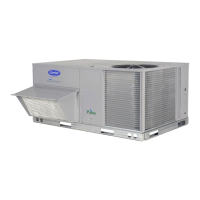
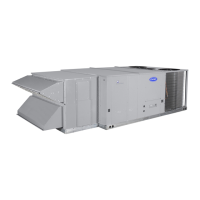
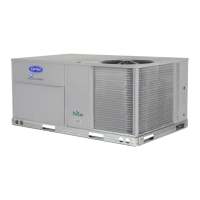
Fig. 5 -- 48/50HC MRT Units, Panel and Filter Locations (48HC*17 Unit Shown)
Gas Heat (48HC)
Inspect the gas heat section of the unit. Verify the number of
burners match the number of heat exchanger openings and the
burner assembly is properly aligned. If the orifices were changed
out for elevation or Liquid Propane purposes, verify proper
installation. Visually inspect other components in heat section.
Verify gas pressures before turning on heat as follows:
1. Turn off field-supplied manual gas stop, located external to
unit.
2. Connect pressure gauge to supply gas tap, located on
field-supplied manual shutoff valve. (See Fig. 6.)
MANUAL SHUT OFF
(FIELD SUPPLIED)
PRESSURE TAP
(1/8˝ NPT PLUG)
GAS
SUPPLY
SEDIMENT TRAP
UNION
TO
UNIT
C09242
Fig. 6 -- Field Gas Piping
3. Connect pressure gauge to manifold pressure tap.
4. Turn on field-supplied manual gas stop. Enter Service Test
mode by setting Service TestTEST to “ON” using the
Scrolling Marquee display. Temporarily install the jumper
wire between “R” and “W1” on TB. Use the Service Test
feature to set Service TestHEATHT.1 to ON (first stage
of heat) using the Scrolling Marquee.
5. After the unit has run for several minutes, verify the supply
gas pressure is adequate per the base unit installation in-
structions. If not, adjust accordingly.
NOTE: Supply gas pressure must not exceed 13.0--in. wg.
6. Set Service TestHEATHT.1 to OFF using Scrolling
Marquee.
7. Remove jumper wire if the unit will be operating under
thermostat mode. The jumper must remain if a space
temperature sensor (T-55, T-56, T-58, or System Pilot
device) will control the unit.
8. Exit Service Test mode by setting Service TestTEST to
“OFF” using the Scrolling Marquee.
EnergyX
For units equipped with the EnergyX factory installed option, there
is an EnergyX Supplement Installation Instructions in the unit’s
information packet. Follow the start up sequence and complete the
start up checklist contained in the EnergyX Supplement to
complete unit startup.
ComfortLINK v1.X
 Loading...