10
7 - POSITIONING AND INSTALLATION
7.1 Choice of location
When choosing the location, whatever may be the selected
fashion, the following precautions must be taken into
consideration:
● It is mandatory to comply with norm EN 378-3 on Safety and
Environmental Requirements. Part 3: “In situ” installation and
protection to people.
● Important: The unit performance is not guaranteed in case of
installation at an altitude of more than 1000 meters.
● It is necessary to check that the structure supports the unit’s
weight (please consult the weight in section 7.5).
● The area where the unit will be located must be perfectly
accessible for cleaning and maintenance operations (please
consult the “Recommended service clearance” in section 7.6).
Leave enough space for air circulation around the unit.
● Both the indoor and outdoor modules are designed for indoor
use and must be attached to a network of air distribution ducts.
The following aspects should therefore be considered:
- Perform a risk analysis of the unit site.
- Ensure that the location of the supply and return grilles does
not generate air recirculation.
- Check that there are no obstructions in the air supply and
air return because the grilles louvers are very closed.
Foresee appropriate damping devices in these fi xings to
ensure that noise and vibration transmission are avoided
(consult the reactions in the support in section 7.5).
Preparation of the ground
It is necessary to ensure that the surface where the unit is going
to be installed is completely fl at. Any defect in the preparation of
the unit support surface translates into stresses on the structure,
which may result in its deformation. The unit must be perfectly
level when installed.
These units can be installed on the fl oor or on a brick curb or steel
profi le. Based on the fi xing solution defi ned in the installation
project, it will be necessary to plan the placement in the base
of threaded rods with the expectation that the unit supports can
be fi xed later. To do so, it is recommended that a template be
made with the heights corresponding to the fi xings.
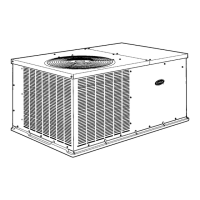
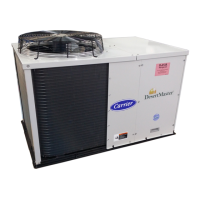
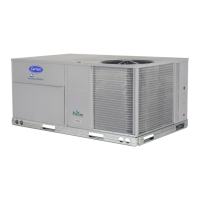
7.2 Installation of the modules
Package version and Outdoor module (Split version)
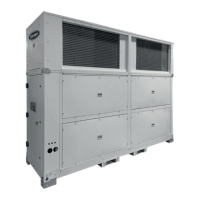
Indoor module (Split version)
Preparation of the ground
The recommendations given for the outdoor module must be
followed.
Ceiling fi xing (models 022 to 086)
The indoor module can be fi xed to the ceiling using threaded
rods. To do this it is necessary to attach brackets to the module.
The kit containing the necessary parts and screws for ceiling
installation is sent with the module.
● Insert four threaded rods (M10) into the ceiling slab.
● Insert the rods through the holes in the brackets.
● Place the antivibration mounts, insert a washer and turn the
nuts until the unit is well secured.
● If there is enough space between the ceiling slab and the unit,
a rubber or neoprene sheet can be squeezed in.
● Once these operations are fi nished, a false ceiling can be
mounted to hide the unit, leaving a register cover to perform
the maintenance and fi lter cleaning operations
.
The frames with the fi lters can be removed from the side
or from the base, for replacement or cleaning. Refer to the
"Maintenance" chapter.
● Also, in the case of an installation with non-conducted air
return, appropriately sized grids must be foreseen in the space
formed by the ceiling, the slab and the walls so that the unit
aspires the return air from the conditioned premises.
fi g. 7.1
● First, fix the longitudinal
pieces with three M8 screws
each. Then attach the four
corner brackets with 3 M8
screws each (see fi g. 7.1).
Longitudinal pieces
(supplied)
Brackets
(supplied)
Threaded rods
(not supplied)
It is necessary to use a crane or forklift to raise the module to
screw the brackets onto the base. Please refer to the "Handling"
chapter.
The steps to follow for the installation of the brackets are the
following:
Mixing box (CS assembly)
● In the Split version, the mixing box attached to the indoor
module will be fi xed to the fl oor following the recommendations
given earlier in this chapter.
In the case of fi xing to the ceiling, the installer will be responsible
for the construction of a structural support for the box.
● In the Package version, the installer will be responsible for
the construction of a structural support for the box.
 Loading...