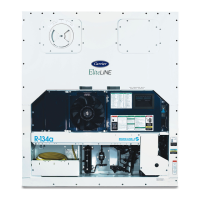
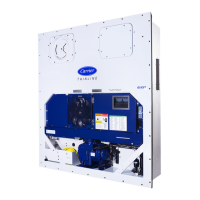
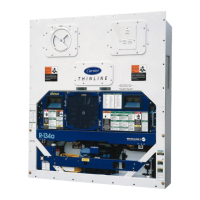
7–13 T-365
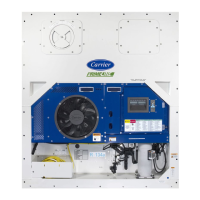
7.10 CONDENSER COIL
The condenser coil consists of a series of parallel copper tubes expanded into copper fins and formed into a “C”
shape with the fourth side of the square formed by the side support bracket.
7.10.1 Condenser Coil Cleaning
To ensure optimal efficiency of the unit the condenser coil must be clean. The condenser coil should be cleaned at
least once a year, but more frequent cleaning may be required depending on operating conditions. The coil is
cleaned with fresh water sprayed in the reverse direction of the air flow to remove any debris from the coil. A high
pressure washer is not required, mains water pressure is sufficient. To clean the condenser coil perform the follow-
ing procedure:
Do not remove the condenser fan grille before turning power OFF and disconnecting the power
plug.
1. Make sure the unit is powered off and the plug is disconnected.
2. Remove the condenser fan grille.
3. Starting from the top of the coil, use a water hose with a nozzle to wash the coil from the inside out.
4. Systematically wash across the inside top face of the coil until the water runs clean.
5. Wash down the center section, and then through the bottom of the coil, continue washing until the water runs
clear.
6. After the coil is clean, rinse the condenser fan to remove any dirt build up from the blades.
7. Replace the condenser fan grille ensuring that it is centered around the fan.
7.10.2 Condenser Coil Removal
1. Using a refrigerant reclaim system remove the refrigerant charge.
Do not remove the condenser fan grille before turning power OFF and disconnecting the power
plug.
2. Remove the condenser fan grille, retain all bolts and washers for reuse.
3. Remove the condenser fan.
4. Remove the infill panels to the left and right of the condenser fan shroud.
5. Remove the condenser fan shroud.
6. Unplug the condenser fan motor.
7. Remove and retain sufficient putty from around the motor wire harness to allow the harness to be slid back
through the side support bracket.
8. Cut the top and bottom drain lines midway between the side support bracket and the first cable tie, approx
150mm (6”) from the side support bracket.
9. Remove and retain sufficient putty from around the drain lines to allow the tubes to be slid back through the
side support bracket.
10.Remove filter drier.
11. Unbraze the inlet connection to coil.
12.Remove the cushion clamps securing the liquid line to the top and bottom receiver brackets, retain all
clamps and securing hardware.
13.Place a support under the condenser coil before releasing the coil from the frame.

 Loading...