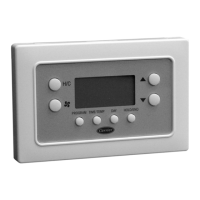
OPERATIONAL INFORMATION
Five-minute Compressor Timeguard
This timer prevents the compressor from starting unless it has been off for at least 5 minutes. It can be defeated for 1 cycle by simultaneously
pressing the FAN mode button and the INCREASE TEMPERATURE button.
Fifteen-minute Cycle Timer
This timer prevents the start of a heating or cooling cycle until at least 15 minutes after the last start of the same cycle. Its function is to assure
that equipment is not cycled more than 4 times per hr. This timer is defeated for 1 cycle when the desired temperature is manually changed.
It can also be defeated for 1 cycle by simultaneously pressing the FAN mode button and the INCREASE TEMPERATURE button.
Fifteen-minute Staging Timer
In multistage heating or cooling, this timer prevents any higher stage from turning on until the preceding stage has been on for 15 minutes.
This timer is defeated if the temperature error is greater than 5˚F (usually due to a large change in desired temperature).
Two-minute Minimum On Time
In normal operation, when a stage turns on, it will not turn off for a minimum of 2 minutes.
Heat/Cool Setpoints (Desired Temperatures)
A minimum difference of 3˚F is enforced between heating and cooling desired temperatures. This is done by allowing 1 setting to "push" the
other, to maintain this difference.
Auto Changeover
When the auto changeover mode is selected, a change from heat to cool (or vice versa) will not occur until an opposite mode demand has existed
for 20 minutes. If the desired temperature is changed, the 20 minute requirement is deleted.
Emergency Heat Mode
When thermostat is configured as a heat pump and emergency heat mode is selected, all Y signals are locked out and W becomes energized
upon a call for heat.
Power On Check
When AC power is first applied, all segments of the display are turned on for a few sec. Following this, the temperature display indicates the
model/configuration via the following 2 digit code:
AC—1-speed air conditioner, HP—1-speed heat pump, A2—2-speed air conditioner, H2—2-speed heat pump.
Error Codes
E1 — If the thermostat cannot properly read room temperature, the display will indicate E1 and all outputs (except the fan if on) will turn off.
This is to prevent operation of the equipment if the thermostat has failed.
E2 — If the AC line voltage drops below a minimum (brownout) level, all outputs are turned off and the display indicates E2. This condition
will remain for 15 sec after proper line voltage is restored. If the AC line voltage disappears completely, the display will immediately
go blank.
Energy Savings Icon
This icon is displayed under these conditions:
1-speed HP heating without auxiliary heat.
2-speed HP on LO or HI speed heating without auxiliary heat.
2-speed HP or AC on LO speed cooling.
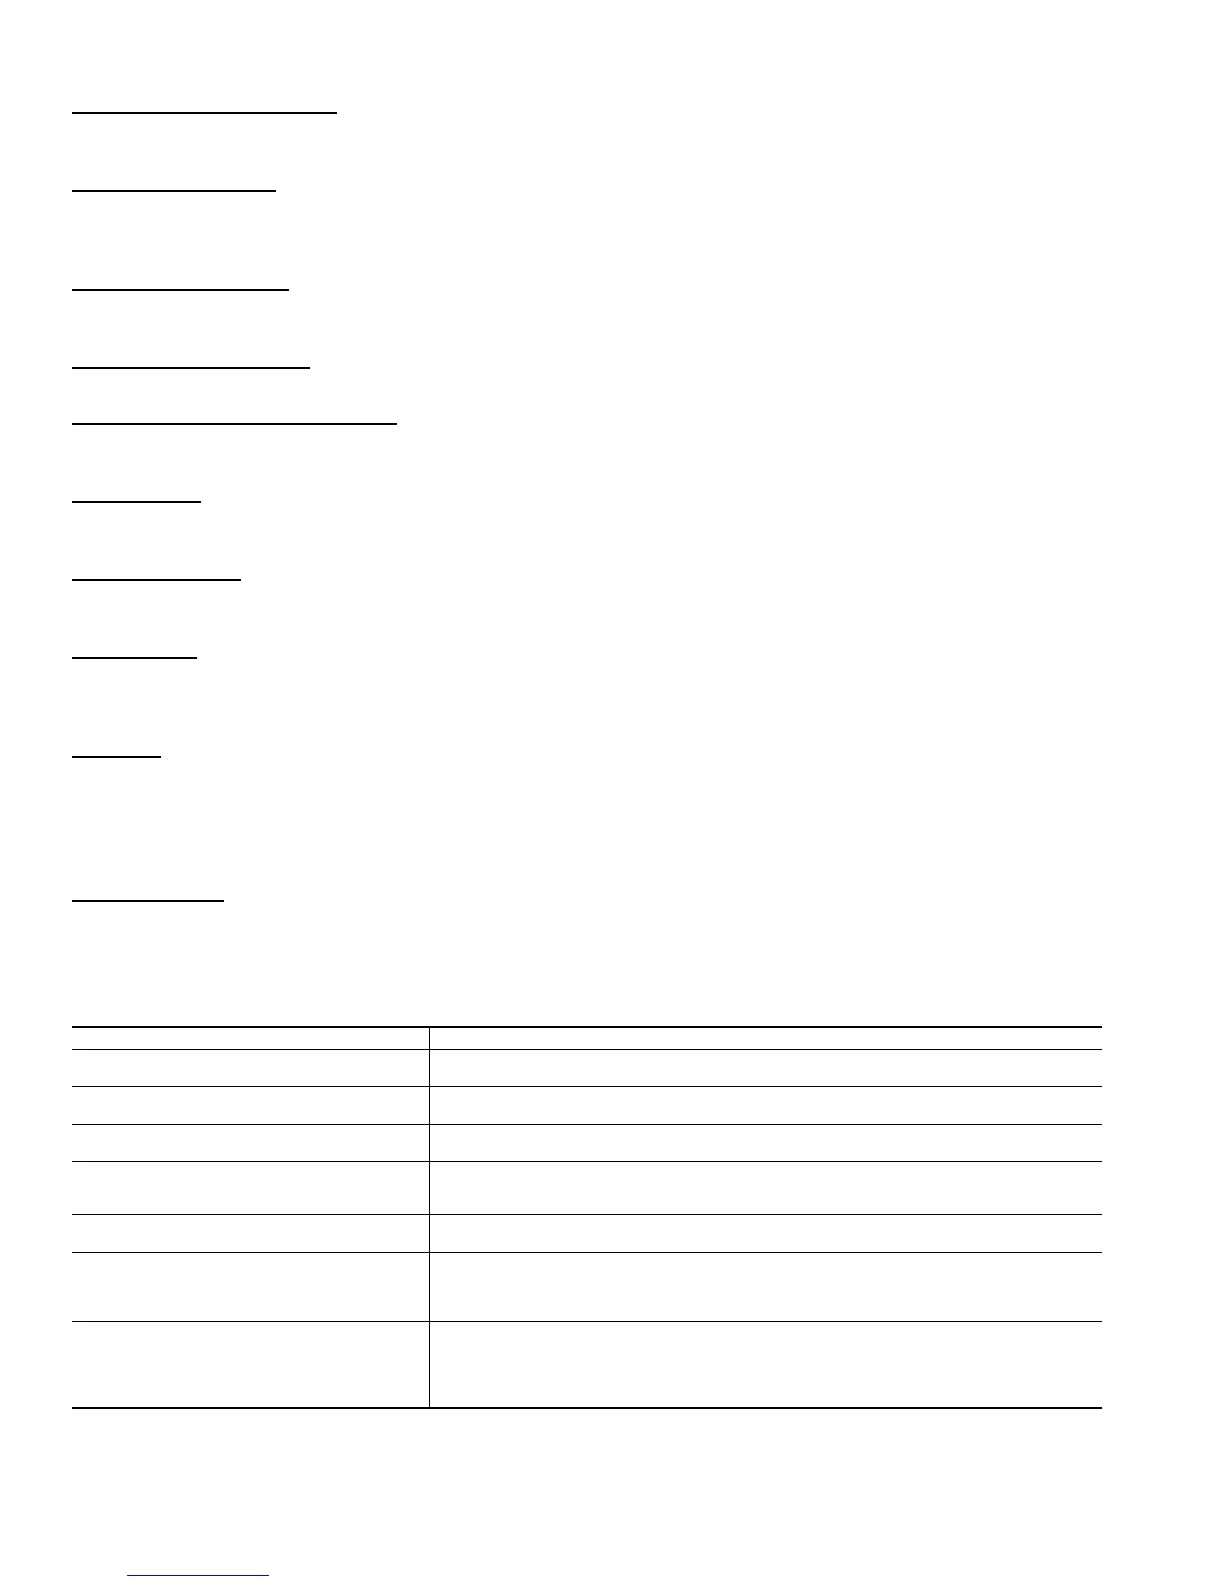
→ Thermostat Troubleshooting
SYMPTOM WHAT TO CHECK
No LCD on temperature display
Check for 24vac between R and C at terminal connections. Both R and C must be con-
nected for proper operation.
"E2" on temperature display
Brownout condition or too low of voltage to thermostat. Double check wiring and check for
24vac between R and C. E2 will clear 15 sec after proper voltage is restored.
"E1" on temperature display
Temperature sensor reading out of range. Check sensor for damage. If recycling power
does not clear display, thermostat should be replaced.
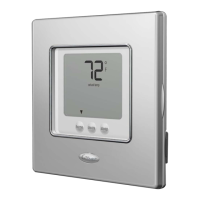
"Clean Filter" on temperature display
After the selected number of hr of blower operation "clean filter" will display on LCD. This
is to remind the homeowner to "check" filter. Press "reset filter" button to clear display and
reset timer to 0.
"--" on temperature display
If the outdoor sensor is open, not connected, or shorted "--" will be displayed in place of
outdoor temperature.
Cooling will not come on
Select COOL mode. Set desired temperature to 10˚F below room temperature. Simulta-
neously press FAN and INCREASE TEMPERATURE buttons to defeat timers. Check for
24vac at Y (first-stage) terminal. If present, thermostat is OK and problem is with equip-
ment or wiring. If not present, replace thermostat.
Heating will not come on
Select HEAT mode. Set desired temperature to 10˚F above room temperature. Simulta-
neously press FAN and INCREASE TEMPERATURE buttons to defeat timers. Check for
24vac at Y (first-stage) terminal (with heat pump) or W/W1 (with air conditioner) terminal.
If present, thermostat is OK and problem is with equipment or wiring. If not present, re-
place thermostat.
10
 Loading...