Page 2
Proper installation of the thermostat will be
accomplished by following these step
by step instructions. If you are unsure
about any of these steps, call a qualified
technician for assistance.
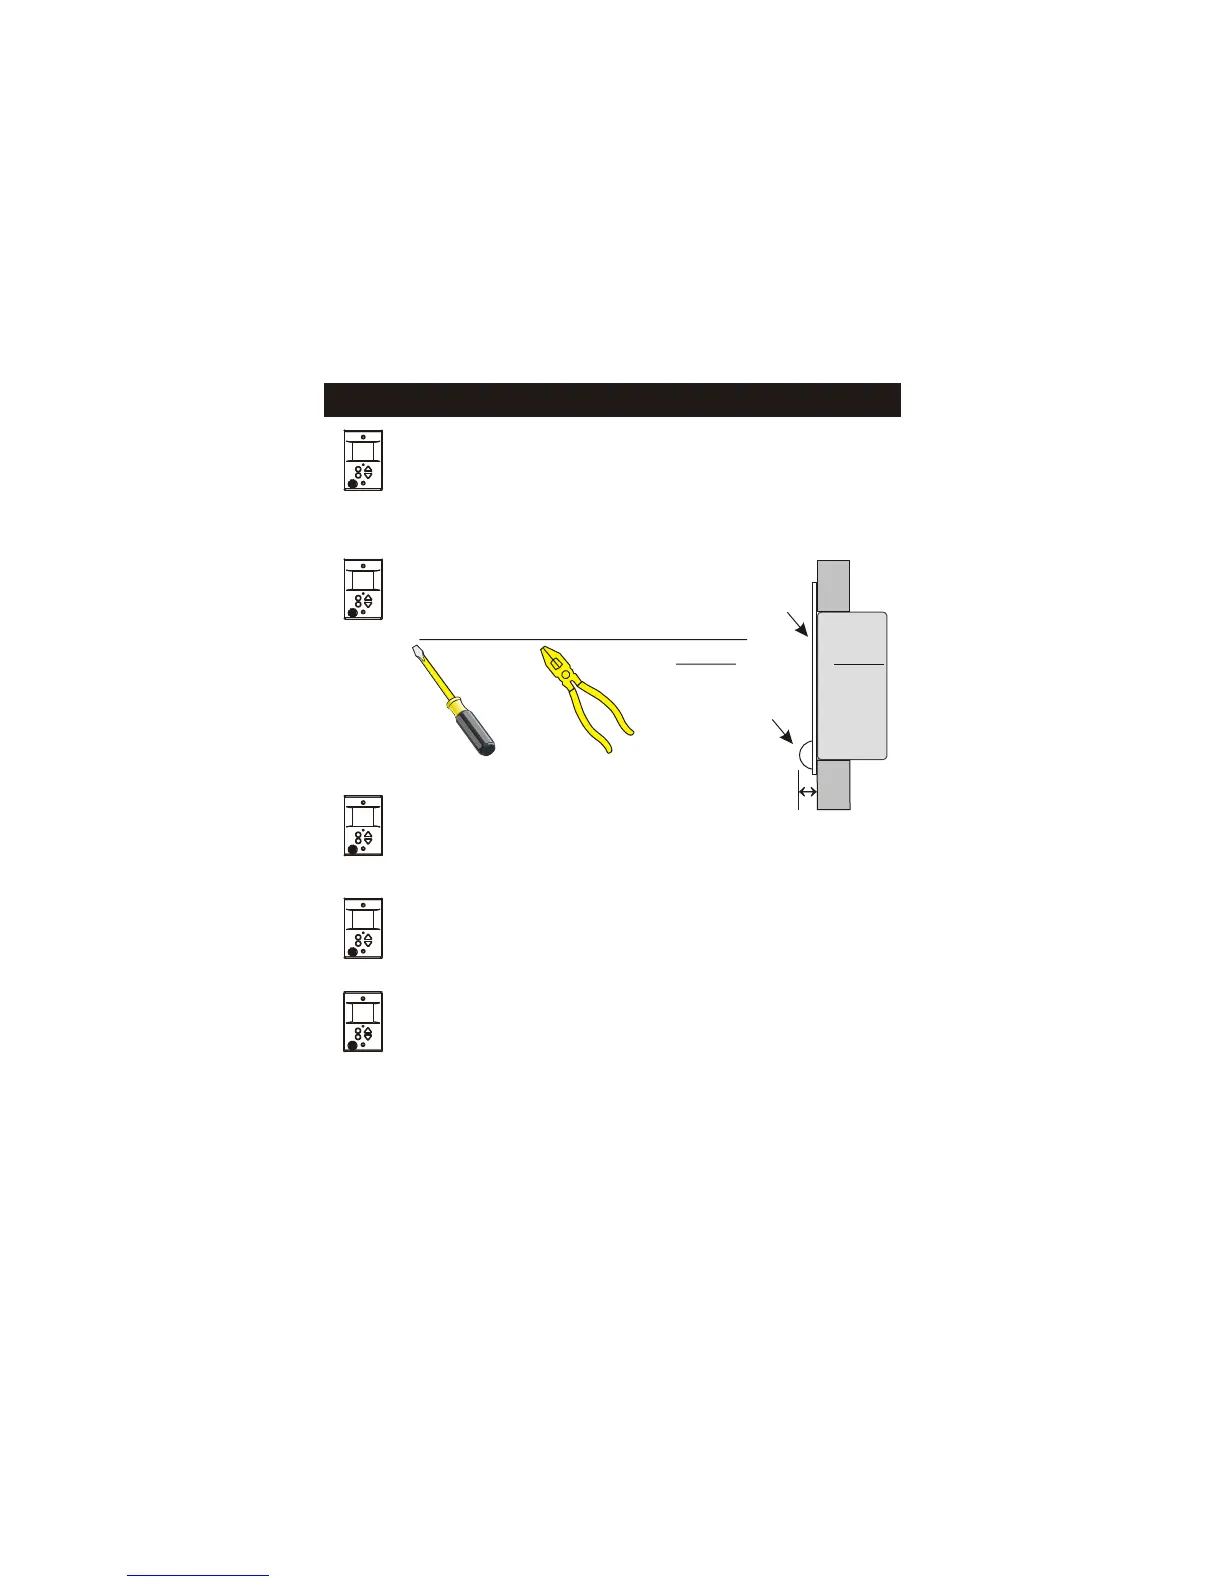
Assemble tools & recommended
Junction Box or Wall Bracket.
‘Mud rings’ or Remodel boxes will
not fit.
Make sure your Heater/Air Conditioner
is working properly before beginning
installation of the thermostat.
Carefully unpack the thermostat.
Save the screws, wall anchors, and
instructions.
STEP #1
PREPARATION
Turn off the power to the Heating/Air
Conditioning system at the main fuse
panel. Most residential systems have
a separate breaker for disconnecting
power to the furnace.
EXTENDS
LESS THAN
3/8” FROM
THE WALL.
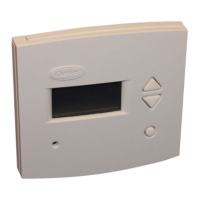
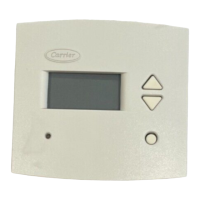
FLATSTAT
.366”
FlatStat
in Standard
J-Box or
supplied
Wall
Bracket
WALL
WALL
Flat Blade
Screwdriver
Wire cutter
& Stripper
 Loading...