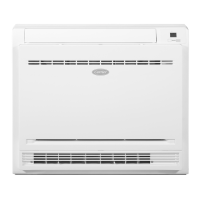
Ceiling Suspending
Situation with New Ceiling
(1) Install the indoor unit temporarily:
Attach the hoisting foot to hoisting stud. Make sure that nuts and washers should be used at two ends of the foot to
secure the foot.
(2) For the size of the ceiling hole, please refer to the schematic drawing at the previous page.
<After nishing the installation of the ceiling>
(3) Adjust the unit to the proper installation location.
(4) Check if the unit is in the horizontal level:
The indoor unit is equipped with a built-in drainage pump and a oater switch. Check if the 4 angles of the unit are
in the horizontal level with the water level or the polythene tube with water, as shown in the gure,taking only one
indoor unit as an example. If the unit inclines opposite to the direction of condensate ow, the oater switch might
have faults, causing water dropping. (When lifting can be tilted to the drain, the long side of the horizontal height
dierence 0 ~ 10mm).
(5) Tighten the nut on the washer.
(6) Remove the mounting cardboard.
Situation with Original Ceiling
(1) Install the indoor unit temporarily: attach the hoisting foot to
hoisting stud. Make sure that nuts and washers (provided on site)
should be used at two ends of the foot to secure the foot.
(2) Adjust the height and location of the unit.
(3) Perform Step 4 and 5 in Situation with New Ceiling.
nut (provided on site)
washer
hoisting foot
washer
tightening (dual nuts)
[secure hoisting foot] [secure washer foot]
Installation Procedures
water level OR polythene tube
• Don't put the decorated board downward to the oor. Putting it against the wall or on the extrusive objects is not
allowed.
• Don't touch the wind deector or apply force on it, or the wind deector will have faults.
(1) Check the level of the indoor unit with a at or lled polyethylene pipe and check that the size of the ceiling hole is
correct. Remove the horizontal gauges before installing the trim panels.
(2) Fix the screws so that the height dierence between the two sides of the indoor unit is less than 5mm.
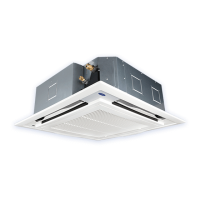
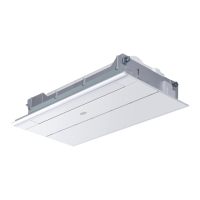
Preparation of Decorated Board
The installation of the decorative panel in the indoor unit body
• Install the panel before the need to remove the return air guide,
the method at the same time hold down the two ends of the
button, slowly even pull the guide plate, remove the appropriate
place to prevent damage.
• Install the panel in the direction of the illustration to ensure that
the panel inlet and outlet are corresponding to the inlet and
outlet of the machine.
9
 Loading...