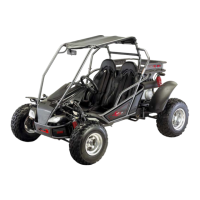
22. BRUSH BARS
a. Place the main bars in proper location by inserting the open ends
over the bar mount posts on the frame. The bar mounting posts
for the main bars are at the hood and behind the seat.
b. From the hardware box remove the remaining black anodized
bolts, washers and lock nuts.
c. On each end of the main bar cage place 1 bolt, 2 washers and 1
lock nut. Finger tighten only. Do not tighten any bolts for the
brush bars until all bolts are in place.
d. Place each shoulder bar over the shoulder bar
mount posts on the frame. These posts are on
each arm rest.
e. Align the top of the shoulder bars with the
holes in the main bars and insert bolt and
washer and finger tighten. At the bottom of
each shoulder bar insert 1 bolt, 2 washers and
1 lock nut and finger tighten.
f. Place the top cross-bar between the main bars with
hoop pointing towards the front of the kart. Align holes
of the top cross bar with holes in the main bars.
g. Insert a bolt and washer in each hole and finger tighten.
h. Place the bottom cross-bar between the main bars
toward the rear of the kart just above the back of the
seats. Align holes of the bottom cross-bar with the
holes in the main bars.
i. Insert a bolt and washer in each hole and finger tighten.
j. With all members of the brush bar in place, tighten with a
10mm and 12mm wrench.
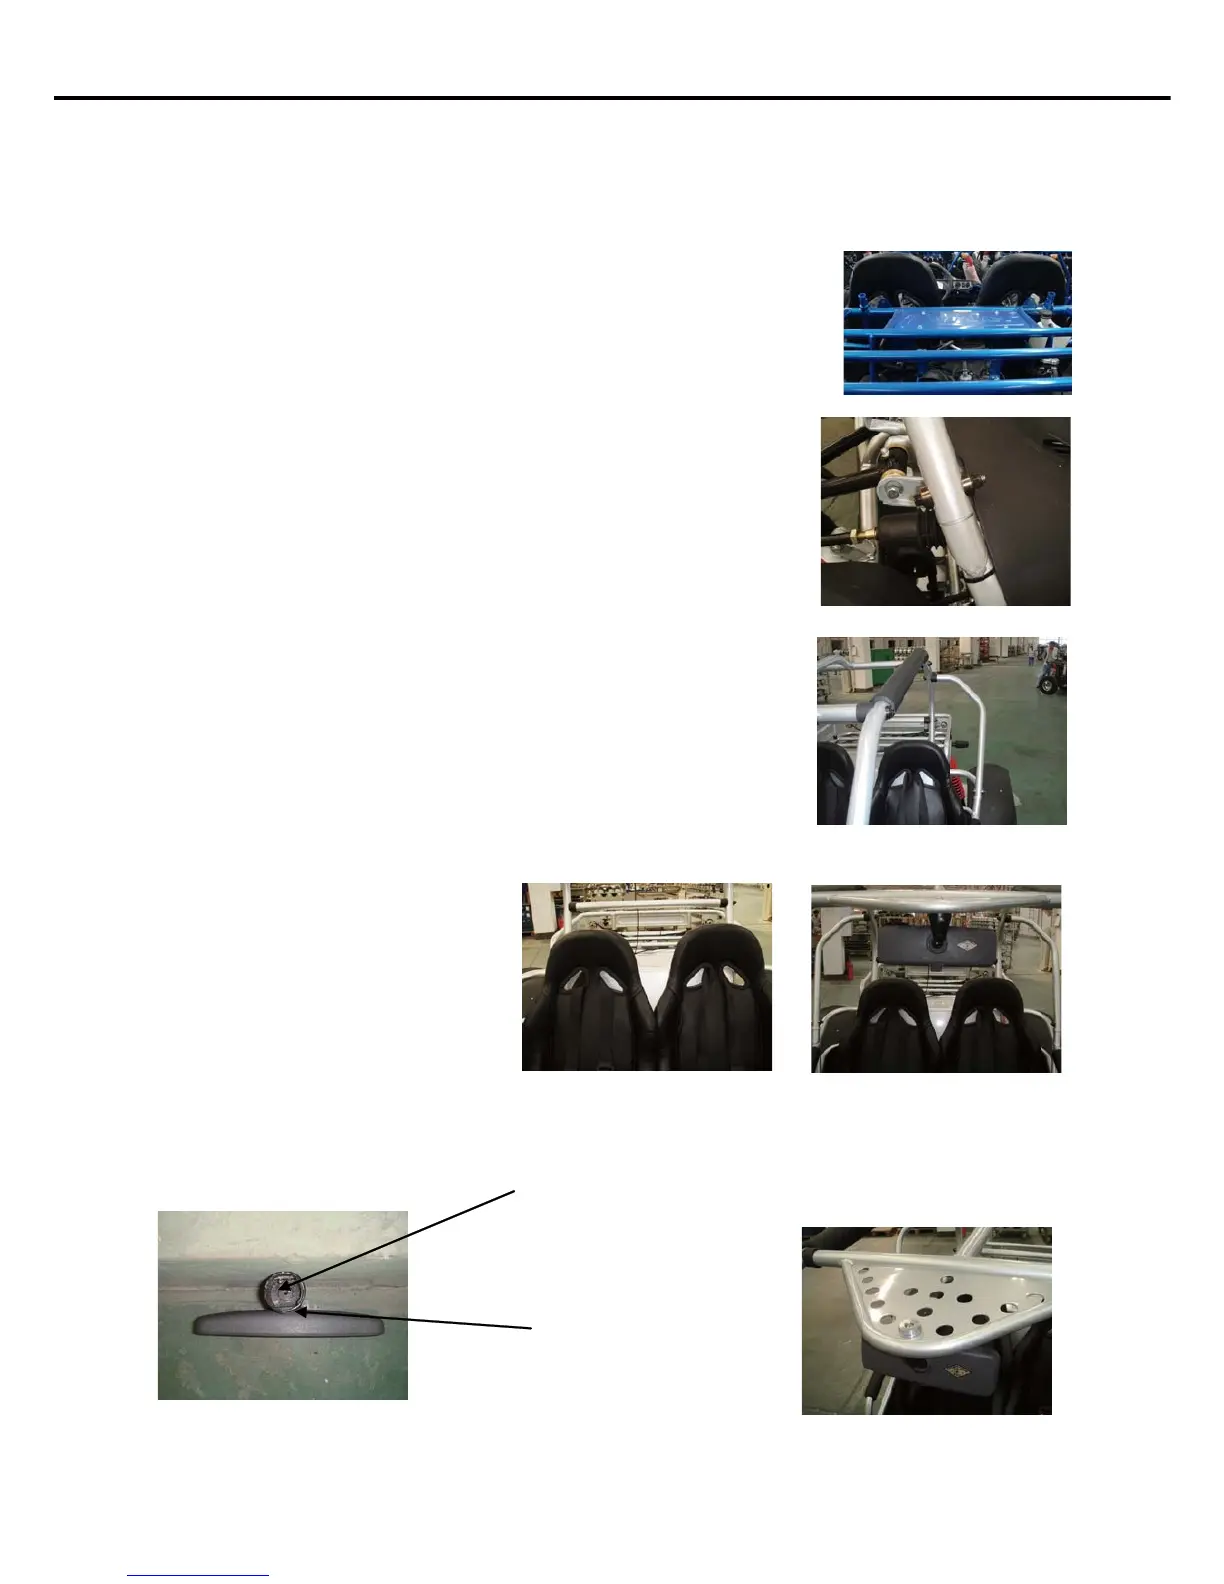
23.
REARVIEW MIRROR
a. From the hardware box remove the rear view mirror. The rear view mirror will be in a
small white box.
b. With a Phillips head screw driver, remove the screw in the mounting hole of the mirror.
c. Remove black metal clip and discard.
Phillips head screw
Black metal clip
d. From the white box remove the chrome spacer and
Phillips head screw.
51
SET-UP INSTRUCTIONS
INTERCEPTOR GTR 250