— 11 —
■ To remove the console PCB (M705-CN1M, CN2M, CN3M).
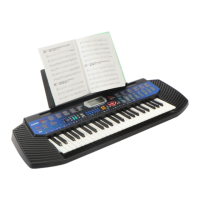
11. Remove three screws on the PCB (M705-CN3M).
12. Remove the connector on the PCB (M705-CN3M) by soldering.
13. Remove the PCB (M705-CN3M).
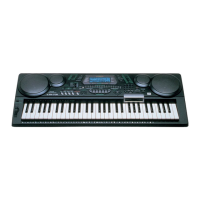
14. Remove two screws on the PCB (M705-CN2M).
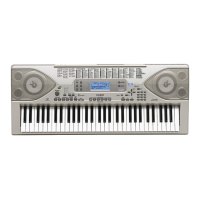
15. Remove the volume knob.
16. Remove the PCB (M705-CN2M).
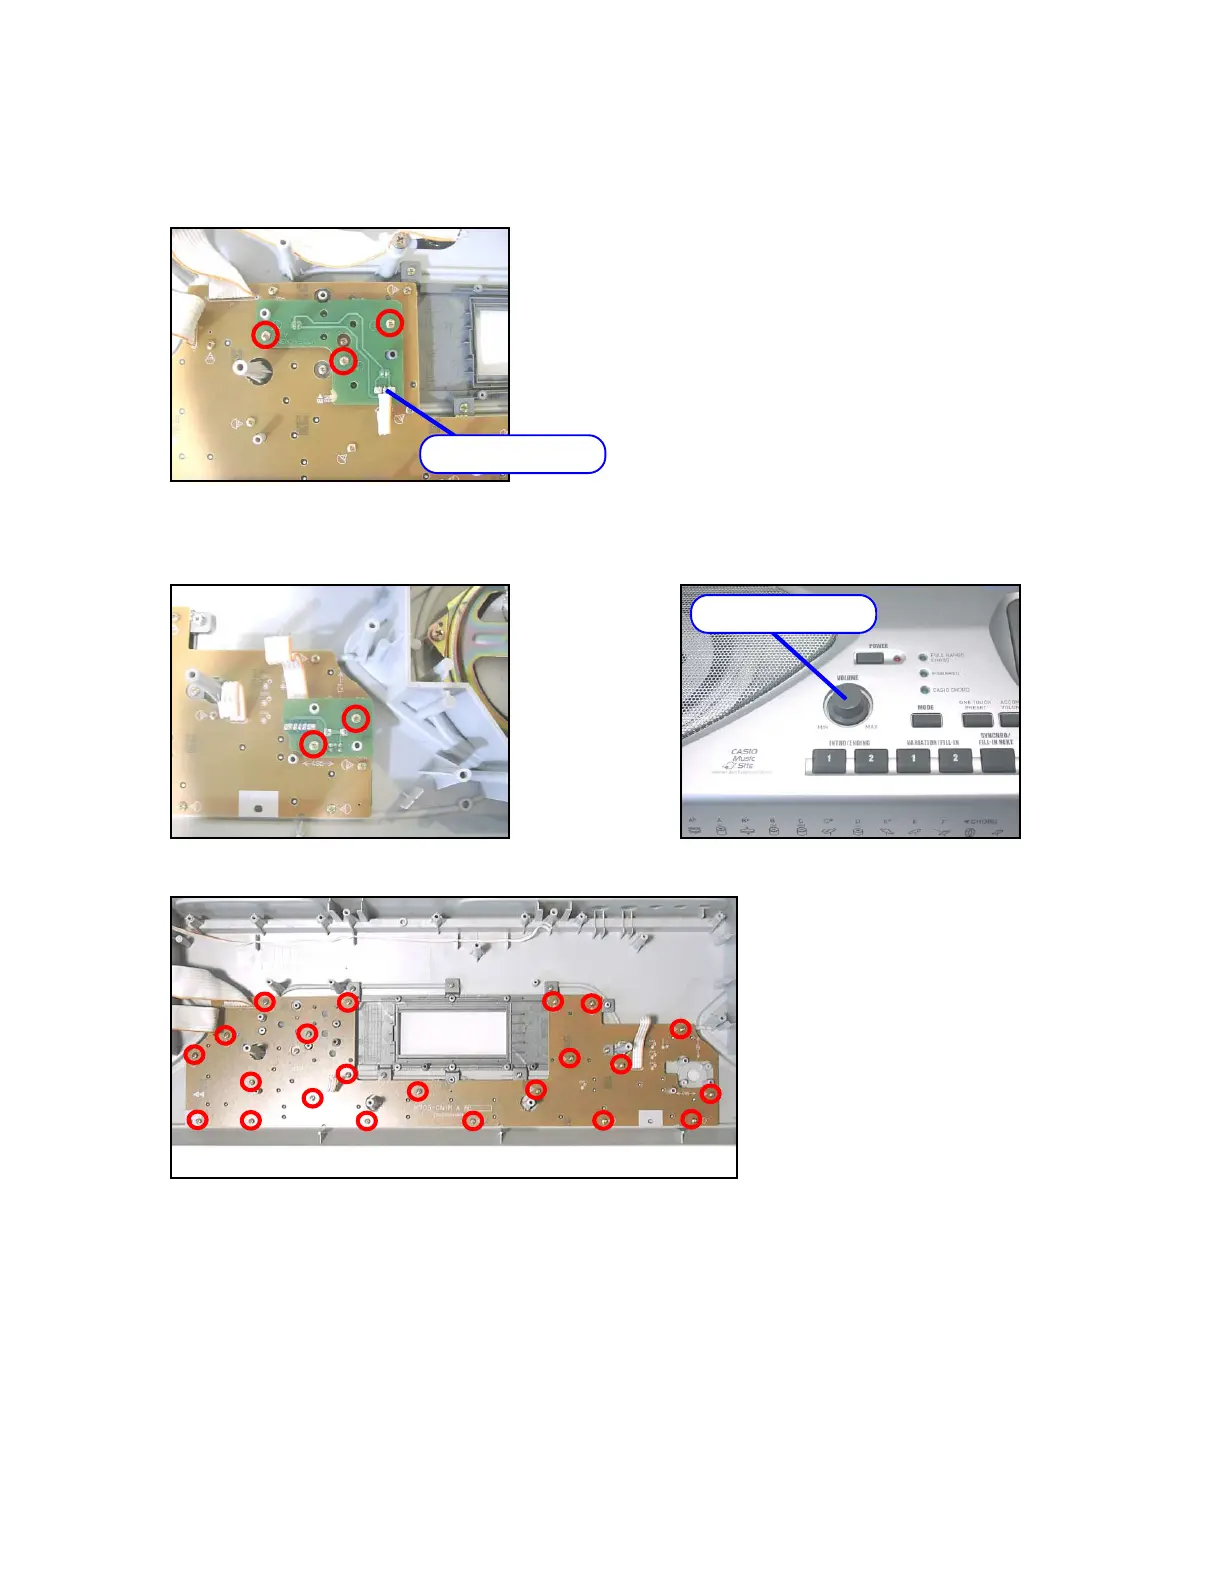
17. Remove 22 screws and then the PCB (M705-CN1M).
Connector (JL2)
Volume knob
 Loading...