25
Quick Start Basics
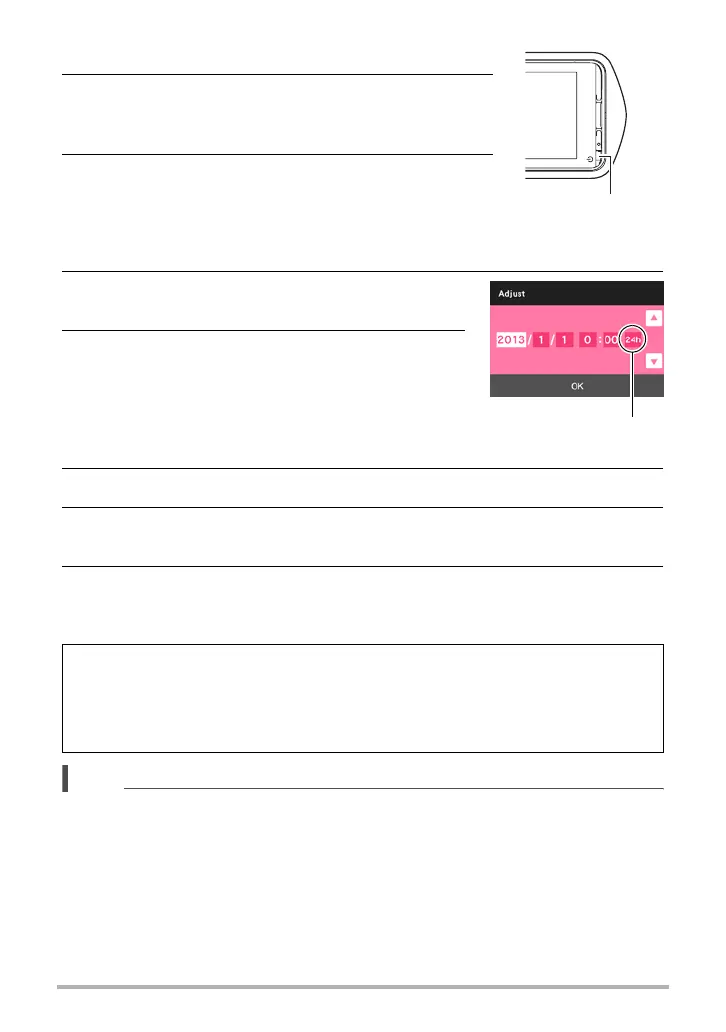
1. Press [p] (Power) to turn on the camera.
2. Drag (page 17) upwards and downwards until
you find the language you want, and then touch
to select it.
3. Touch the date display format you want.
Example: July 10, 2015
YY/MM/DD
* 15/7/10
DD/MM/YY
* 10/7/15
MM/DD/YY
* 7/10/15
4. Touch the value you want to change (year,
month, day, hour, minute).
5. Touch “8” or “2” to change the currently
selected value.
• Touching and holding “8” or “2” will change the
setting at high speed.
• To switch between 12-hour and 24-hour format,
touch the 12/24 hour switch icon.
6. When the date and time settings are the way you want, touch “OK”.
7. Touch “Auto” or “Premium Auto Pro” to select the default auto
recording mode you want.
8. Touch “Apply”.
• You will be able to change this setting later, if you want. See page 30 for
details.
NOTE
• Each country controls its local time offset and the use of summer time, and so they
are subject to change.
If you make a mistake configuring display language, date, or time settings with the
above procedure, refer to the following pages for information about how to correct
the settings.
– Display language: Page 97
– Date and time: Page 95
[p] (Power)
12/24 hour switch icon