20060601
2-4
Drawing and Editing Objects
u To draw a circle
1. Perform the following operation: 3(Draw) – 6:Circle.
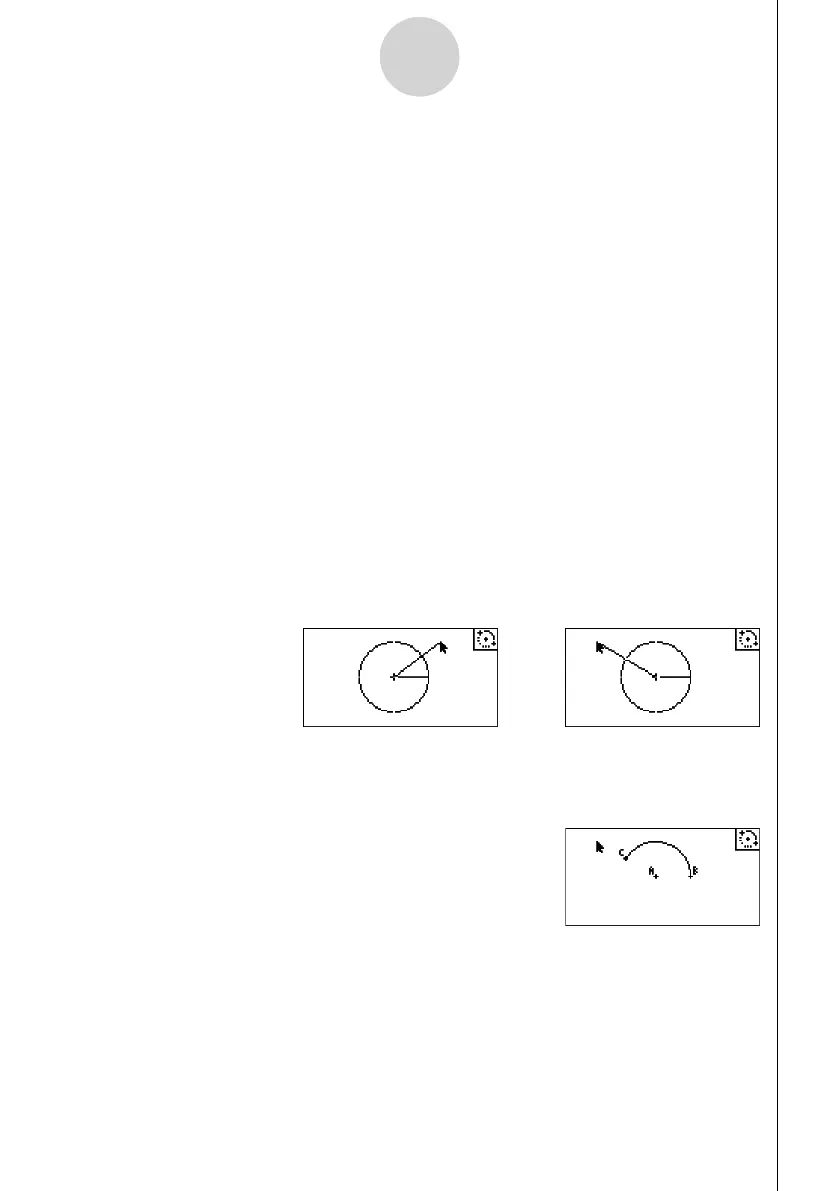
2. Move the pointer to the location on the display where you want the center point of the
circle to be and then press w.
3. Move the pointer to the location on the display where you want the circumference of the
circle to be and then press w.
• This draws a circle whose center point is the point you specifi ed in step 2 and whose
circumference runs through the point you specifi ed in step 3. In other words, the distance
between the two points you specify is the radius of the circle.
Note
In steps 2 and 3 of the above procedure, you can move the pointer to an existing point on
the screen and press w. This will make the existing point either the center point or the
circumference point.
u To draw an arc
1. Perform the following operation: 3(Draw) – 7:Arc.
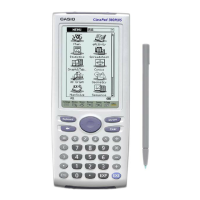
2. Move the pointer to the location on the display where you want the center point of the arc
to be and then press w.
3. Move the pointer to the location on the display where you want the start point of the arc to
be and then press w.
4. Move the pointer to the location where you want the end point of the arc to be.
5. Move the pointer and the line segment to the location on the display where you want the
end point of the arc to be and then press w.
• An arc will be drawn from the start point to the end point, in a counterclockwise direction.
..........