– 61 –
IT-G500
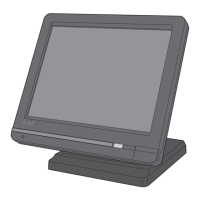
(4) Undo 2 screws.
Screw (S4)Screw (S9)
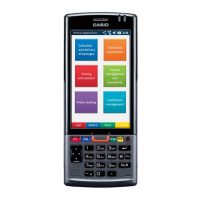
[ Note on reassembling ]
Lead wires of the capacitor (red, black)
Straighten the lead wires running from the PCB with the red 1 facing up, and then pinch
them by tightening the screw.
Lead wires of the SUB-BATTERY (red, black)
Put them under the lead wires of the capacitor.
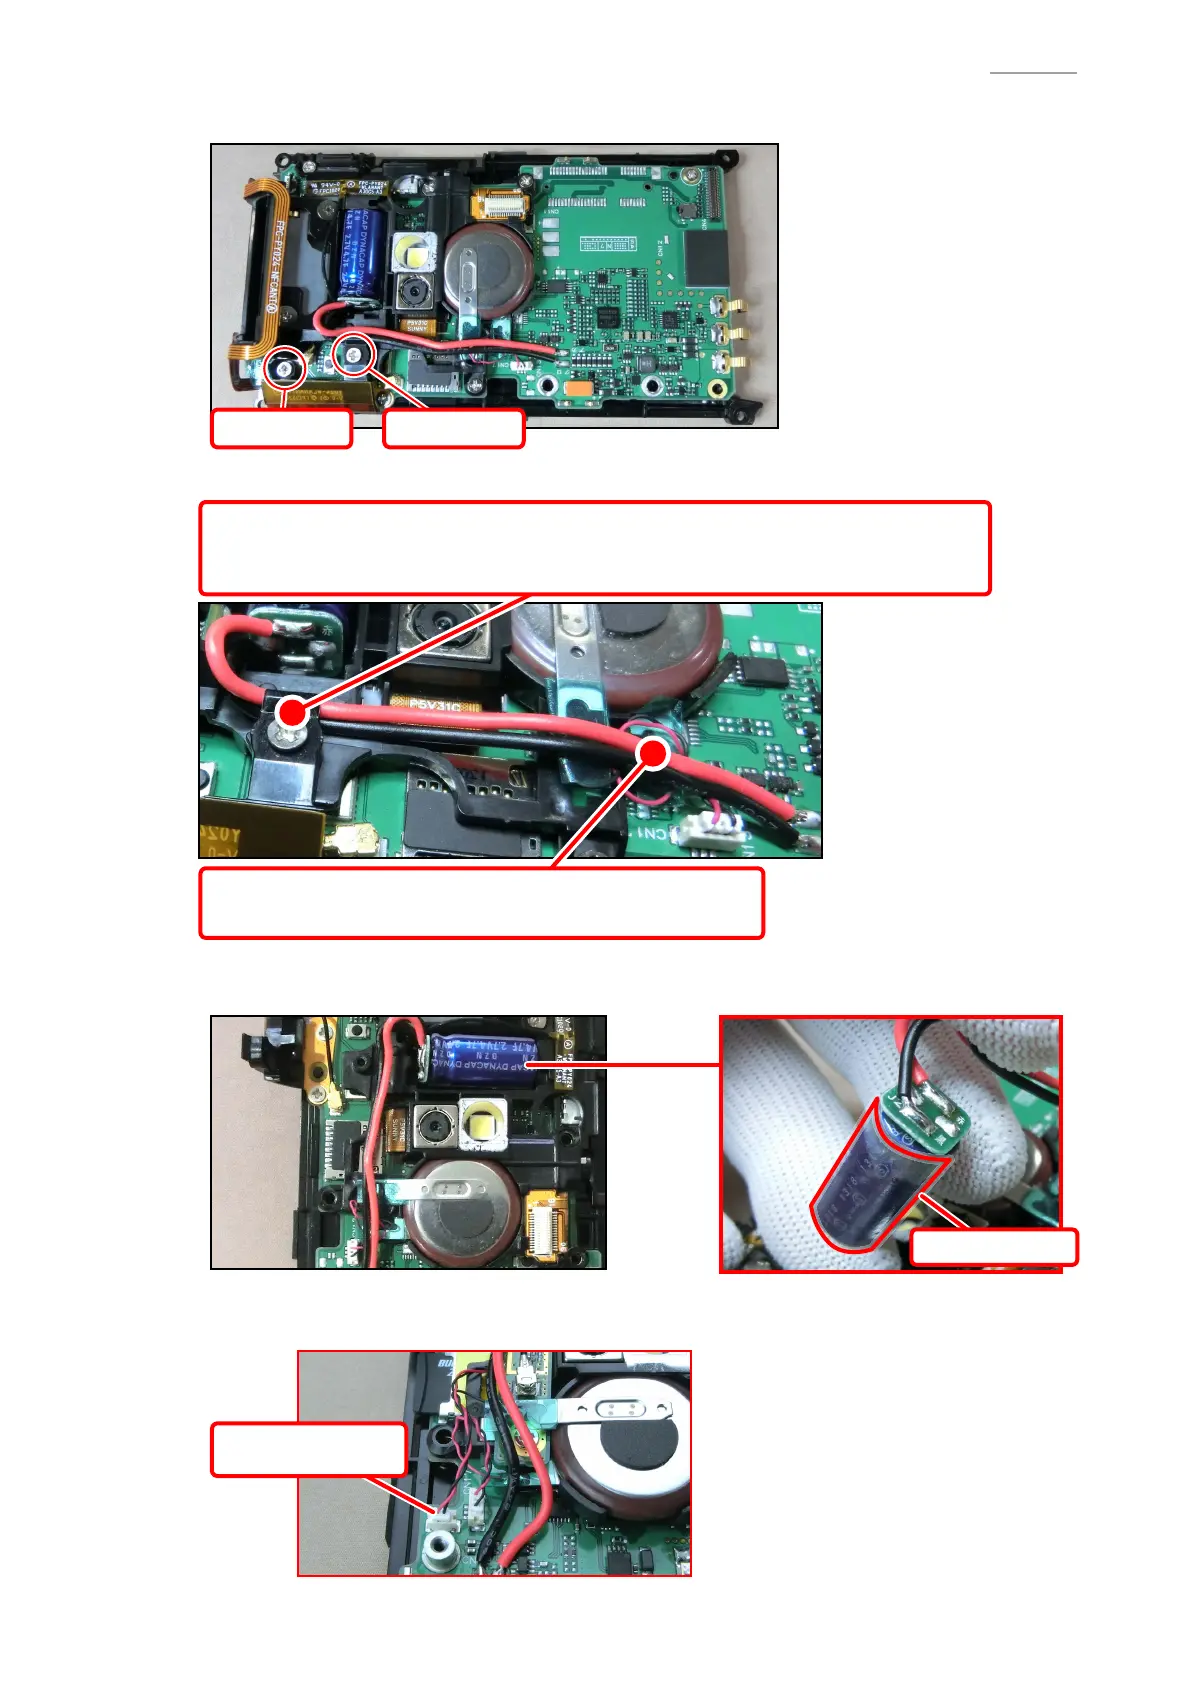
(5) Remove the capacitor and connector.
NOTE:
The capacitor is secured by double-face tape.
Double-face tape
Y
WAN model:
(6) Remove the connector.
Connector
(WAN model)