E-13
Part 7 Memory
This part of the manual tells you how to store text data in memory for instant
recall when you need it. You can store two blocks of text in memory, each con-
taining up of 63 characters, for a total of 126 characters.
To store data
1. Input the text you want to store.
2. Press FUNCTION and then 1 (MEMO).
3. Press SET to store the text in memory or ESC
to abort the store procedure without storing
anything.
• If there is nothing in memory yet, your text is
automatically stored in Area 1. If Area 1 already
contains data, your new input is automatically
stored in Area 2.
• If there is not enough room for your text to fit in
memory, the message “FUL!” appears when you
press SET in step 3.
To recall text from memory
Example: To recall the contents of Area 2 while memory contains the following
text.
Area 1: ABCDEFG
Area 2: CASIO
1. While the input screen is on the display, press
FUNCTION and then 1 (MEMO).
• Note that text recalled from memory will replace
any text currently on the display.
Auto Feed
You can turn the Label Printer’s auto feed feature on and off. When auto feed is
on, the Label Printer automatically feeds the tape about 12mm at the beginning
and end of each print operation. This creates identical margins on both sides of
your text.
Important!
• After you finish printing when using manual feed, be sure to always press
FUNCTION and then PRINT (FEED) to feed the tape before cutting it. If you
don’t you will cut off part of the printed text.
To turn auto feed on and off
1. Press FUNCTION and then 7 (M-FEED).
2. Press H J K or L to change the setting shown on the display between
YES (manual feed) and NO (auto feed).
3. When the feed setting is the way you want it, press SET to register it.
To manually feed tape
Press FUNCTION and then PRINT (FEED) to feed the tape 13mm.
Print Density
The print density setting controls how darkly figures are printed on your tapes.
To adjust the print density
1. Press FUNCTION and then 8 (DENSITY).
2. Use H and J to move the underlining to the density setting that you want.
• The lightest setting is 1, while the darkest setting is 5. The standard setting is 3.
• Only four of the five settings that are available can appear on the display. The
display scrolls left and right when necessary to shows all of the available
settings.
3. When the density setting is the way you want it, press SET to register it.
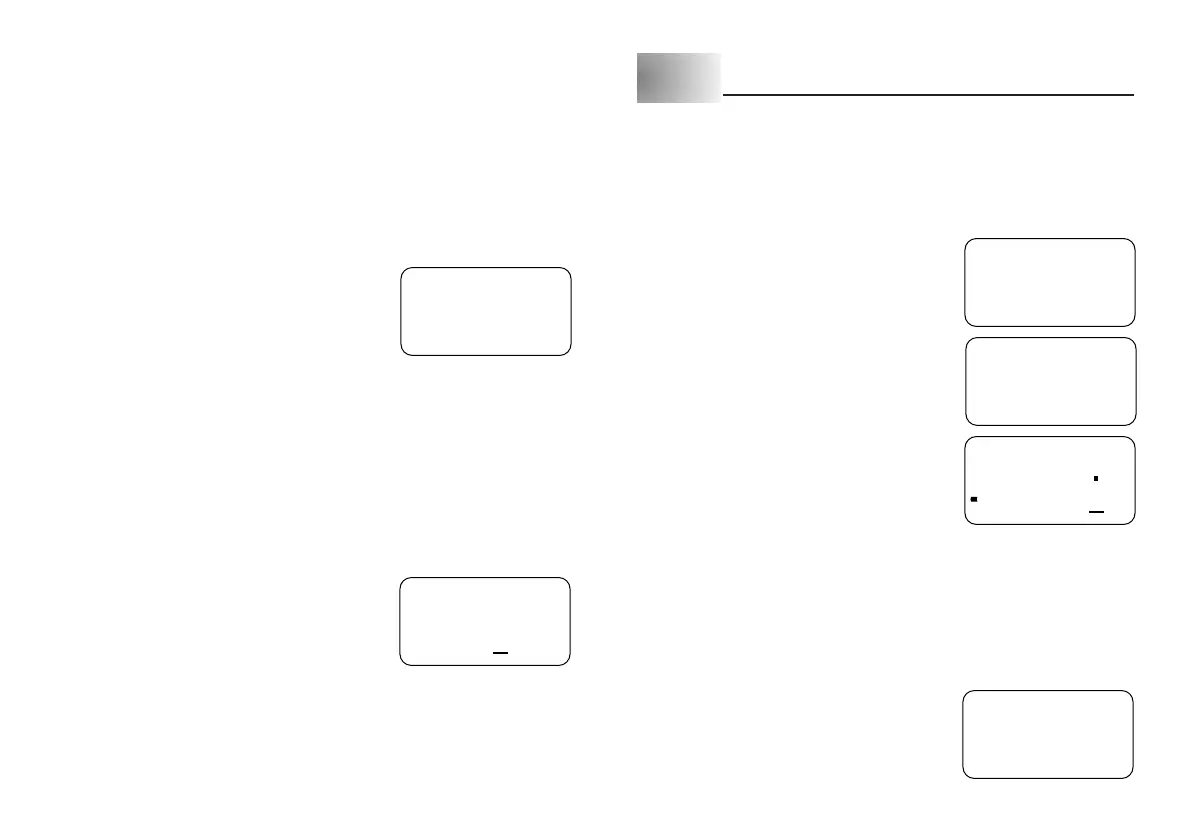
J
NO
1234
STR?
EFG
 Loading...