72
OTHER RECORDING FUNCTIONS
3.
Use [] and [] to select the setting you
want, and then press [SET].
NOTES
• Selecting “Manual” changes white balance to the
settings achieved the last time a manual white
balance operation was performed.
• You can use the key customization feature (page 89)
to configure the camera so the white balance setting
changes whenever you press [] or [] while in the
REC mode.
When shooting under these conditions:
Normal conditions
Outdoor daylight
Shade
Incandescent light bulb
(reddish tinge)
Fluorescent light (greenish tinge)
Difficult lighting that requires manual
control (See “Adjusting White Balance
Manually”.)
Select this setting:
Auto
Manual
Adjusting White Balance Manually
Under some light sources, automatic white balance under
the “Auto” setting can take a long time to complete. Also,
the auto white balance range (color temperature range) is
limited. Manual white balance helps to ensure that colors
are recorded correctly for a particular light source.
Note that you must perform manual white balance under
the same conditions you will be shooting under. You must
also have a white piece of paper or other similar object on
hand in order to perform manual white balance.
1.
In the REC mode, press [MENU].
2.
Select the “REC” tab, select “White Balance”,
and then press [].
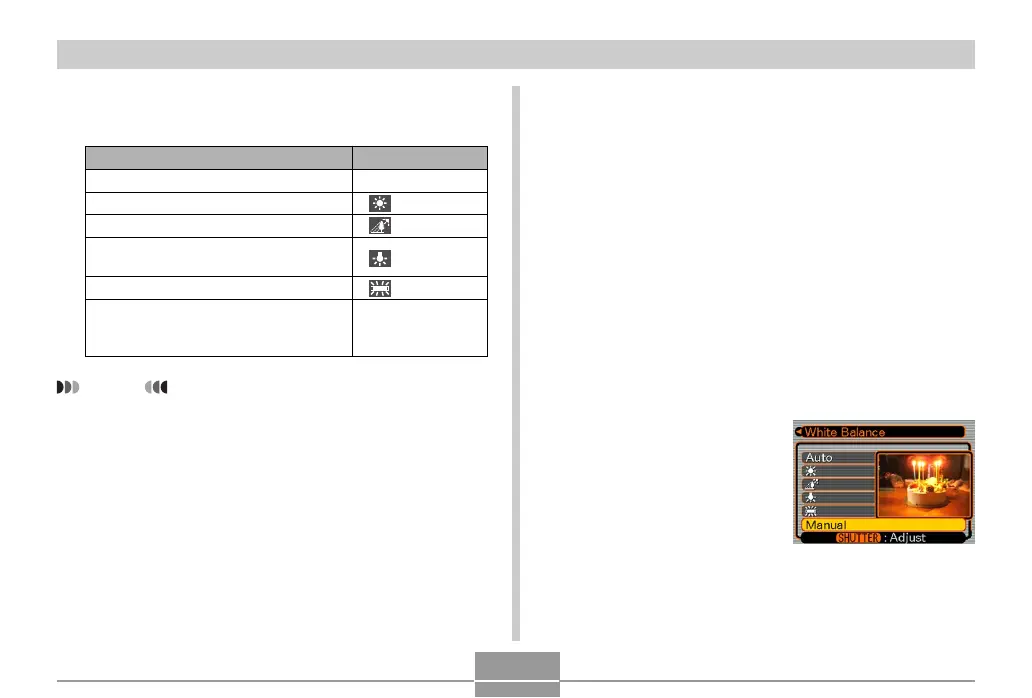
3.
Use [] and [] to
select “Manual”.
• This causes the object
you last used to adjust
manual white balance to
appear on the monitor
screen.

 Loading...