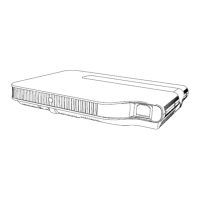
• There are several types of screws. When reassembling, make sure you are using the correct type of screws. It is recommended to sort the screws
after removing them, as shown in the figure below.
• Please note that the device described in this manual may differ from the one you have.
7-1. IMPORTANT INFORMATION This
product uses a laser as a light source. When disassembling the device, observe the following precautions. • Before disassembling, turn off the power
and unplug the AC power cord from the outlet. • If it is necessary to perform
a power-on test during repair, before starting the test,
• Surfaces (especially the top surface) are easily scratched, so when disassembling or assembling, place
due to design changes.
install the top cover.
• Never look into the laser light source (LSA) while the power is on. • Before removing the cover of the laser light source to replace it, turn off
the power and disconnect
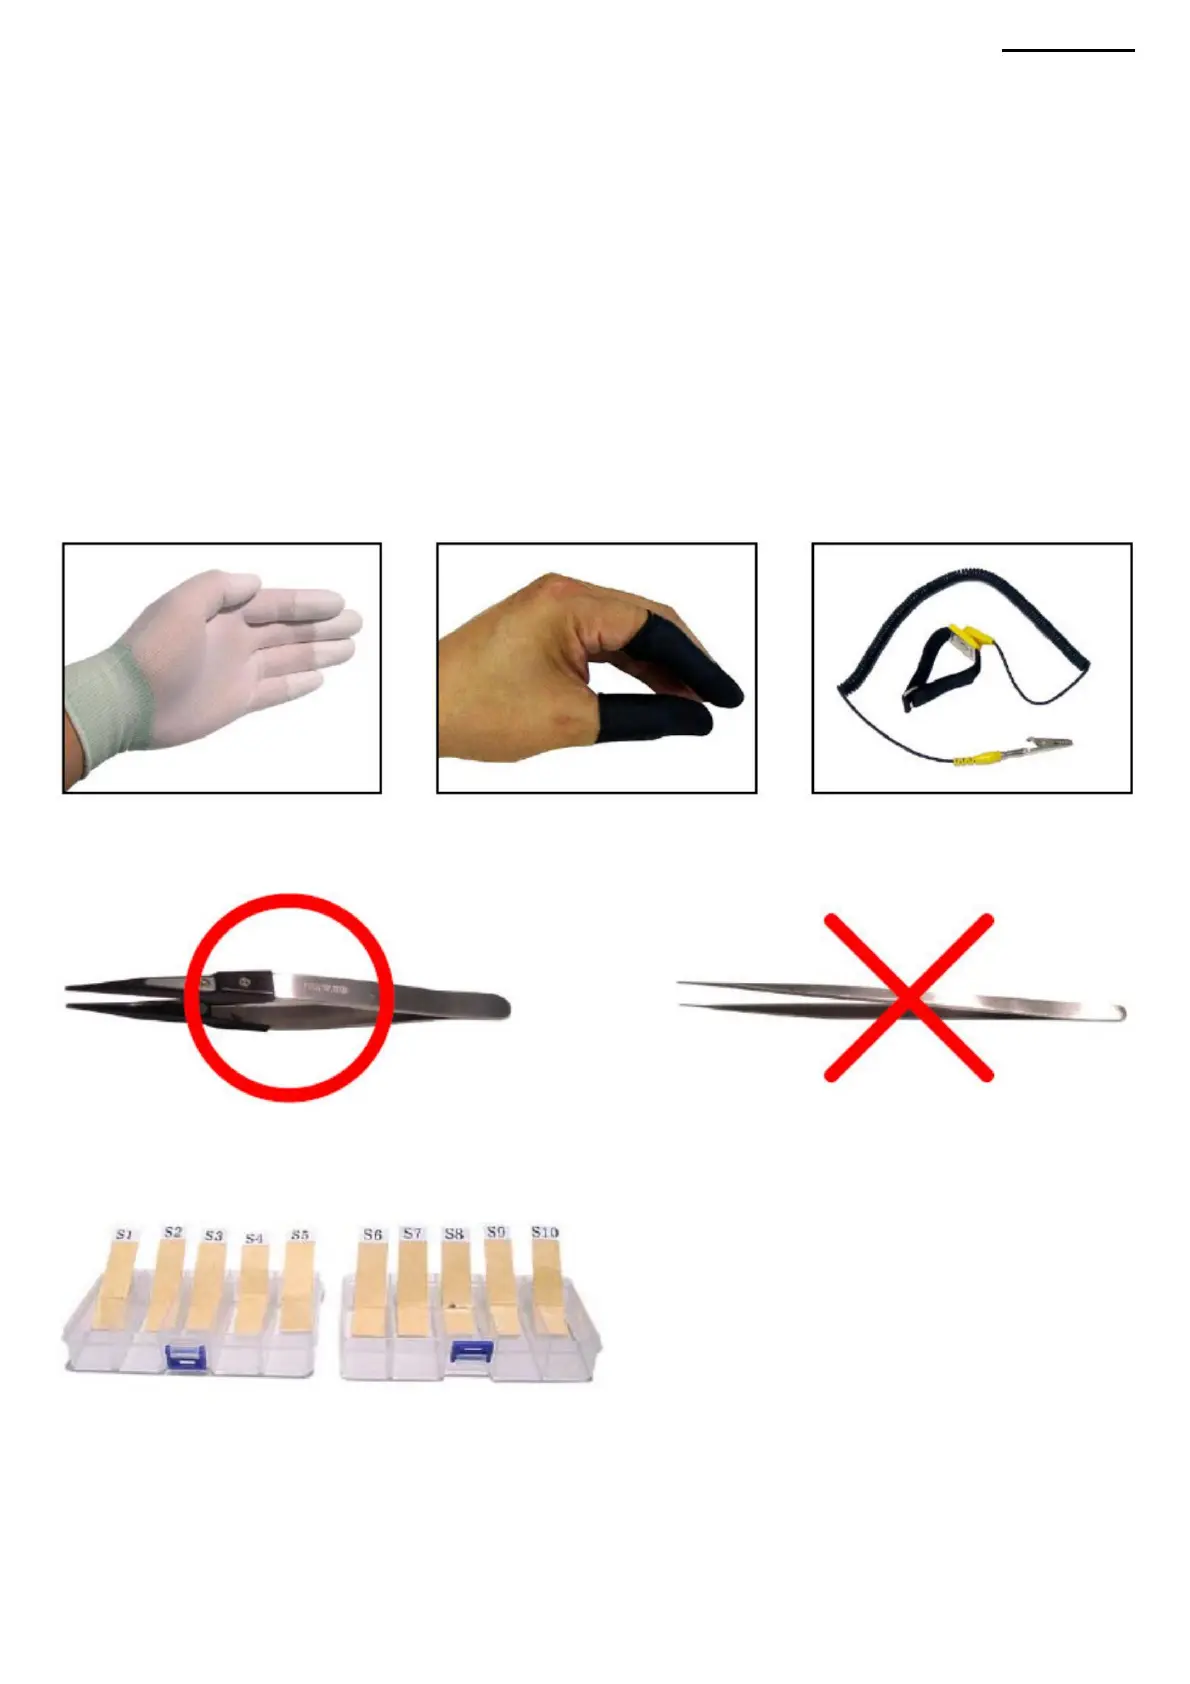
• When assembling/disassembling the projector, use conductive gloves, rubber fingertips, or an antistatic wrist strap to prevent static electricity and
dirt from getting on your hands.
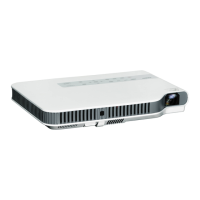
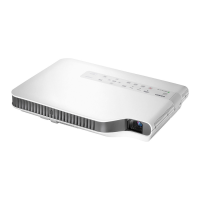
XJ-A240/A245
• Do not use metal tweezers. Use only plastic tweezers with flat
AC power cable from the outlet.
under the projector with a soft cloth or rug.
sponges (it is recommended to use antistatic tweezers).
7. DISASSEMBLY
-13-
Machine Translated by Google