F
ASSEMBLY
10
11
H
P
R
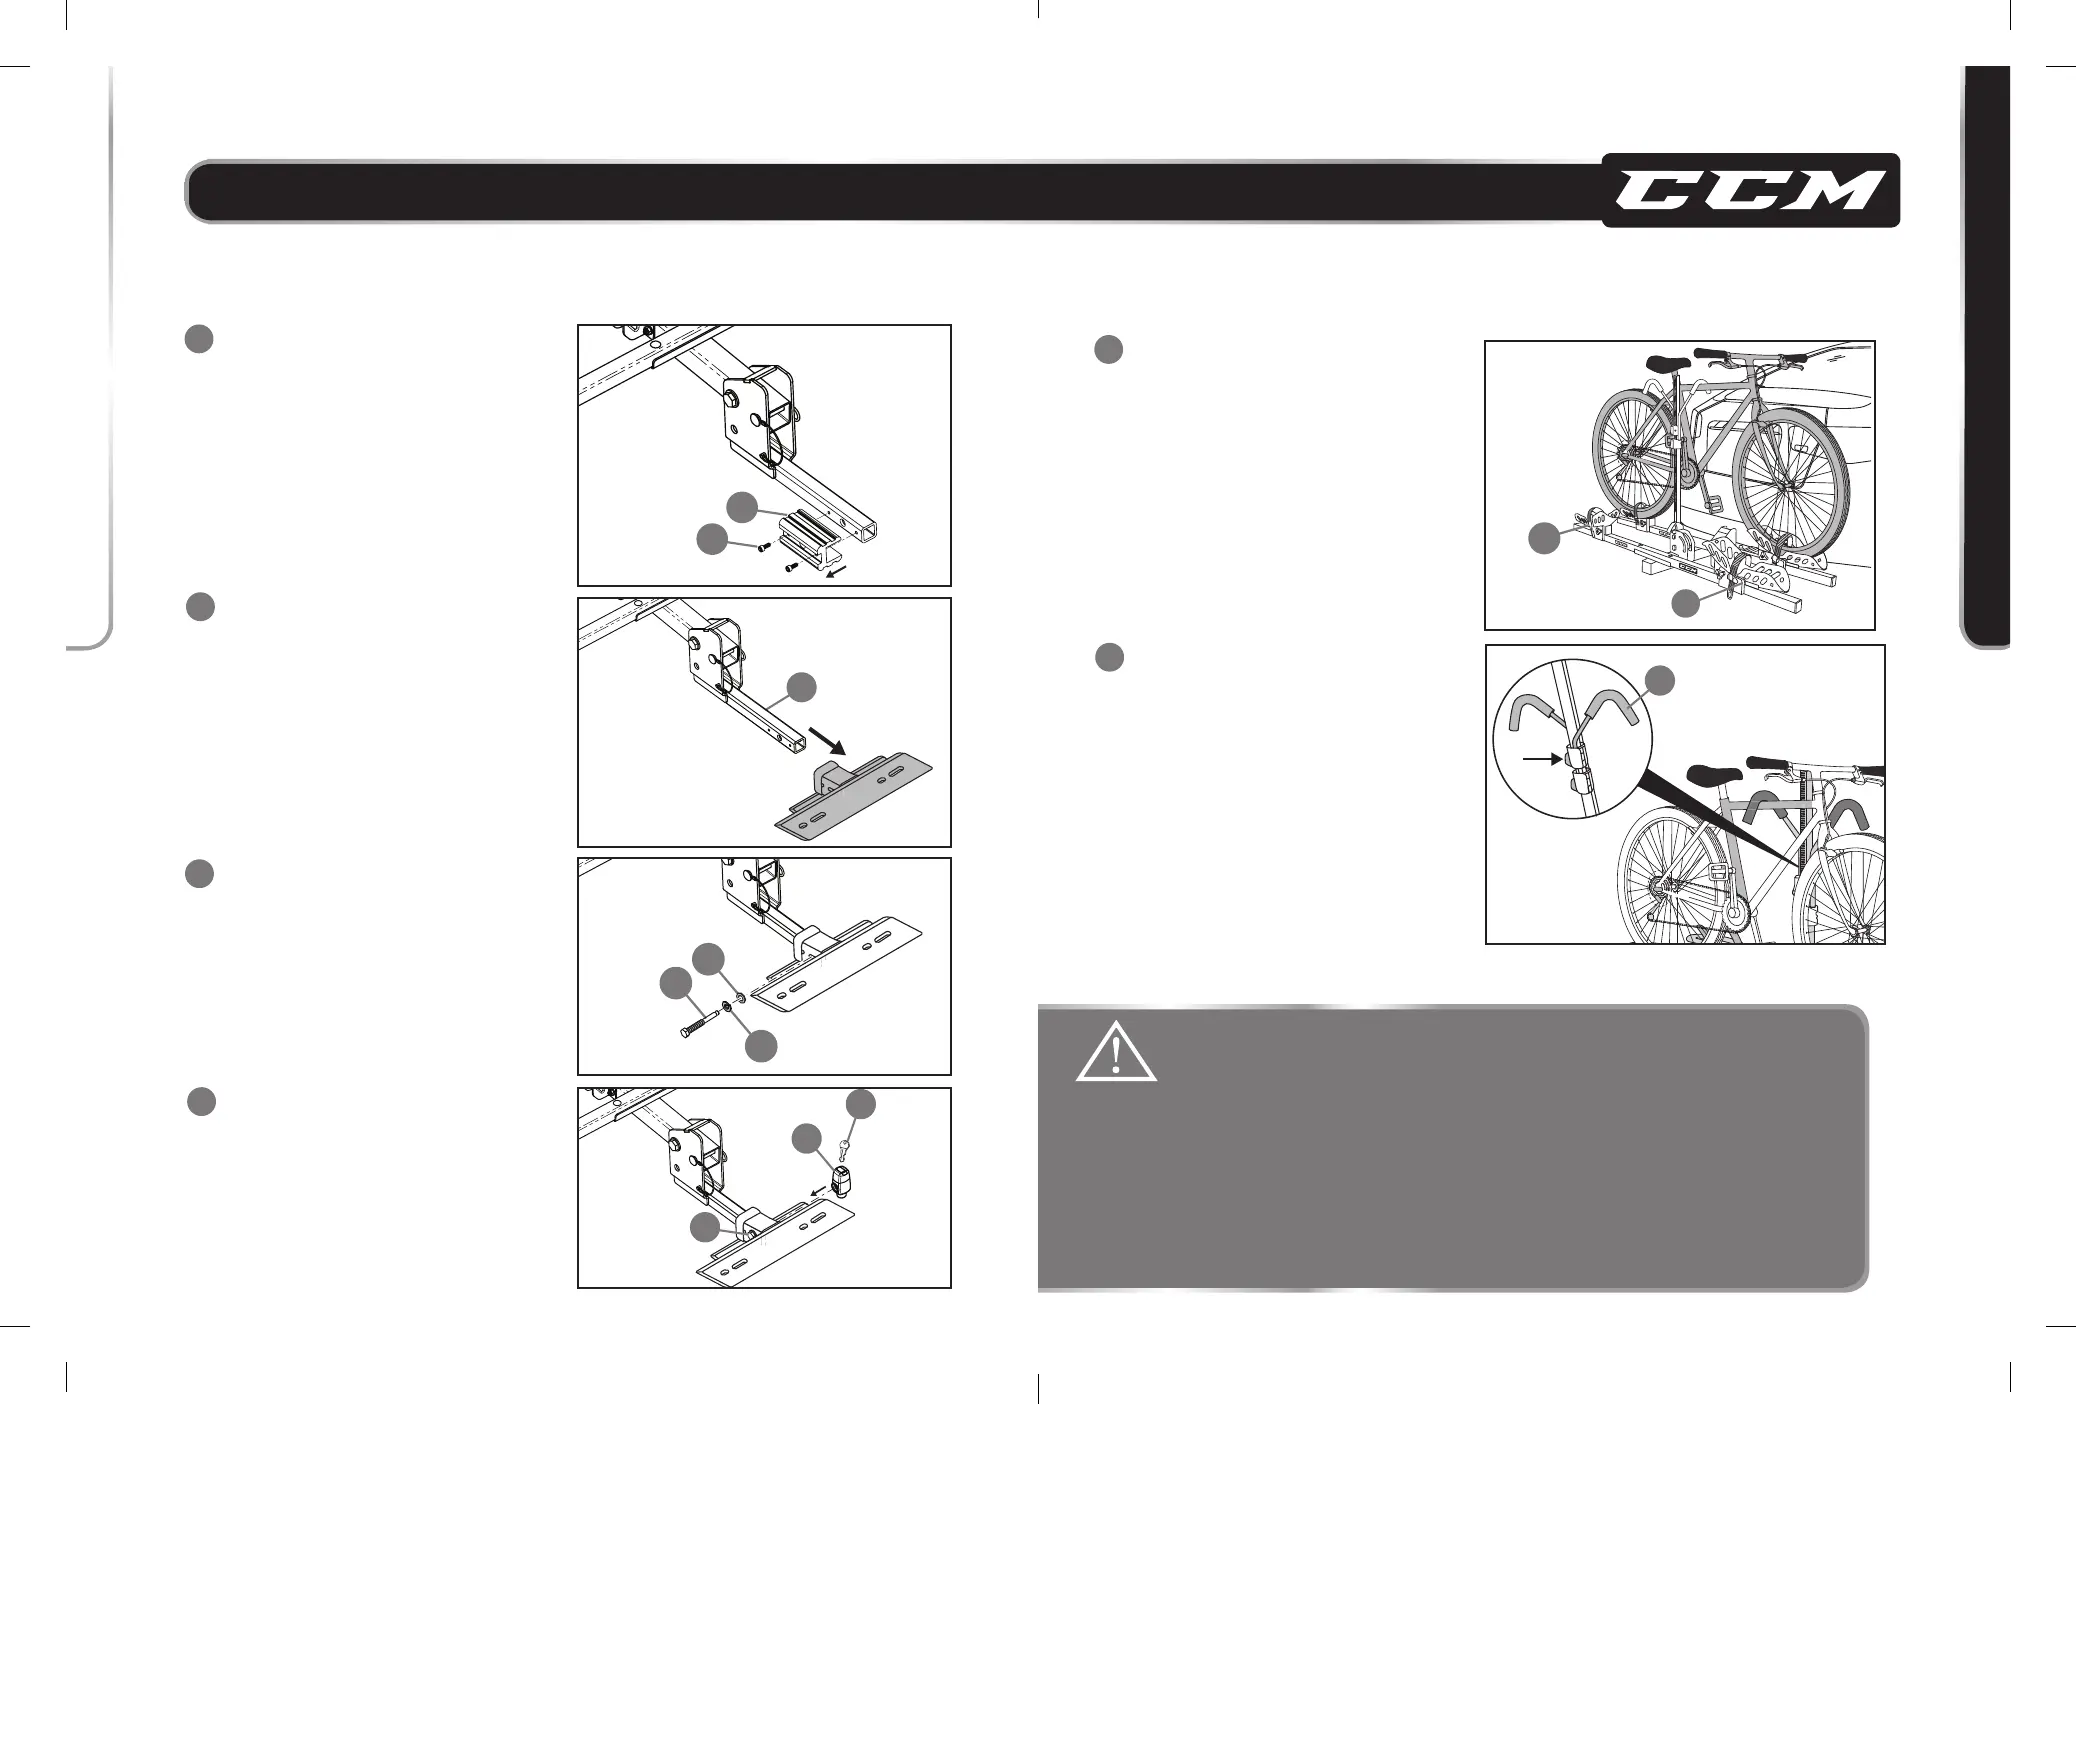
Inserttheanti-swayhitchpin(H)intothealigned
holesofthestingerandhitchreceiverusinga
springwasher(P)andflatwasher(R).
14
B
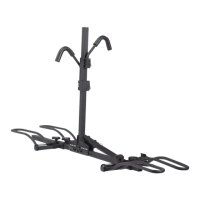
Insertthestingerbase(B)intothe11/4"(3.2cm)
hitchreceiverofthevehicle.
13
7
9
Disassemblethe2"(5cm)receiveradaptor(7)ofthe
stingerbase(B)byremovingthetwo3/16"hexdrive
screws(9)usingascrewdriver.
12
STINGER INSTALLATION FOR 1 1/4" (3.2 CM) HITCH RECEIVER
CAUTION:
•Position the bicycle pedal in such a way to prevent the vehicle from being
scratched.
•Do not allow the bicycle tires to hang near the exhaust pipe of vehicle.
The hot exhaust could melt and destroy the tires.
• Check for tightness of the straps at regular intervals, as the straps may loosen
and bicycles may shift during travel. Inspect more frequently when travelling
on bumpy roads.
• Remove the bike carrier from the vehicle when not in use to avoid
additional wear on both the vehicle and the carrier.
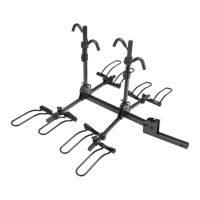
Placethebicyclesinanalternatingdirectionon
thebikecarrierinsuchawaythatthewheelsof
thebicyclerestonthewheeltrays(F)and(G).
16
Note: Loadtheheaviestbicycleclosesttothe
vehicle.
LOADING BICYCLES ON THE BIKE CARRIER
Pushdowntherackarm(4)ofthecentremast
ontothetoptubeofthebicycleuntiltherack
armisfirmlylockedinposition.
Note:Pressthebuttonprovidedatthecentre
mast,andlifttoreleasethelockingoftherack
arm,whileunloadingthebicycle.
17
OPERATION
Tightentheanti-swayhitchpin(H)usinga3/4"
(19mm)socketwrenchandsecureitusingthe
hitchpinlock(I).
Note:Usekey(J)toremovethelock.
15
G