EasyManua.ls Logo

Cebora MIG Weld 403 S - User Manual

Cebora MIG Weld 403 S
64 pages
Go to English
Print Icon
To Next Page IconTo Next Page
Loading...
Parti di ricambio e schema elettrico
Spare parts and electrical schematic
Ersatzteile und Schaltplan
Pièces détachées et schéma électrique
Partes de repuesto y esquema eléctrico
Partes sobressalentes e esquema eléctrico
Varaosat ja sähkökaavio
Reservedele og elskema
Reserveonderdelen en elektrisch schema
Reservdelar och elschema
AAnnttaallllaakkttiikkaavv
kkaaii
hhlleekkttrriikkoovv
sscceeddiiaavv-
ggrraammmmaa
Pagg. Seiten
sel.::
58-63
15/06/01
3.300.677/B
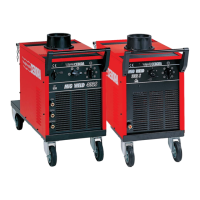
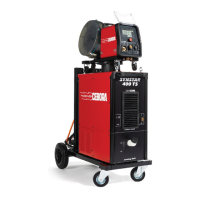
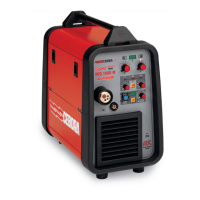
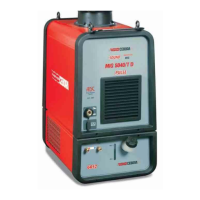
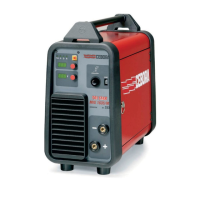
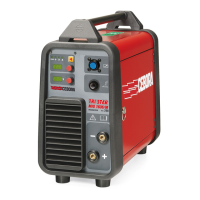
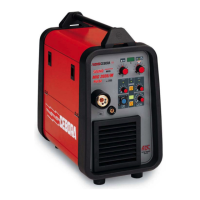
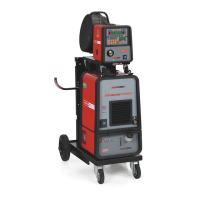
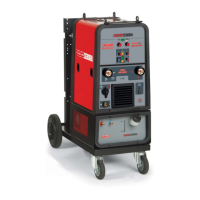
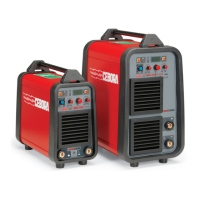
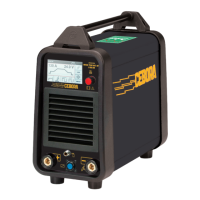
I -MANUALE DI ISTRUZIONE PER SALDATRICE A FILO PAG. 2
GB -INSTRUCTION MANUAL FOR WIRE WELDING MACHINE Page 7
D -BETRIEBSANLEITUNG FÜR DRAHTSCHWEISSMASCHINE Seite.12
F -MANUEL D’INSTRUCTIONS POUR POSTE A SOUDER A FIL page 17
E -MANUAL DE INSTRUCCIONES PARA SOLDADORA DE HILO pag. 22
P-MANUAL DE INSTRUÇÕES PARA MÁQUINA DE SOLDAR A FIO pag. 27
SF -KÄYTTÖOPAS MIG-HITSAUSKONEELLE
sivu. 32
DK -INSTRUKTIONSMANUAL FOR SVEJSEAPPARAT TIL TRÅDSVEJSNING
side. 37
NL -GEBRUIKSAANWIJZING VOOR MIG-LASMACHINE pag. 42
S -INSTRUKTIONSMANUAL FÖR TRÅDSVETS sid. 48
G-
OODDHHGGOOSS
CCRRHHSSEEWWSS
GGIIAA
SSUUSSKKEEUUHH
SSUUGGKKOOLLLLHHSSHHSS
MMEE
NNHHMMAA
sel
..
53

Questions and Answers

  • S
    Sherri WellsAug 6, 2025
    Why is my Cebora Welding System producing a lot of metal spatter?
    • L
      Lori JohnsonAug 6, 2025
      If your Cebora Welding System produces welding with a lot of metal spatter, it might be due to incorrect welding parameter settings. Ensure you've selected the appropriate parameters using the welding-voltage switch and wire-speed adjustment potentiometer. Also, check the grounding connections to ensure they are sufficient. An uncorrect sheath diameter can cause wire advancing improperly.
  • S
    Sylvia HuynhAug 14, 2025
    What to do if the wire is not advancing in my Cebora Welding System?
    • D
      Daniel WilliamsAug 14, 2025
      If the wire is not advancing or advancing improperly in your Cebora Welding System, consider these potential causes: the wire roller may have too wide of a groove, so replace the roller. The liner might be obstructed or clogged, so extract and clean it. The wire pressing roller may be loose, so tighten it. The coil reel friction might be too tight, so loosen and adjust it. Also, the current nozzle might be clogged, so replace it.
  • A
    amy81Aug 21, 2025
    What to do if the wire jams in my Cebora Welding System?
    • M
      Mary BondAug 21, 2025
      If the wire jams or entangles between the drive rolls and the torch infeed of your Cebora Welding System, it could be due to several reasons. Check if the current nozzle diameter is correct and replace it if it is wrong. Ensure the roller groove alignment is correct, and align it if it's not. Also, inspect the sheath for obstructions or clogs; remove and clean it if necessary.
  • W
    william74Aug 28, 2025
    How to troubleshoot limited electric output on Cebora Welding System?
    • W
      wallaceaustinAug 28, 2025
      Limited electric output in your Cebora Welding System can stem from several causes. First, check the phase of the feed line and/or the remove control switch contacts, as a phase may be missing. Also, a line fuse may be burnt, so replace it. Ensure the connections on the voltage changer terminal board are correct by following the plate scheme. The rectifier diode may be burnt, so replace the rectifier. Tighten all connections, as the torch or ground connections may be loosened. The welding regulation commutator may have an uncertain contact, so replace the commutator. Finally, if the trasformer wire is interrupted on the commutator, unscrew the commutator contact, remove the wire insulation and put it under the contact.

Summary

Safety Precautions

General Technical Descriptions

2.1 Specifications

Details the machine's specifications, including power source type and voltage ratings.

2.2 Description of Technical Specifications

Explains the meaning of various technical specification parameters listed for the welding machine.

Installation

3.1 Setup

Provides instructions for properly positioning and installing the welding machine in a ventilated area.

3.2 Input Power Connections

Guides on correctly connecting the machine to the electrical power supply, including voltage selection.

3.3 Output Connections

Details on connecting the work return lead clamp and wire feeder to the machine.

Description of Controls

4.1 Controls on Generator Front Panel

Identifies and explains the function of controls located on the front panel of the welding machine.

4.2 Controls on Generator Rear Panel

Identifies and explains the function of controls and connectors on the rear panel of the welding machine.

Welding

5.1 Installation and Starter

Covers initial installation procedures and steps to prepare the machine for welding.

5.2 The Machine Is Ready to Weld

Steps to perform before starting welding operations, including connecting the ground terminal.

5.3 Welding Carbon Steels

Specific requirements and procedures for welding carbon steel materials.

5.4 Welding Stainless Steel

Guidelines for welding stainless steel, including recommended shielding gas mixtures.

5.5 Welding Aluminium

Specific requirements and procedures for welding aluminium, including gas and wire types.

Welding Defects

Porosity

Identifies porosity as a defect and lists its common causes in welding.

Shrinkage Cracks

Details shrinkage cracks as a welding defect and outlines their potential causes.

Lateral Cracking

Explains lateral cracking as a welding defect and its associated causes.

Too Much Spatter

Addresses excessive spatter during welding and its common underlying reasons.

Machine Maintenance

Troubleshooting

Welding Machine Servicing

9.1 Prescriptions to Follow for Servicing

Outlines essential prescriptions and tests to be followed during welding machine servicing.

Cebora MIG Weld 403 S Specifications

General IconGeneral
Welding ProcessMIG/MAG
Wire Diameter0.6 - 1.0 mm
Power SupplySingle-phase
Weight25 kg
Duty Cycle60%

Related product manuals