9
A centrifugal pump should never be run without liquid in the
casing. Extensive damage may result, particularly to the bearing or
the mechanical seal. Vent or fill the pump seal chamber through the
seal vent connection to provide lubrication to the mechanical
seal faces.
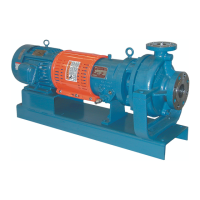
If the pump is a “RA3146” or a “RA3186”, remove the bearing
grease relief plug from the bottom of the bearing end cover (28).
Replace the coupling guard and securely fasten it in place.
Make sure that the coupling guard is installed with the expanded
metal section nearest the motor, as shown on the Sectional
Assembly drawings on pages 11 and 12.
A centrifugal pump should be started with the suction valve fully
open and the discharge valve opened a slight amount. Start
the pump.
As soon as the pump is up to speed, the discharge valve must be
opened slowly. A centrifugal pump cannot be operated with the
discharge valve closed without heating up dangerously. During the
first several minutes of operating watch the pump carefully for over-
heating, vibration, and other abnormal conditions. If trouble
develops, stop the pump at once and correct the problem.
After thirty minutes of operation, stop the pump. If the pump is using
a barrier fluid, check the level by removing the
3
/8" pipe plug (84)
from the pipe tee, and refill, if necessary, to a level flush with the
bottom of the pipe nipple that extends horizontally out of the tee.
If a small amount of barrier oil has dropped from the barrier over-
flow pipe onto the baseplate, do not be concerned as this might
occur with the initial heat expansion of the barrier liquid.
The barrier overflow pipe is also used to detect mechanical seal
leakage. If, after the pump has run for a few hours at system
temperature, oil starts to spill from this pipe, it is an indication of
impending mechanical seal failure. The mechanical seal (95A and
95B) should be replaced before the leakage becomes excessive.
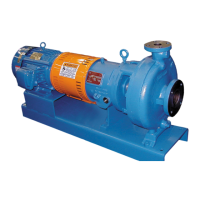
If the pump is a “RA3146” or a “RA3186”, replace the grease
relief plug into the bottom of the bearing end cover (28) and
tighten to 7 ft. lb. Replace the coupling guard and securely fasten it
in place.
Make sure that the coupling guard is installed with the expanded
metal section nearest the motor, as shown on the Sectional
Assembly drawings on pages 11 and 12.
Restart the pump.
These points must be checked after pump installation and before
starting up the pump.
1) Read instruction manual thoroughly and understand it.
2) Review pump order head sheet for the service rating of the
pump and any special features.
3) Check to see that the seal chamber has been vented.
4) Check all piping connections making certain that they are both
tight and in the proper places. All piping includes the small
piping described on pages 7 and 8.
5) Make sure that the baseplate has been properly installed.
6) Check to see that the motor is of the fan cooled type. A fan
cooled motor is necessary for successful operation of the
pump.
7) Check the electrical connections to the driver.
8) Break the coupling by removing the coupling spacer and
bump the motor starting button to check motor rotation.
Operating the pump in reverse rotation may cause extensive
damage. If driver rotation is correct, replace the coupling
spacer. If not, connect the wiring for proper rotation and
recheck.
9) Check the coupling for proper alignment. Realign if necessary.
10) Check to see that the barrier fluid has been installed, if the bar-
rier fluid is required for your operation.
11) Check to be sure that the pumpage leak detection connection
is open for proper operation.
12) Rotate the pump shaft by hand to be sure that there is no bind-
ing or rubbing within the pump or driver. Wear heavy gloves
to protect your hands. Correct any problems before proceed-
ing.
13) Remove the bearing grease relief plug, if the pump is a
RA3146 or a RA3186.
14) Remove all dirt, waste, tools, and construction debris from the
area.
15) Check to see that the coupling guard is fastened securely in
place.
PUMP START-UP CHECKLIST