ENGLISH
27
decrease the hour digits.
• Press to switch to minutes and use buttons and to increase or decrease the
minute digits.
• Press , the display will show the current week day blinking. Press to select the
week day.
• Press to save the time and week settings.
2. Schedule
Note: when setting the scheduled cleaning task, the display will show the time left
between the current time and the set cleaning time.
Example: the robot’s current time is 8:00 am, the time on the remote control is 1:30. The
robot will start cleaning at 9:30 am.
Note: for safety reasons, the scheduling will be deleted when the robot’s power switch
is turned off.
• Make sure the robot is switched on and in standby mode.
• Long press on the remote control in order to enter the schedule mode. The digits
will blink. Use the and to increase or decrease the hour digits, then use to
switch to minutes and use buttons and to increase or decrease the minute
digits and the same for the day of the week.
• After setting, aim the remote control at the robot and press . A beep sound will
conrm the settings have been saved.
3. Cancel scheduled tasks
• During the scheduling process, press on the remote control.
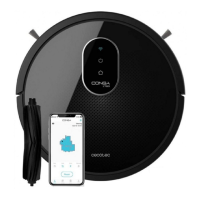
CLEANING MODES
The robot offers different cleaning modes which adapt to different cleaning needs.
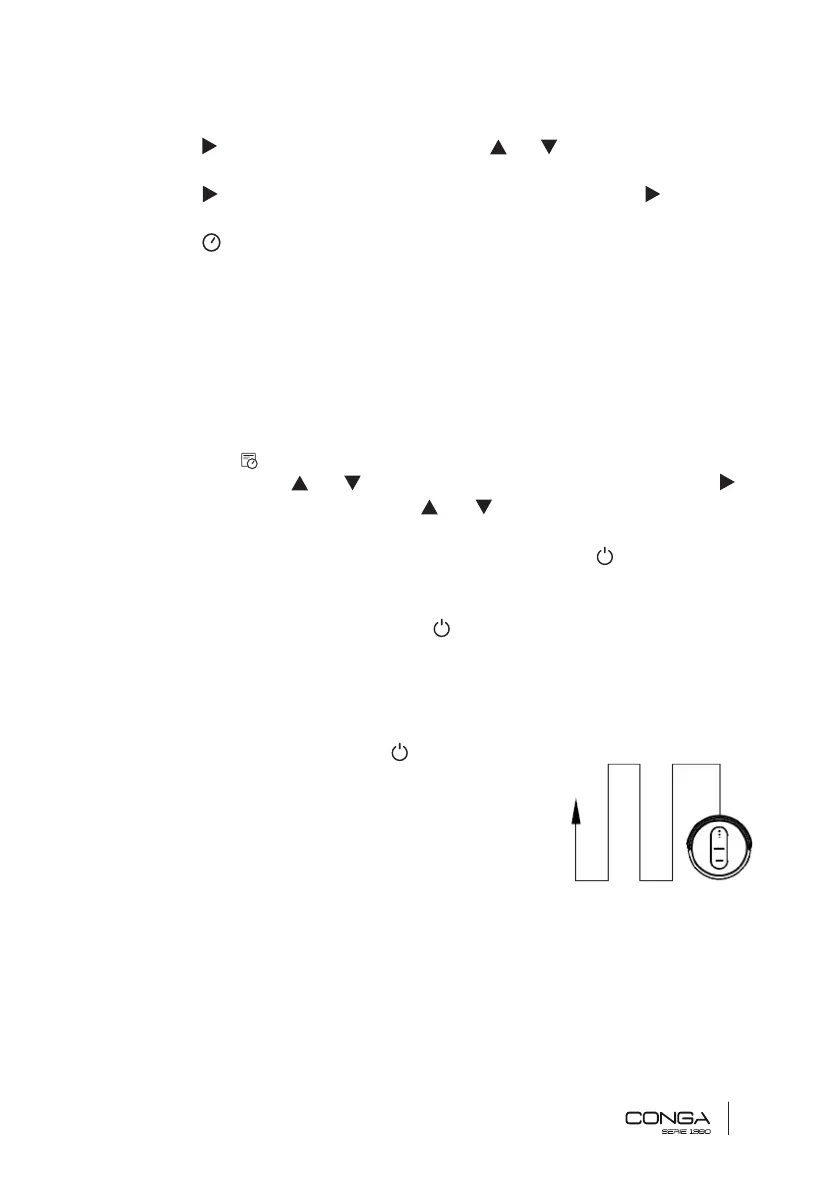
1. Auto cleaning mode
• From the standby mode, press on the robot or
the remote control and the robot will automatically
start operating.
• It is the most frequent cleaning mode and it is used
to clean the 100 % of the house’s surface. The robot
vacuums the oor’s dust automatically, in and
organized and efcient way, as it features memory
and gyroscopic navigation. Moreover, it changes direction when it nds obstacles
throughout its route and it returns to the charging base in a smart and direct way
once the cleaning is over.
2. Edge mode: the display will show MODE 1 and the robot will clean along the edges.
3. Area mode: the display will show MODE 2 and the robot will clean a 2*2 m area.