Do you have a question about the cecotec Conga 1790 Titanium and is the answer not in the manual?
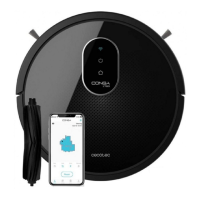
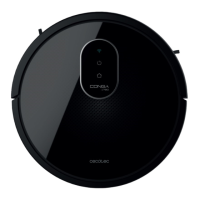
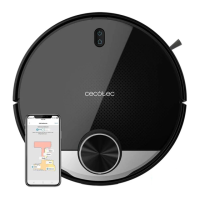
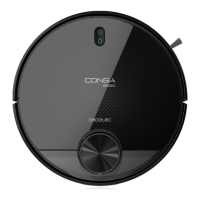
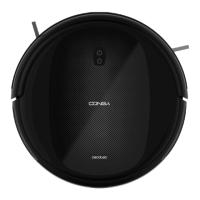
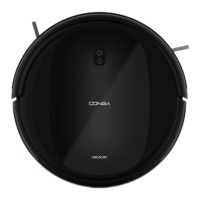
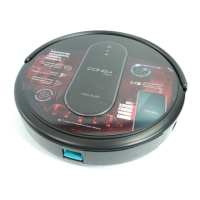
Overview of the robot's main buttons and indicators.
Identification of the anti-collision sensor on the robot's front.
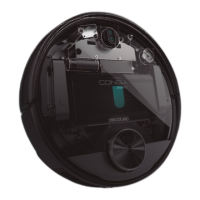
Identification of sensors, wheels, brushes, battery, and dust tank.
Illustration of the charging base.
Illustration of the power adapter.
Illustration and identification of the dust tank.
Illustration and identification of the wet & dry tank.
Shows primary and high-efficiency filters.
Illustration of the multifunctional main brush.
Illustration of the side brushes.
Shows the mops for wet cleaning.
Identifies parts of the charging base.
Instructions for unpacking, checking parts, and handling damage.
Advice on balconies, stairs, and sunlight impacting sensors.
Guidelines for positioning the charging base for optimal operation.
Instructions on how to properly install the side brushes.
How to turn on the power switch and charge the robot.
How to start, pause, and resume the cleaning process.
How to send the robot back to its charging base.
Procedure for turning off the robot when not in use.
Introduction to different cleaning modes available via the app.
Details on how the Auto mode cleans and returns to base.
Instructions for the "All in One" vacuum, mop, and scrub function.
How to use spiral mode for intense cleaning of specific areas.
How to activate edge cleaning mode for wall and furniture cleaning.
How to use room mode for cleaning a specific room.
Explanation of Turbo, Normal, and Eco suction power settings.
Explanation of High, Medium, and Low water intensity settings.
Description of random cleaning and manual control via app.
How to set up scheduled cleaning cycles.
Steps to remove and empty the robot's dust tank.
How to clean the primary and high-efficiency filters.
Instructions for cleaning free-fall and proximity sensors.
Guide on cleaning and removing the main brush.
Recommendations for cleaning side brushes weekly.
Step-by-step guide for replacing the robot's battery.
Solutions for gyroscope, bumper, and free-fall sensor errors.
Solutions for driving wheel, side brush, fan, and main brush errors.
Troubleshooting for activation issues and sudden stops.
Solutions for schedule, suction, charging, and navigation problems.
| Type | Robot Vacuum Cleaner |
|---|---|
| Model | Conga 1790 Titanium |
| Battery Capacity | 2600 mAh |
| Battery Type | Lithium-Ion |
| Connectivity | Wi-Fi |
| App Control | Yes |
| Mop Function | Yes |
| Programmable | Yes |
| Weight | 3.5 kg |
| Wet Mopping | Yes |
| Auto Recharge | Yes |
| Scheduling | Yes |
| Charging Time | 4 hours |
| Dust Container Capacity | 600 ml |
| Navigation System | Laser Navigation |
| Voice Control | Yes |
| Operating Modes | Auto, Edge |
| Filters | HEPA |
| Filter Type | HEPA |
| Virtual Walls | Yes |