Side brushes are designed with multiple bristles and are used to push dirt towards the suction nozzle and to clean
thoroughly edges and corners. These brushes can wear out over time, affecting negatively to the cleaning efficiency.
For this reason, it is suggested to replace each side brush after a maximum of 220 hours.
Recommendations: It is recommended to clean the side brushes once a week with the help of the cleaning brush.
Main brush
The main brush is designed with bristles and silicone, spins at top speed and helps introducing dirt into the suction
nozzle. This brush is in contact with the floor, and therefore with dirt, so it can be worn out over time, affecting
negatively to the cleaning efficiency. For this reason, it is suggested to replace each side brush after a maximum of
320 hours.
Recommendations: It is recommended to clean the main brush once a week with the help of the cleaning brush.
Sensors
Cleaning robot vacuum cleaners have different types of sensors, for example, proximity sensors that allow the robot
to move around while detecting obstacles or free-fall sensors that help the robot to detect slopes or possible
gaps/unevenness such as stairs. These sensors are always in contact with dust particles, and therefore, can be
blocked over time, causing possible navigation errors. It is suggested to clean all the robot’s sensors with the
cleaning brush or with a dry cloth after a maximum of 35 hours of operation.
Battery charge and replacement
To lengthen the battery’s service life, keep the robot charging on the charging base when not in use.
If the robot is not going to be used for a long time, remove the battery from the product and store it in a dry and safe
place.
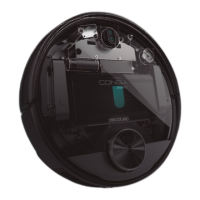
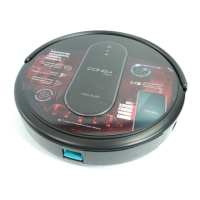
To replace the battery, follow the instructions below:
Unscrew the 2 screws on the battery compartment, remove the battery cover and the battery.
Fig. 38
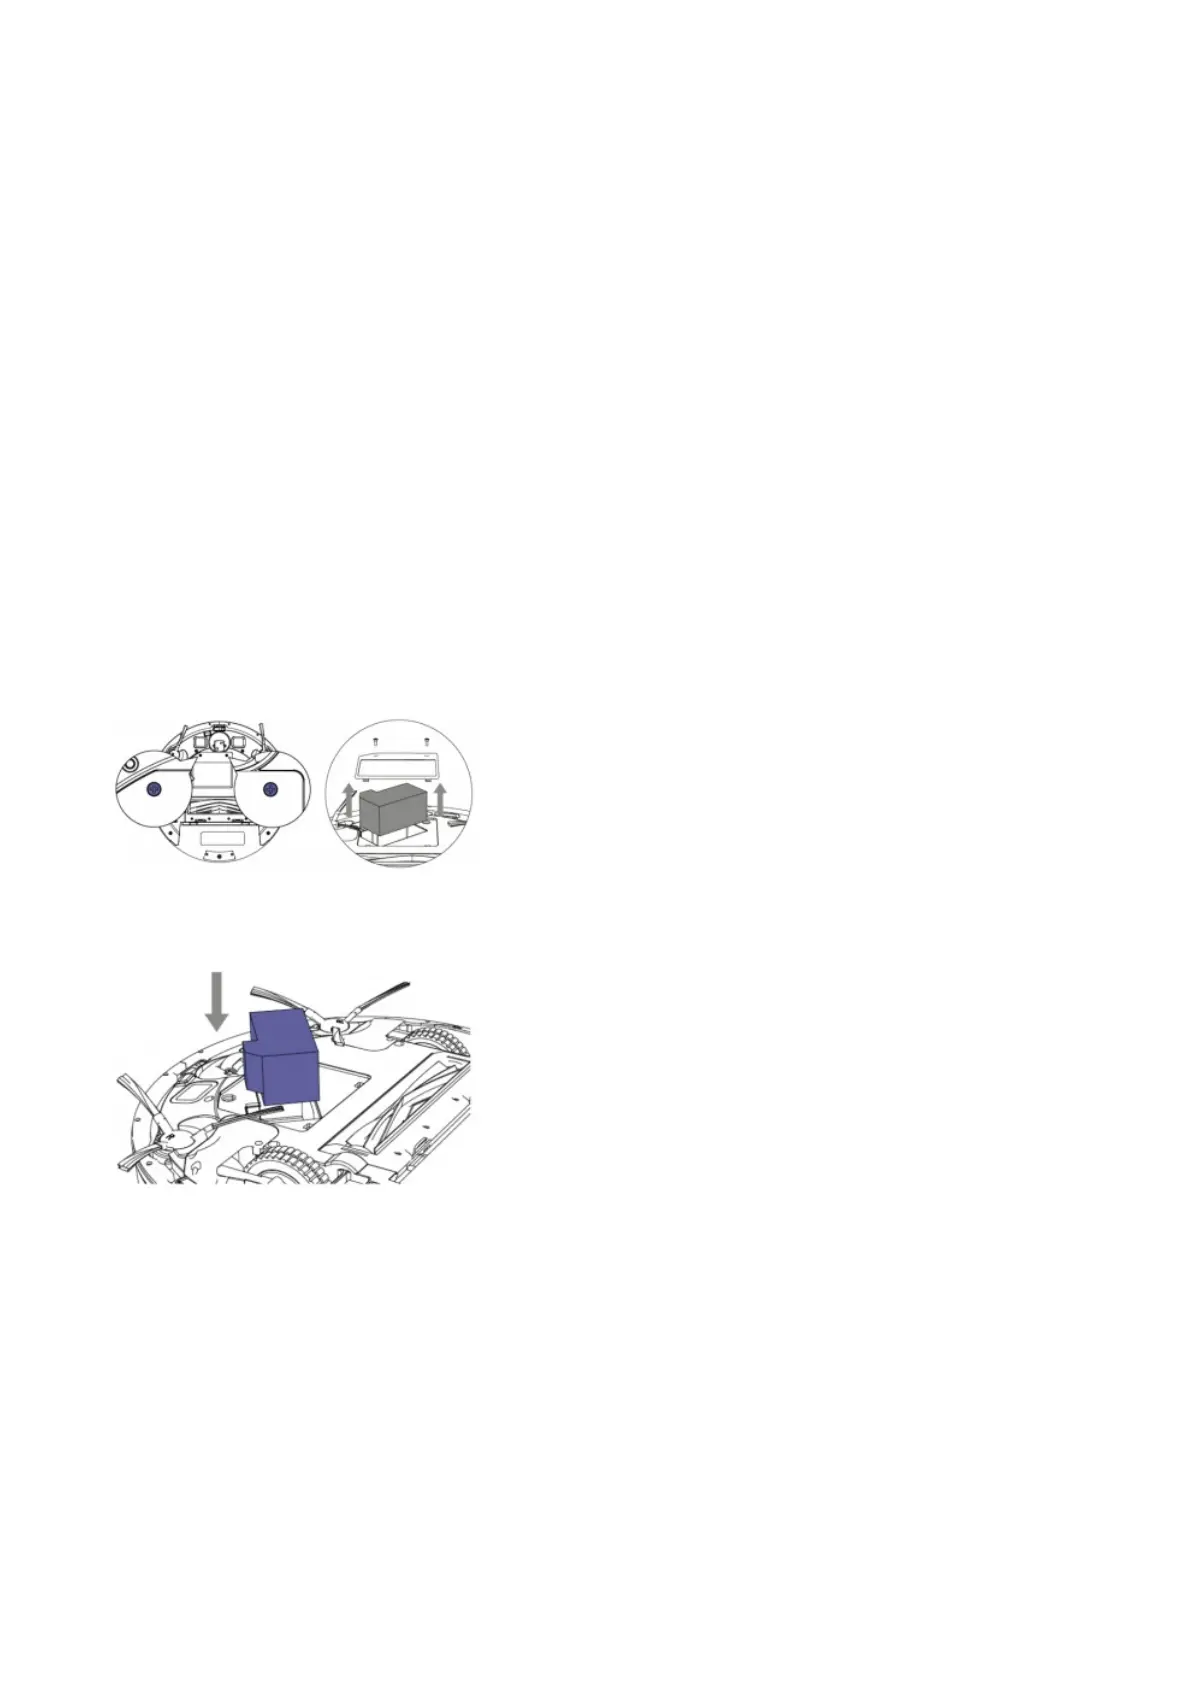
Insert the new battery with the battery label facing up.
Fig. 39
Place the battery and the battery cover in its place and fix properly de screws back again.
5. TROUBLESHOOTING
Beeps while red light blinking: