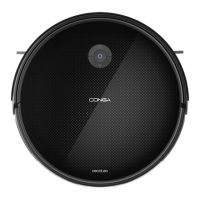
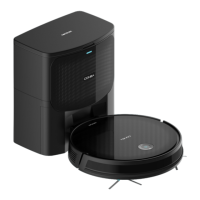
CONGA 2290 ULTRA TCONGA 2290 ULTRA T 4544
ENGLISH ENGLISH
Fig. 17
1. Mode and time display
2. Time setting
3. Automatic charge/Back home
4. Autoclean/pause
5. Direction buttons
6. Spiral cleaning
7. Room cleaning
8. Scrubbing levels
9. Scheduling
10. Edge cleaning
11. Power levels
2. BEFORE USE
- Take the product out of the box.
- Remove all packing material and keep the original box.
- Make sure all parts and components are included and in good conditions. If any sign
of visible damage is observed, contact immediately with the ocial Technical Support
Service of Cecotec.
Note
Remove all objects around the robot such as clothing, papers, cables, curtains or other fragile
objects. Fig. 18
- If the area to be cleaned has a balcony or stairs, a physical barrier must be placed in order
to prevent product damage and ensure safe operation. Fig. 19
- Direct exposure to sunlight or great light contrasts may aect to the correct operating of
the sensors. When exposed, the robot will stop. Replace it to start working again.
- Place the charging base against the wall and leave a minimum free space of:
- 2 metres to the front.
- 1 metre to each side. Fig. 20
- Connect the charging base to a power supply. Wind and store the remaining cord in the
lower part of the charging base to avoid accidents. Fig. 21
- Install both side brushes in their corresponding slots, located on the robot’s bottom part.
Press until it clicks to make sure they are properly xed. Fig. 22
- Press the power switch located on the bottom part of the robot. Make sure the side
power switch is set to the OFF position. Fig. 23
- Place the robot on the charging base and make sure the charging terminals on the robot
match with those of the charging base. Once the robot is properly placed, it will beep once
Fig. 5
Power adapter
Fig. 6
Remote control
Fig. 7
Dust tank
Fig. 8
Wet&Dry tank
Fig. 9
Primary and high-eciency lters
Fig. 10
Jalisco brush
Fig. 11
Side brushes
Fig. 12
Main silicone brush
Fig. 13
2 mops
Fig. 14
Cleaning brush
Fig. 15
Magnetic strip
Fig. 16
1. Charge indicator
2. Remote control holder
3. Signal transmitter
4. Charging terminals