ENGLISH
25
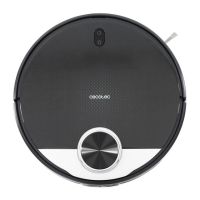
Corpo principale e sensori
1. Botón de vuelta a casa
2. Botón de encendido/modo automático
3. Con guración de red Wi-Fi (Botón de
vuelta a casa y de encendido)
4. Pestaña de liberación de la tapa
5. Radar láser
6. Tapa superior
7. Botón de encendido y de vuelta a casa
8. Sensor receptor de infrarrojos
9. Sensor anticolisión
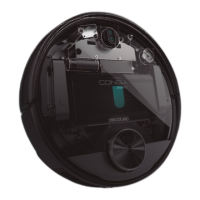
Depósito mixto Depósito de suciedad
1. Entrada de agua
2. Depósito mixto
3. Pestaña del depósito
4. Filtro de alta e ciencia
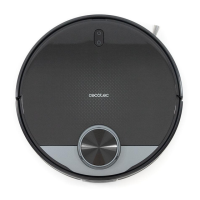
Base de carga Mopa
1. Zona de trasmisión de señal
2. Borne de carga
3. Indicador de carga (Está en la parte superior)
4. Borne de carga
5. Compartimento para el cable
WARNING: do not expose the charging base to direct sun light.
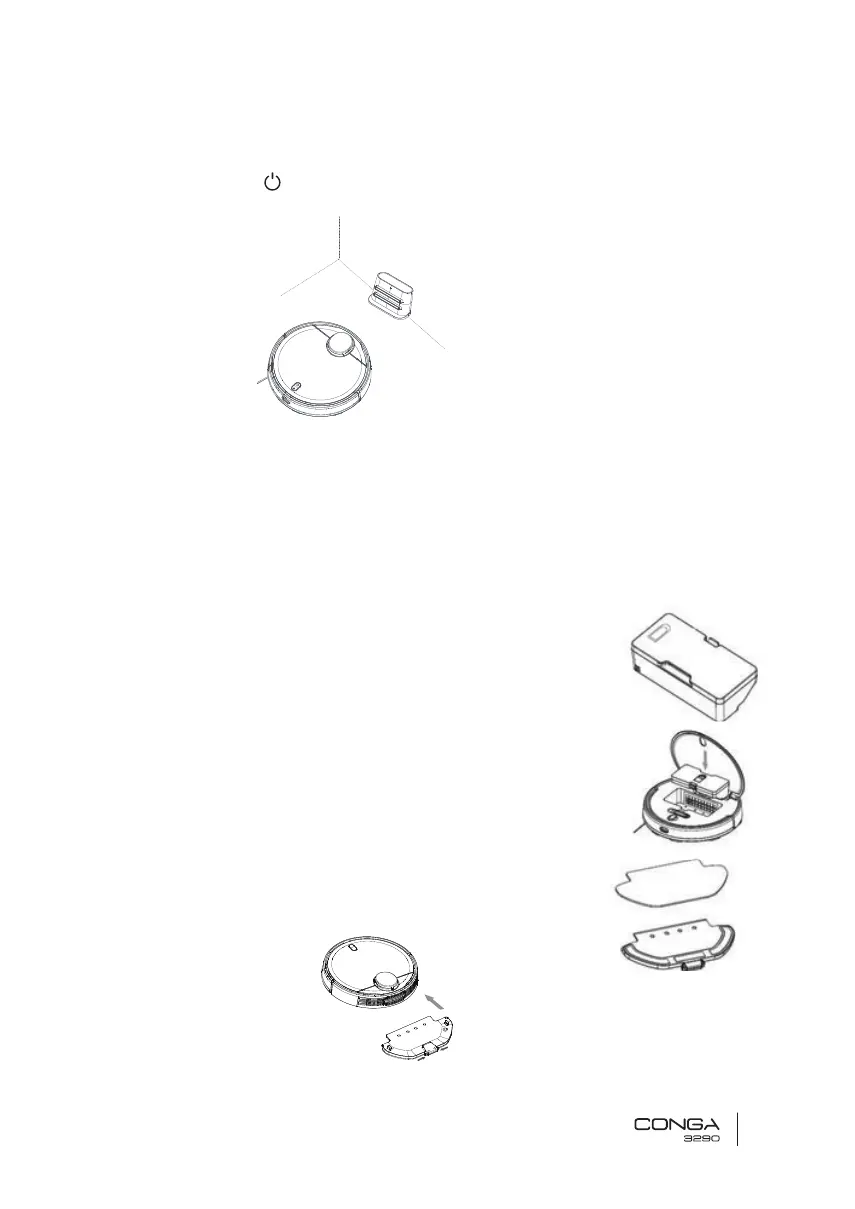
3. Long press the button for 3 seconds; when the light indicator turns on, place the
robot on the charging base.
Note:
• Take the robot to the charging base if the battery is low. The robot might not turn on if
the battery is very low.
• The robot will automatically turn on when placed on the charging base.
• The robot cannot be turned off during charging.
WET & DRY TANK INSTALLATION
Note: it is not suggested to use the scrubbing function for the rst-time use.
1. Open the tank’s rubber lid, ll the tank with water carefully so
water does not come out. Make sure the silicone clip is properly
closed to avoid water from spilling.
2. Install the tank in the robot following the directions indicated in the drawing. Make
sure the clip is properly fastened.
3. Attach the mop to the bottom part of the mop bracket with the
Velcro.
4. Manually press the clips on both sides of the mop bracket and
push it into its correct position until you hear a click indicating it
is properly xed.
C
M
Y
CM
MY
CY
CMY
K
Drawin Conga 3290-3490.pdf 1 13/5/19 9:54
• Steady blue light: ON/operating
• Orange light oscillates: charging
• Red light blinks: error
2. Install the tank in the robot following the directions indicated in the drawing. Make
C
M
Y
CM
MY
CY
CMY
K
Drawin Conga 3290-3490.pdf 1 13/5/19 9:54