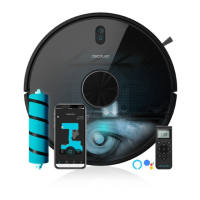
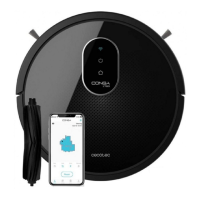
34
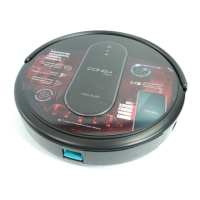
3. Silicone water tank cap
4. Tank lock
5. Mop bracket
Note:
This product images, accessories, user interfaces, etc. that are shown in this manual are
reference images. The actual product may be slightly dierent to the images due to product
updates and improvements. If so, the actual product will prevail.
2. BEFORE USE
− Take the product out of the box and remove all packaging materials.
− Check carefully if there is any damage. If any is observed, contact as soon as possible the
Technical Support Service of Cecotec for advice or reparation.
3. INSTALLATION
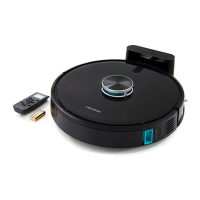
Robot and charging base installation
Connect the charging base to a power supply and store the remaining cable. It is important to
store the remaining cable at the bottom of the charging base to avoid it from being dragged
and disconnected.
Place the charging base against the wall, leaving the safety distance indicated in gure 4
Note:
Ensure a space of at least 0.5 m on both sides of the charging base, and 1.2 m in front of it.
Warning
Do not expose the charging base to direct sunlight.
Hold down the power button for 3 seconds; when the indicator light turns on, place the robot
on the charging base.
Warning
− Take the robot to the charging base if the battery is low. The robot might not turn on if the
battery is very low.
− The robot will automatically turn on when placed on the charging base.
− The robot cannot be turned o during charging.
Wet & dry tank installation
05663_Conga 5290 Ultra_IM_YV_03220104.indd 3405663_Conga 5290 Ultra_IM_YV_03220104.indd 34 13/1/22 10:0713/1/22 10:07