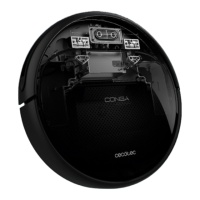
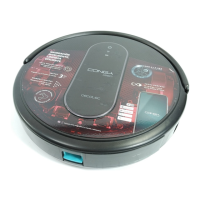
CONGA ANIMAL
48
ENGLISH
- Press the button on the robot or the button on the remote control for the robot to
return to Standby mode.
- Note: The robot will activate the Edge mode when it detects the rst edge.
Automatic charge/Back home
- Press the button on the robot or on the remote control to activate the automatic
charge mode from the Standby mode.
- Press the button del robot o el botón on the remote control for the robot to return
to Standby mode.
Room cleaning
- Press the button on the robot or on the remote control to activate the automatic
charge mode from the Standby mode.
- Press the button on the robot or the button on the remote control for the robot to
return to Standby mode.
- Note: This mode is designed to clean rooms. During this mode, close the door in the room
to be cleaned.
- Note: The robot will return to the charging base automatically when the battery is low.
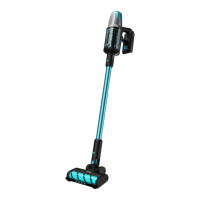
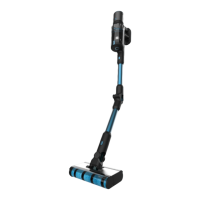
2 IN 1 WATER TANK
The robot includes a water tank which allows scrubbing once the dry cleaning is nished.
Remove the dust tank and replace it with the water tank. The 2-in-1 function of the water tank
allows vacuuming with 3 vacuum levels and scrubbing at the same time.
WARNING:
- Do not use the robot with the water tank on carpets.
- Remove the water tank from the robot to ll it with water.
- Remove the water tank to charge the robot.
- Make sure the mop is not excessively wet to prevent the wheels from slipping.
- Make sure the mop bracket is properly xed in the lower part of the robot.
- To ensure an efcient scrubbing, it is recommended to wet the mop with water evenly
before its use.
- Do not exceed the water level marks in the tank.
Installation
- Open the cover and add water in the water tank. Fig. 13
- Install the mop.
- Fix the mop to the mop bracket as shown in Fig. 14 A.
- Install the mop bracket with the mop in the product base as shown in Fig. 14 B.
- Install the water tank.
- Replace the dust tank with the water tank. Fig. 15
- Select the scrubbing mode.