FREQUENCY (DUTY CYCLE) MEASUREMENTS (ELECTRONIC)
1. Set the rotary function switch to the green Hz/% position.
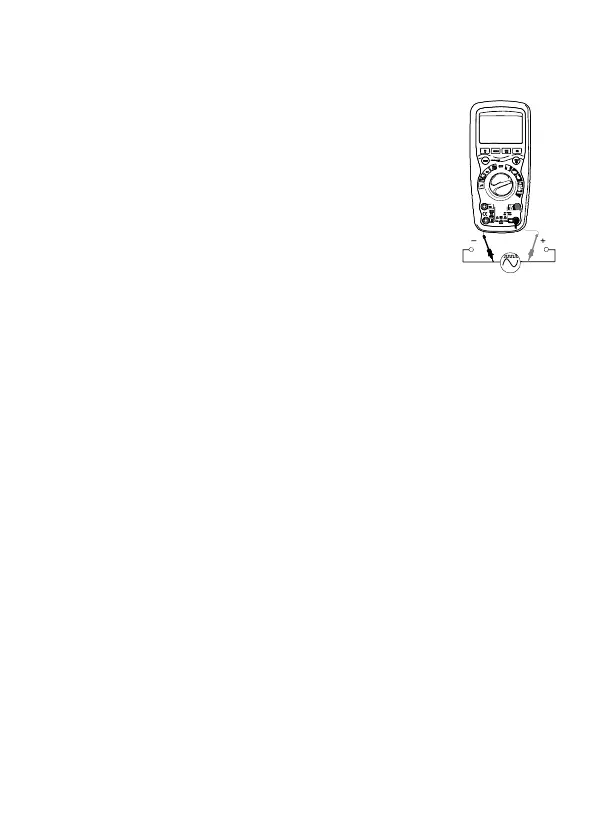
2. Insert the black lead banana plug into the
negative COM jack and the red test lead banana
plug into the positive Hz jack.
3. Touch the test probe tips to the circuit under test.
4. Read the frequency on the display.
5. Press the MODE button to indicate “%”.
6. Read the % duty cycle in the display.
% 4 – 20mA MEASUREMENTS
1. Set up and connect as described for DC mA measurements.
2. Set the rotary function switch to the 4-20mA% position.
3. The meter will display loop current as a % with 0mA=-25%,
4mA=0%, 20mA=100%, and 24mA=125%.
AUTORANGING/MANUAL RANGE SELECTION
When the meter is first turned on, it automatically goes into
AutoRanging. This automatically selects the best range for the
measurements being made and is generally the best mode for most
measurements. For measurement situations requiring that a range
be manually selected, perform the following:
1. Press the RANGE key. The “AUTO” display indicator will turn off.
2. Press the RANGE key to step through the available ranges until
you select the range you want.
3. To exit the Manual Ranging mode and return to Autoranging,
press EXIT
Note: Manual ranging does not apply for the Temperature functions.