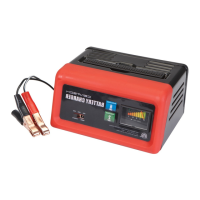
Page 9;&(%$*4.8"4,7%<'*#$"&8#=%/7*,#*%4,77%>?@@@?@AA?BCDC1Item 57015
EF;6GHIJ6KFGLIMNFLMG6MFMO6 FEE6NPQH
I/*(,$"&8
F%EJFKc%M6FK%PFGG6KH%NFH%OFVE6%PFGG6KH%6dJQIELIM1%%
GI%K6TVO6%KLEc%I;%F%EJFKc%M6FK%PFGG6KH%;IQQIR%GW6E6%LMEGKVOGLIME%6dFOGQH1
GI%JK6!6MG%E6KLIVE%LM^VKH-%
R*,(%FMEL?,//(&_*9%#/7,#.?(*#"#$,8$%#,2*$Z%3&337*#%,89%.*,_Z?9'$Z%('++*(%)&(`%
37&_*#%).*8*_*(%4&88*4$"83=%9"#4&88*4$"83=%&(%)&(`"83%8*,(%+,$$*(Z1%%%
P,$$*(Z%,4"9%4,8%4,'#*%/*(5,8*8$%+7"898*##1
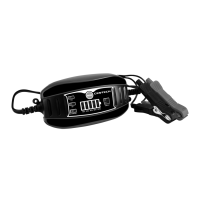
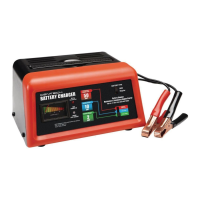
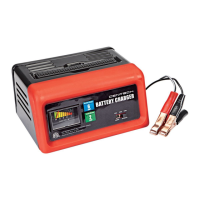
1. Follow directions on page 8 to connect
Charger to battery, then plug Power Cord
into a properly grounded outlet.
M&$*- If Fault LED lights, unplug Charger and
check that cable connections are correct.
2. Press Mode Button to choose voltage.
3. When a good connection has been made,
Voltage and Standby LEDs will light and Charging
Indicator LEDs will display charging status.
4. Charging is complete when 100% Charging Indicator
LED is lit. O.,(3*(%)"77%3&%"8$&%$("4`7*%4.,(3*%
5&9*=%)."4.%(*<'"(*#%5&8"$&("83%+Z%$.*%'#*(1
5. When finished, unplug Power Cord, then
disconnect negative (BLACK) clamp,
then remove positive (RED) clamp.
6. After use clean, then store Charger
indoors out of children’s reach.