EasyManua.ls Logo

Central Machinery 67595 User Manual

Central Machinery 67595
34 pages
To Next Page IconTo Next Page
Page #1 background imageLoading...
Page #1 background image
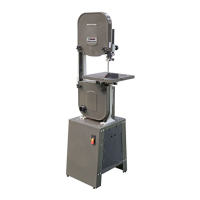
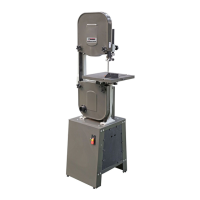
14” FOUR SPEED
WOODWORKING BANDSAW
Model
67595
SET UP AND OPERATING INSTRUCTIONS
Visit our website at: http://www.harborfreight.com
Read this material before using this product.
Failure to do so can result in serious injury.
SAVE THIS MANUAL.
Copyright
©
2009 by Harbor Freight Tools
®
. All rights reserved. No portion of this manual or any artwork contained
herein may be reproduced in any shape or form without the express written consent of Harbor Freight Tools. Dia-
grams within this manual may not be drawn proportionally. Due to continuing improvements, actual product may
differ slightly from the product described herein. Tools required for assembly and service may not be included.
For technical questions or replacement parts, please call 1-800-444-3353.
Revised Manual 10k
Question and Answer IconNeed help?

Do you have a question about the Central Machinery 67595 and is the answer not in the manual?

Central Machinery 67595 Specifications

General IconGeneral
Model67595
TypeTile Saw
Blade Diameter7 inches
Motor1.5 HP
Voltage120V
Cutting Capacity18 inches

Summary

Important Safety Information

General Tool Safety Warnings

Read all safety warnings and instructions to avoid injury.

Safety Alert Symbol Definitions

Explains DANGER, WARNING, CAUTION, and NOTICE symbols.

Bandsaw Safety Warnings

Specific safety guidelines for operating the bandsaw.

Additional Safety Precautions

Covers pacemaker safety, chemical exposure, and lead warnings.

Vibration Safety

Grounding Instructions

Grounded Tools: Tools with Three Prong Plugs

Instructions for safe grounding of electrical tools.

Specifications

Hardware Bag Contents

Unpacking

Assembly

Phase 1: Stand Assembly

Step-by-step instructions for assembling the stand.

Phase 2: Bandsaw Body to Stand Assembly

Pulley Mounting

Phase 3: Motor to Stand Assembly

Phase 4: Motor Wiring

Phase 5: Table Assembly

Phase 6: Pulley Cover Assembly and Belt Installation

Belt Installation

Steps for installing and tensioning the drive belt.

Side Panel Installation

Phase 7: Upper Guide and Post Cover Assembly

Phase 8: Saw Blade Installation

Saw Blade Tensioning and Tracking

Guide and Bearing Adjustment

Adjusting blade guides and bearings for proper alignment.

Settings

Blade Guide Adjustment

How to adjust the blade guides for optimal cutting.

Table Angle Adjustment

Instructions for adjusting the table tilt angle.

Blade Speed Adjustment

ON/OFF Safety Switch

Operation

Maintenance and Servicing

Cleaning, Maintenance, and Lubrication

Procedures for cleaning, maintaining, and lubricating the tool.

Troubleshooting

Common problems and their solutions.

Assembly Diagrams and Parts Lists

Parts List A - Stand

Detailed list of parts for the stand assembly.

Assembly Diagram A - Stand

Parts List B - Saw Body

Assembly Diagram B - Saw Body

Parts List C - Riser Block Kit (Sold Separately)

Assembly Diagram and Parts List D - Four Speed Pulleys

Limited 1 Year / 90 Day Warranty

Related product manuals