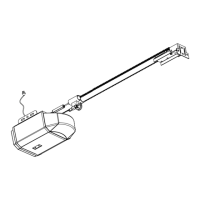
14.2 As the garage door is opening push down firmly on the bottom rail of the door (middle of the door from the
inside)
15.1 Remove the hand held transmitter from the packing box.
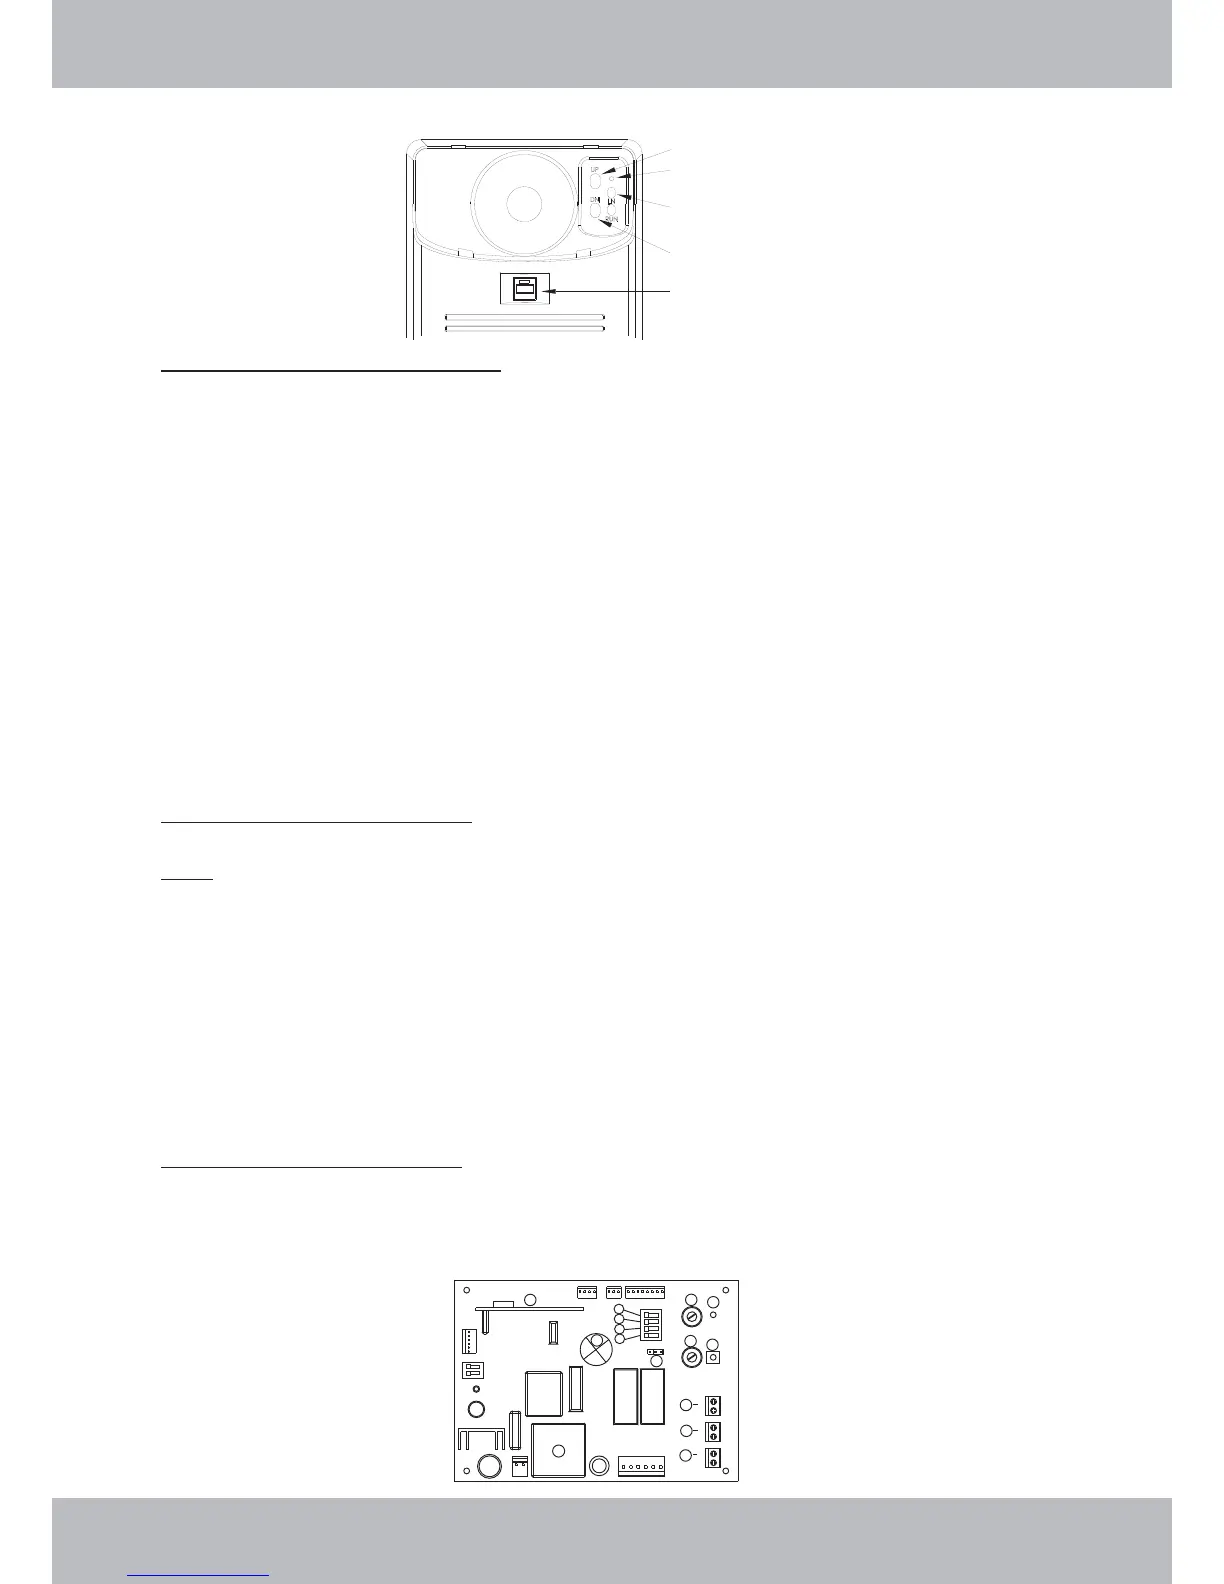
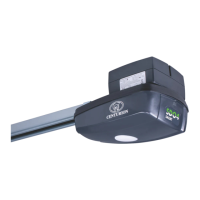
15.2 Remove the light cover from the Control Box by gently pulling at the top edge.
15.3 Locate the “Learn” button within the recessed panel at the top right corner of the Control Box
15.4 Momentarily press the “Learn” button - red coding indicator lamp will glow solid.
15.5 Momentarily press the hand transmitter button - red coding indicator lamp will extinguish.
15.6 Momentarily press the hand transmitter button once again - red coding indicator lamp will begin to flash –
once flashing stops, the coding sequence has been completed.
15.7 Test for correct programming by pressing and holding the hand transmitter button until the door starts to
move.
15.8 To code another transmitter follow steps 15.3 to15.7
15.9 Replace the Control Box lamp cover once coding has been completed and the RDO is now ready for use.
17.1 Where provided, a hard wired Wall Switch can be connected to the RDO.
17.2 Using 2 core cable (0.5 mm2), strip back both ends of the cable and connect 2 strands of one end to
terminals 9A & 9B located on the logic board. (Refer to figure below)
15.
16.
17.
Transmitters Code Learning
Transmitter Code Erasing
Wall Switch – Installation
Note: If the RDO kit has been supplied with a separate NOVA VOYAGER receiver module, please
follow the instructions provided with this receiver for learning the transmitters, otherwise proceed
as follows:
If the RDO kit has been supplied with a separate NOVA VOYAGER receiver module, please
follow the instructions provided with this receiver for erasing transmitters, otherwise proceed as
follows:
Note:
16.1 Switch the RDO off at the power supply.
16.2 Press and hold down the “Code Set” Button.
16.3 While continuing to hold down the “Code Set” button switch the power on at the power supply.
16.4 After a few seconds the “Red Coloured LED” will begin to flash.
16.5 Once the “Red Coloured LED” stops flashing, release the “Code Set” button and all of the previously stored
codes will have been deleted.
SETTINGS AND ADJUSTMENTS
14
Open force setting
Confirmation LED
Learn
Close force setting
Operate Button
1
2
3
4
5
6
7
8
9
11
12
9
9
10
A
B
C