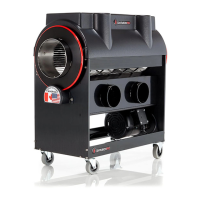
For more information or to watch our video tutorials visit cprosolutions.com
5
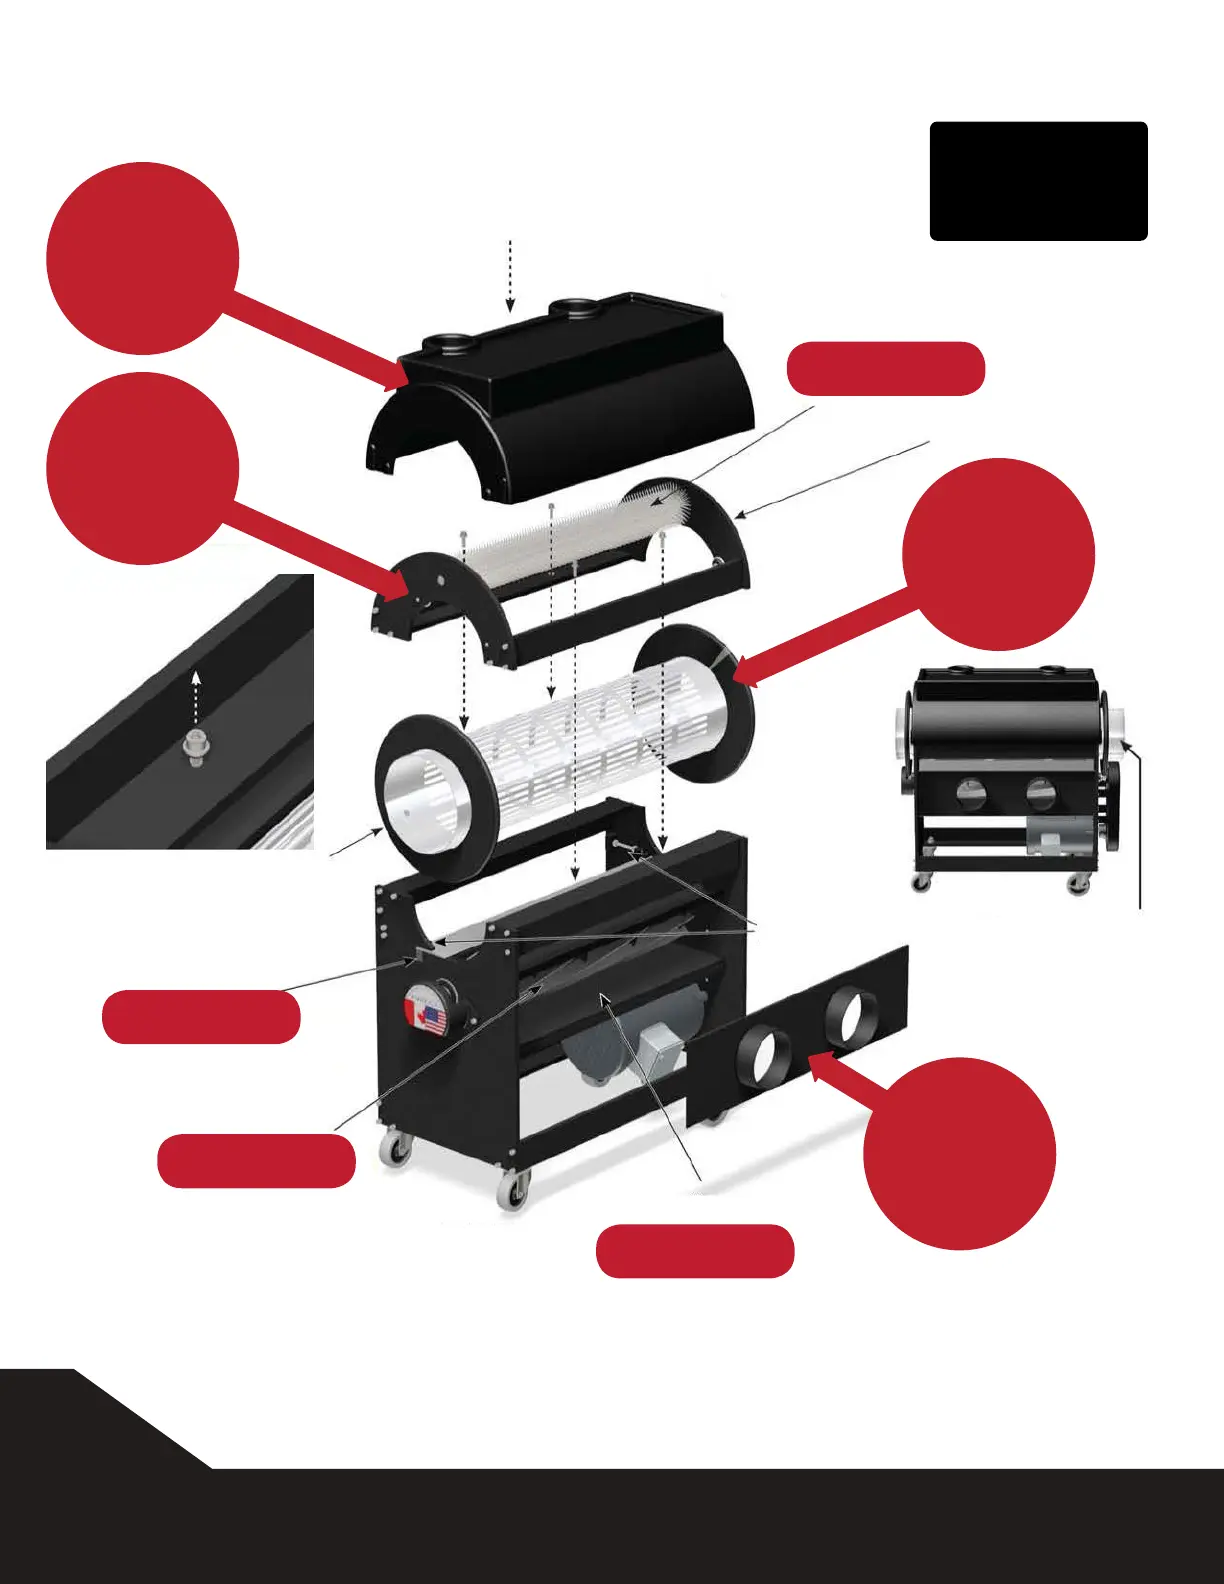
MACHINE ASSEMBLY
TOOLS REQUIRED
1 x #2 Phillips Screwdriver
1 x 3/32" T-Handle Allen Wrench
1 x 5/32" T-Handle Allen Wrench
1 x 1/8" T-Handle Allen Wrench
1 x 3/16" T-Handle Allen Wrench
1 x 3/8" Wrench
Tighten Four Sealing
Bolts & Washers
Note the longer end of the
TUMBLER when re-installing
Cover
Brush
Upper Frame
Tumbler
Blade
Adjusters
Requires Cleaning
See Page 10
Tumbler O-Ring
Cutting Reel
Lower Frame
Shroud
(area behind cutting reel)
Requires Cleaning
See Page10
Requires Cleaning
See Page 10
Requires Cleaning
See Page 10
Bed Bar Blade &
Magnet Bar
STEP 1
PLACE
TUMBLER IN
GROOVES
STEP 3
INSTALL
COVER
STEP 2
INSTALL
UPPER
FRAME
STEP 4
INSTALL
SKIRT
(INSTALLED ON THE
MACHINE WHEN
SHIPPED)
110V
220V
North
America
Australia
EU
Motor