Do you have a question about the Challenger Lifts E10 and is the answer not in the manual?
Check installation area height based on full lift raised height for safety and performance.
Ensure proper concrete floor condition, depth, reinforcement, and levelness for safe installation.
Lift is for indoor use; requires dedicated circuit with circuit breaker or time delay fuse.
Read and understand all safety notices and decals for safe operation and maintenance.
Follow layout plans, use specified tools, and ensure proper placement for safe operation.
Properly drill and secure anchor bolts into the concrete floor at specified distances.
Install synchronizer cables, ensuring proper routing and attachment for smooth operation.
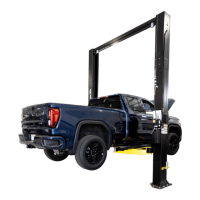
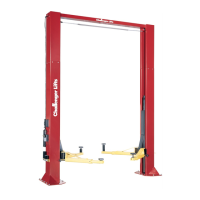
Install the overhead assembly and associated components securely onto the lift columns.
Route hoses, cables, and limit switch cords correctly through column extensions and guides.
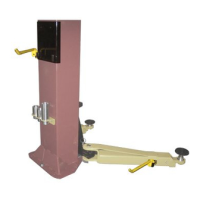
Mount power unit and connect hydraulic lines, ensuring leak-free connections and proper fluid.
Install lock release mechanism and arms, ensuring proper engagement and lubrication.
Connect power unit, overhead limit switch, and contactor according to wiring diagrams.
Apply safety and logo decals to columns at specified heights for clear identification.
Adjust synchronizing and lock release cables for proper simultaneous operation and engagement.
Review operational procedures and safety guidelines with the owner/operator.
Ensure operators are trained, procedures are established for inspection and maintenance.
Follow basic safety precautions, including reading instructions and avoiding hazards.
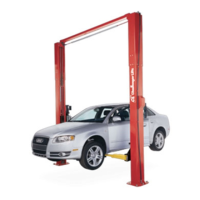
Position vehicle correctly, center of gravity, use correct lift points, and ensure stability.
Ensure area is clear, disengage latches, and lower vehicle smoothly to the base plate.
Consult factory authorized personnel if lift fails to retract locks or move off locks.
| Brand | Challenger Lifts |
|---|---|
| Model | E10 |
| Category | Lifting Systems |
| Language | English |