EasyManua.ls Logo

Chamberlain ATS2113X User Manual

Chamberlain ATS2113X
32 pages
To Next Page IconTo Next Page
Page #1 background imageLoading...
Page #1 background image
Owner’s Manual
Please read this manual and the enclosed safety materials carefully!
Fasten the manual near the garage door after installation.
The door WILL NOT CLOSE unless the Protector System
®
is connected and
properly aligned.
Periodic checks of the opener are required to ensure safe operation.
The model number label is located on the front panel of your opener.
The Chamberlain Group, Inc.
845 Larch Avenue
Elmhurst, Illinois 60126-1196
www.liftmaster.com
COMMERCIAL DOOR OPENER
Model ATS 2113X 1/2 HP
For Residential And Light Duty Commercial Use
Install on Sectional Doors Only
H
I
G
H
L
O
W
N
O
R
M
A
L
H
I
G
H
L
O
W
N
O
R
M
A
L
U
P
F
O
R
C
E
D
O
W
N
F
O
R
C
E
®
Question and Answer IconNeed help?

Do you have a question about the Chamberlain ATS2113X and is the answer not in the manual?

Chamberlain ATS2113X Specifications

General IconGeneral
TypeChain Drive
Horsepower1/2 HP
Battery BackupNo
Voltage120V
Drive TypeChain Drive
Remote Controls Included1
Security+ 2.0Yes
Wi-Fi CapableYes
Max Door Height7 ft
Motor TypeAC
Warranty1 year

Summary

LiftMaster ATS 2113X Owner's Manual

Preparing Your Garage Door for Installation

Assembly and Installation Preparation

Important Installation Safety Instructions

Crucial safety guidelines and warnings before commencing installation.

Installation Step 1: Header Bracket Location

Determine Header Bracket Mounting Position

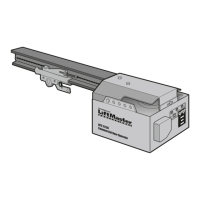
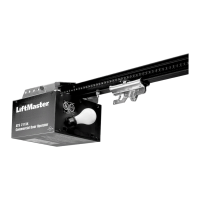
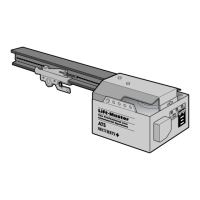
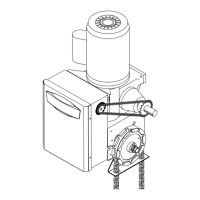
Guides on finding the correct mounting position for the header bracket.

Installation Step 2: Header Bracket Mounting

Installation Step 9: Electrical Requirements

Electrical Connections and Grounding

Covers power connection, grounding, and permanent wiring options.

Installation Step 10: Safety Reversing Sensor

Install The Protector System®

Guides on installing the safety reversing sensor system.

Safety Reversing Sensor Placement

Explains the function and placement of the safety reversing sensors.

Safety Sensor Wiring and Alignment

Mounting and Wiring Safety Sensors

Covers securing sensor units and connecting their wires.

Adjustment Step 1: Travel Limits

Adjust Up and Down Travel Limits

Sets the points where the door stops in open and close directions.

Adjustment Step 2: Force Control Adjustment

Adjust Down and Up Forces

Regulates the power needed to open and close the door.

Adjustment Steps 3 & 4: System Testing

Test Safety Reversal System

Verifies the door reverses upon encountering an obstruction.

Test Protector System® Functionality

Confirms the safety reversing sensors are functioning correctly.

Opener Operation and Safety

Important Safety Instructions for Operation

Critical safety warnings for operating the garage door opener.

Using Your Garage Door Opener

How to activate the opener with remotes and door controls.

Troubleshooting Opener Problems

Programming Security+® Remotes

Program 3-Button Remote Controls

Steps to pair a remote control with the opener.

Keyless Entry PIN Management

Add or Change Keyless Entry PIN

Instructions for programming a new or existing PIN.
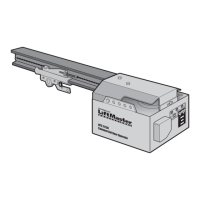
Related product manuals