Do you have a question about the Chamberlain LiftMaster Professional ATS 211R and is the answer not in the manual?
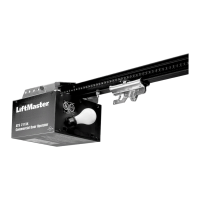
| Type | Garage Door Opener |
|---|---|
| Voltage | 120V AC |
| Horsepower | 1/2 HP |
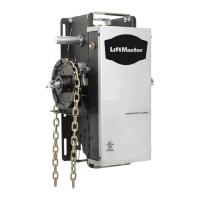
| Drive Type | Chain Drive |
| Remote Controls Included | 1 |
| Security+ 2.0 Rolling Code Technology | Yes |
| Battery Backup | No |
| Compatibility | Residential Garage Doors |
| Maximum Door Height | 7 ft (Extendable to 8 ft with extension kit) |
Lists tools required for assembly and installation.
Check for conditions that may affect installation or operation.
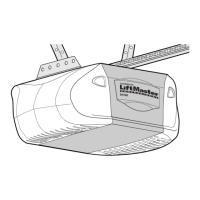
Identifies all parts included in the opener packaging.
Lists all hardware provided for assembly and installation.
Connect the opener rail using specific screws to ensure proper function.
Connect the chain to the sprocket and attach the rail support bracket.
Adjust chain tension for optimal performance and secure the adjustment.
Find and mark the correct position for the header bracket on the wall.
Securely mount the header bracket to the wall or ceiling structure.
Connect the opener rail assembly to the installed header bracket.
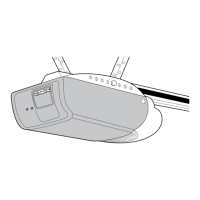
Place the opener unit correctly relative to the garage door and rail.
Securely suspend the opener unit from the garage ceiling or wall supports.
Mount the wall-mounted door control button and wire it to the opener.
Install the opener's light bulb for illumination.
Connect the manual release mechanism for emergency door operation.
Connect the opener to power, ensuring electrical safety and code compliance.
Mount and wire the safety reversing sensor units for obstruction detection.
Adjust sensor alignment for proper detection of obstructions.
Attach the door bracket to the garage door for connection to the opener arm.
Link the door arm sections to the opener's trolley for door movement.
Information on the safety reversing sensor system before installation.
Set the full open and close positions for the garage door.
Set the motor force for safe and reliable door opening and closing.
Verify the functionality of the safety reversing sensor system.
Confirm the door reverses correctly upon encountering an obstruction.
Key safety precautions for operating and maintaining the garage door opener.
Guidance on maintaining the opener, including limit and force adjustments.
How to activate the opener and understand its operational behavior.
Instructions for programming optional remote controls to the opener.
Details on installing and using the multi-function door control panel accessory.
Instructions for installing and programming the keyless entry system.
Troubleshooting common issues with opener operation.
Lists and diagrams for replacement opener and installation components.
Overview of optional accessories and related products for the opener.
Contact details for service and the product's limited warranty information.