EasyManua.ls Logo

Chamberlain LiftMaster 3280 1/2HP User Manual

Chamberlain LiftMaster 3280 1/2HP
36 pages
To Next Page IconTo Next Page
Page #1 background imageLoading...
Page #1 background image
The Chamberlain Group, Inc.
845 Larch Avenue
Elmhurst, Illinois 60126-1196
www.liftmaster.com
GARAGE DOOR OPENER
Model 3280 1/2HP
3280-267 1/2HP
For Residential Use Only
Owner’s Manual
Please read this manual and the enclosed safety materials carefully!
Fasten the manual near the garage door after installation.
The door WILL NOT CLOSE unless the Protector System
®
is connected and
properly aligned.
Periodic checks of the opener are required to ensure safe operation.
The model number label is located on the front panel of your opener.
®
Question and Answer IconNeed help?

Do you have a question about the Chamberlain LiftMaster 3280 1/2HP and is the answer not in the manual?

Chamberlain LiftMaster 3280 1/2HP Specifications

General IconGeneral
Horsepower1/2 HP
Drive SystemChain Drive
Max Lift Height7 feet
Remote ControlYes
Warranty4-year motor warranty, 1-year parts warranty
Voltage120V
Speed7 inches per second
Remote Controls Included1
Battery BackupNo
Security+ 2.0Yes
Safety FeaturesSafety sensors
Motor TypeAC Motor

Summary

Assembly Step 1: Attach Rail to Motor Unit

Assembly Step 2: Set Belt Tension

Assembly Step 3: Attach Belt Cap Retainer

Important Installation Safety Instructions

Key Installation Safety Precautions

Essential warnings and guidelines for a safe opener installation process.

Installation Step 1: Determine Header Bracket Location

Installation Step 2: Install the Header Bracket

Installation Step 3: Attach Rail to Header Bracket

Installation Step 4: Position the Opener

Installation Step 5: Hang the Opener

Installation Step 6: Install the Door Control Panel

Installation Step 8: Attach Emergency Release Rope and Handle

Installation Step 9: Electrical Requirements and Connections

Installation Step 10: Install The Protector System®

Mounting Brackets for Safety Sensors

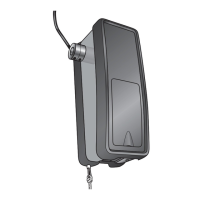
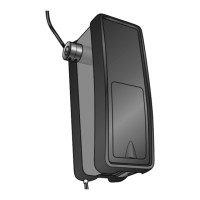
Describes mounting sensors to door tracks, walls, or floor.

Mounting and Wiring Safety Sensors

Aligning the Safety Reversing Sensors

Installation Step 11: Fasten the Door Bracket

Installation Step 12: Connect Door Arm to Trolley

Adjustment Step 1: Adjust UP and DOWN Travel Limits

Adjustment Step 2: Adjust Door Force Settings

Adjustment Step 3: Test Safety Reversal System

Adjustment Step 4: Test Protector System® Functionality

Operation Safety Instructions

Important Operation Safety Instructions

Critical safety rules for operating the garage door opener.
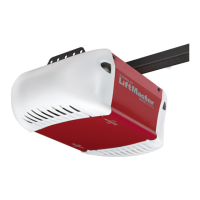
Manually Opening the Garage Door

Troubleshooting Common Problems

Diagnostic Chart for Error Codes

Programming Your Garage Door Opener

Keyless Entry PIN Management

Related product manuals