EasyManua.ls Logo

Chamberlain LiftMaster 3575 User Manual

Chamberlain LiftMaster 3575
36 pages
To Next Page IconTo Next Page
Page #1 background imageLoading...
Page #1 background image
The Chamberlain Group, Inc.
845 Larch Avenue
Elmhurst, Illinois 60126-1196
www.liftmaster.com
GARAGE DOOR OPENER
Models 3575 3/4 HP
3575-267D 3/4 HP
For Residential Use Only
Owner’s Manual
Please read this manual and the enclosed safety materials carefully!
Fasten the manual near the garage door after installation.
The door WILL NOT CLOSE unless the Protector System
®
is connected and
properly aligned.
Periodic checks of the opener are required to ensure safe operation.
The model number label is located on the left panel of your opener.
®
Question and Answer IconNeed help?

Do you have a question about the Chamberlain LiftMaster 3575 and is the answer not in the manual?

Chamberlain LiftMaster 3575 Specifications

General IconGeneral
TypeChain Drive
Battery BackupNo
Voltage120V
Motor TypeAC
Security+ 2.0Yes
Max Door Height7 feet
Security FeaturesSecurity+ 2.0

Summary

Preparing Your Garage Door

Tools and Safety Precautions

Lists necessary tools and important safety warnings for garage door preparation.

Planning Your Installation

Installation Types and Requirements

Details sectional and one-piece door installation considerations and reinforcement needs.

Carton Inventory and Hardware

Identifying Parts and Hardware

Lists contents of the opener cartons and installation hardware included.

Garage Door Opener Assembly

Attaching Rail and Chain

Steps for attaching the T-rail to the motor unit and securing the chain.

Installation Overview and Safety

Important Installation Instructions

Critical safety warnings and initial installation guidelines before proceeding.

Installation: Header Bracket

Determining Header Bracket Location

Steps for identifying the correct position for the header bracket on the wall or ceiling.

Installation: Header Bracket Mounting

Wall and Ceiling Bracket Installation

Instructions for securely mounting the header bracket to the wall or ceiling structure.

Installation: Rail Attachment

Connecting the Rail to the Header Bracket

Procedure for attaching the opener rail to the installed header bracket.

Installation: Opener Positioning

Positioning the Opener Unit

Guidance on correctly positioning the opener unit based on door type.

Installation: Hanging the Opener

Securing the Opener Unit

Steps for hanging the opener motor unit securely to the ceiling or wall supports.

Installation: Door Control

Installing the Wall-Mounted Door Control

Instructions for mounting and wiring the door control panel.

Installation: Light and Release

Installing the Light and Emergency Release

Procedures for installing the opener's light bulb and attaching the emergency release rope/handle.

Installation: Electrical Requirements

Connecting Power and Wiring

Details electrical requirements and options for permanent wiring connections.

Installation: Safety Reversing Sensor

Installing The Protector System®

Instructions for installing and understanding the safety reversing sensor system.

Installing Safety Sensor Brackets

Mounting Bracket Options

Describes track, wall, and floor mounting methods for safety sensor brackets.

Wiring and Aligning Safety Sensors

Mounting, Wiring, and Alignment

Steps for wiring, mounting, and aligning the safety sensors for correct operation.

Installation: Door Bracket

Fastening the Door Bracket

Instructions for attaching the door bracket to sectional doors based on material.

Installation: One-Piece Doors

Fastening Door Bracket for One-Piece Doors

Specific guidance for fastening the door bracket on one-piece doors.

Installation: Door Arm Connection

Connecting Door Arm to Trolley

Steps to connect the door arm to the opener trolley for sectional doors.

Installation: One-Piece Door Arm

Connecting and Adjusting Door Arm for One-Piece Doors

Guidance for connecting the door arm and adjusting travel limits for one-piece doors.

Adjustment: Travel Limits

Adjusting Up and Down Travel Limits

How to set the opener's door travel limits for proper opening and closing.

Adjustment: Force Settings

Adjusting Force for Opening and Closing

Guide on adjusting the force settings for safe and effective door operation.

Testing Safety Systems

Safety Reversal and Protector System Tests

Procedures for testing the safety reversal system and the protector system.

Operation Overview

Using Your Garage Door Opener

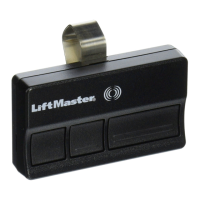
Instructions for operating the opener with remotes, wall controls, and safety features.

Using the Wall-Mounted Door Control

Features and Manual Door Opening

Details on the motion detecting door control, light features, and manual door operation.

Opener Care and Maintenance

Maintenance Schedule and Battery

Recommended maintenance tasks and guidance on replacing the remote control battery.

Troubleshooting Common Problems

Diagnosing and Resolving Issues

Addresses common issues like door not closing, remote failure, and motor humming.

Diagnostic Chart

Interpreting Diagnostic LED Codes

A chart linking diagnostic LED flashes to specific opener problems.

Programming Your Opener

Adding/Reprogramming Remotes and Erasing Codes

Steps for programming remote controls and clearing all stored codes.

Programming Keyless Entry

Adding, Changing, and Temporary PINs

Instructions for setting up and managing keyless entry PINs for access.

Repair Parts Identification

Rail and Installation Components

Lists and illustrates parts for the rail assembly and general installation hardware.

Motor Unit Assembly Parts

Identifying Motor Unit Components

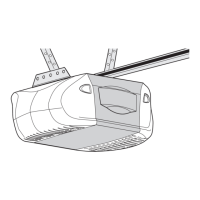
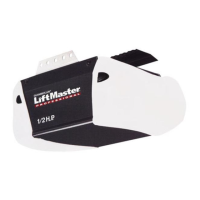
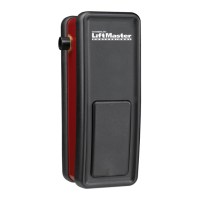
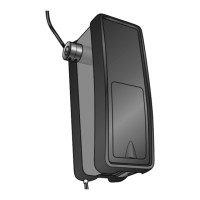
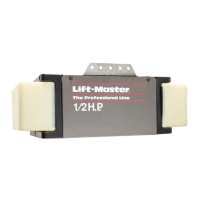
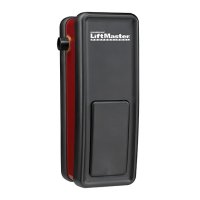
Details the various parts that make up the motor unit assembly.

Optional Accessories

Enhancing Opener Functionality

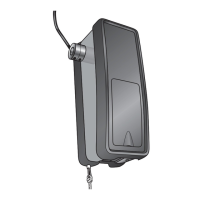
Describes available accessories to expand the opener's capabilities.

Service and Warranty Information

Obtaining Service and Ordering Parts

Provides contact information for LiftMaster service and instructions for ordering repair parts.

Limited Warranty Details

Outlines the terms and conditions of the LiftMaster five-year limited warranty.

Related product manuals