Do you have a question about the Chamberlain LiftMaster SECURITY+ 3585S and is the answer not in the manual?
Explains safety symbols and signal words used in the manual.
Lists the necessary tools for assembly and installation.
Guides the user on surveying the garage area for installation requirements.
Lists all parts included in the package and installation hardware.
Instructions on connecting the rail to the motor unit.
Details on how to adjust the belt tension for optimal performance.
Crucial safety warnings and instructions before proceeding with installation.
Guides on finding the correct location for the header bracket.
Provides instructions for mounting the header bracket on the wall or ceiling.
Details on how to connect the rail to the previously installed header bracket.
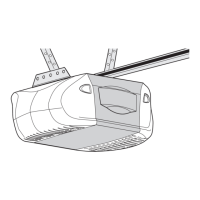
Instructions for positioning the opener unit correctly relative to the door.
Guidance on securely mounting the opener unit to structural supports.
Step-by-step guide for wiring and mounting the wall-mounted door control.
Instructions for installing the light bulb and lens in the opener unit.
Details on attaching the emergency release rope and handle to the trolley.
Outlines electrical connection requirements and safety precautions.
Instructions for installing and aligning the safety reversing sensors.
Instructions for mounting safety sensor brackets to the garage door track.
Instructions for mounting safety sensor brackets to the wall.
Instructions for mounting safety sensor brackets to the floor.
Guide for physically mounting the safety reversing sensors onto brackets.
Details on wiring the safety sensors, including pre-wired installations.
Details on connecting sensor wires to the opener's quick-connect terminals.
Guide to properly align the safety sensors for correct operation.
Provides solutions for common issues with the safety reversing sensors.
Instructions for attaching the door bracket to the garage door.
Specific instructions for fastening the door bracket on metal one-piece doors.
Specific instructions for fastening the door bracket on wood one-piece doors.
Details on connecting the door arm to the trolley mechanism.
Instructions for assembling and connecting the door arm sections for one-piece doors.
Guides on adjusting travel limits for one-piece doors before connecting the arm.
Guides on setting the upper and lower travel limits for the garage door opener.
Instructions for adjusting the force settings for opening and closing the door.
Procedure to test the safety reversal and Protector systems.
Crucial safety guidelines for operating the garage door opener.
Explains how to activate the opener using remotes and door controls.
Details the features and operation of the Smart Control Panel.
Instructions on how to use the 3-button remote control.
Guide on replacing the battery in the remote control.
Steps for manually opening or closing the garage door.
Provides a schedule for regular maintenance tasks.
Addresses issues like door not closing, reversing, or motor humming.
Troubleshoots problems with remote activation and opener lights.
Lists diagnostic codes and their corresponding symptoms and solutions.
Explains messages displayed on the Smart Control Panel and their meanings.
Step-by-step guide to programming or adding new remote controls.
Instructions for clearing all previously programmed remote codes.
Guides on programming, reprogramming, or changing the Keyless Entry PIN.
Lists and illustrates parts for the rail assembly.
Lists and illustrates various installation components and accessories.
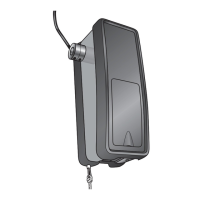
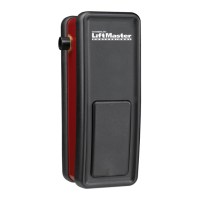
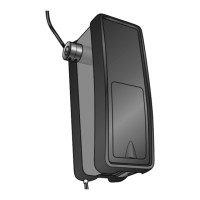
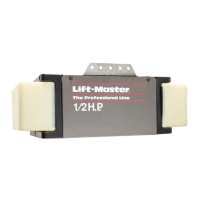
Identifies and illustrates the individual parts of the motor unit.
Lists and describes optional accessories for the garage door opener.
Blank page for user notes.
Information on obtaining professional service and contact details.
Instructions on how to order replacement parts, including required information.
Details the warranty terms and conditions for the garage door opener.
| Brand | Chamberlain |
|---|---|
| Model | LiftMaster SECURITY+ 3585S |
| Category | Garage Door Opener |
| Language | English |