Do you have a question about the Chamberlain Liftmaster Elite Series and is the answer not in the manual?
Explains the meaning of warning and caution symbols used for safety alerts.
Connects the opener rail to the motor unit using provided hardware.
Adjusts the trolley spring for optimal belt tension.
Secures the belt cap retainer over the motor unit sprocket.
Critical safety warnings and guidelines before starting the installation process.
Mounts the main structural bracket to the header wall or ceiling.
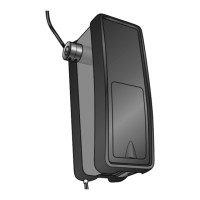
Installs safety sensors to detect obstructions and ensure safe door operation.
Attaches the bracket to the garage door for connecting the opener arm.
Joins the door arm sections and connects them to the opener's trolley.
Sets the fully open and closed positions for the garage door opener.
Calibrates the power needed to open and close the door safely.
Verifies the door reverses upon encountering an obstruction.
Critical safety guidelines for operating the garage door opener.
Details the features and operation of the primary wall-mounted control panel.
Describes how to use the handheld remote for opener and light control.
Guides users on adding or reprogramming remote controls for the opener.
Resets all stored remote control codes for security purposes.
Instructions for managing access codes for the keyless entry system.
Identifies specific replacement parts for the opener rail.
Lists hardware and components used during the installation process.
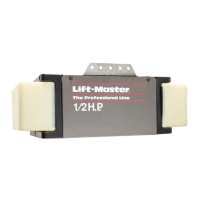
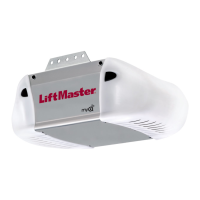
Details internal components of the motor unit for reference.
Lists various optional accessories to enhance opener functionality.
Provides contact details for service, ordering parts, and warranty information.
| Security+ 2.0 | Yes |
|---|---|
| MyQ Technology | Yes |
| Frequency | 60 Hz |
| Wi-Fi Connectivity | Yes |
| Drive Type | Belt Drive |
| Battery Backup | Yes |
| Smartphone Control | Yes |
| Type | Garage Door Opener |
| Voltage | 120V |
| Wireless Technology | Wi-Fi |
| Security | Rolling Code Technology |
| Motor Type | DC |
| Remote Control | 3-button remote included |
| Smart Home Compatibility | Amazon Alexa, Google Assistant, IFTTT |
| Warranty | Varies by model (typically Lifetime on motor, 1-5 years on parts) |