EasyManua.ls Logo

Chamberlain LiftMaster Security+ 2500B User Manual

Chamberlain LiftMaster Security+ 2500B
36 pages
To Next Page IconTo Next Page
Page #1 background imageLoading...
Page #1 background image
Owner’s Manual
Please read this manual and the enclosed safety materials carefully!
Fasten the manual near the garage door after installation.
The door WILL NOT CLOSE unless The Protector System
®
is connected
and properly aligned.
Periodic checks of the opener are required to ensure safe operation.
The model number label is located on the front of your opener.
GARAGE DOOR OPENER
Model 2500B
For Residential Use Only
The Chamberlain Group, Inc.
845 Larch Avenue
Elmhurst, Illinois 60126-1196
www.liftmaster.com
®
New!
Optional Accessory
Available
See Page 35 for the New
Question and Answer IconNeed help?

Do you have a question about the Chamberlain LiftMaster Security+ 2500B and is the answer not in the manual?

Chamberlain LiftMaster Security+ 2500B Specifications

General IconGeneral
TypeChain Drive
Horsepower1/2 HP
Security FeaturesSecurity+ 2.0
Remote ControlYes
Frequency60 Hz
LightingYes
Number of Remote Controls Included1
Battery BackupNo
Wi-Fi CapableNo
Works with MyQNo
Warranty4-year motor, 1-year parts
Voltage120V
Light Bulb TypeIncandescent
Maximum Door Height7 feet

Summary

Introduction and Safety

Important Safety Information

Highlights critical safety warnings and instructions for manual and opener use.

Garage Door Preparation

Pre-Installation Door Checks

Guidance on checking garage door balance, binding, and disabling locks.

Opener Assembly

Attaching the Rail to the Motor Unit

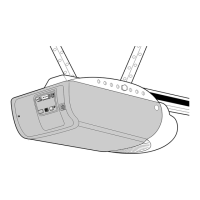
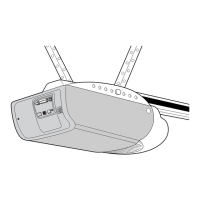
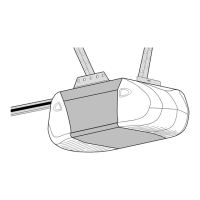
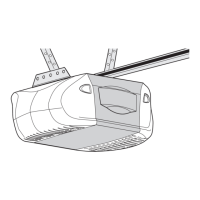
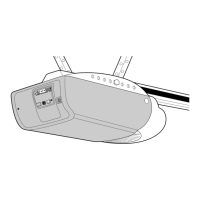
Connects the rail assembly to the main motor unit.

Setting the Belt Tension

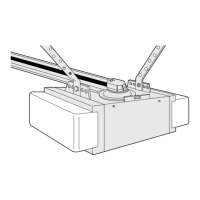
Adjusts the belt tension for proper opener function.

Installation Safety and Procedures

Critical Installation Warnings

Highlights essential safety steps and precautions before starting installation.

Header Bracket Installation

Determining Header Bracket Location

Guides placement for sectional and one-piece doors based on travel.

One-Piece Door Header Bracket Placement

Details header bracket placement specific to one-piece garage doors.

Rail Installation

Opener Positioning

Opener Mounting

Door Control Installation

Electrical Connections

Electrical Requirements and Grounding

Details power connection, outlet requirements, and grounding.

Safety Reversing Sensor Installation

Installing The Protector System®

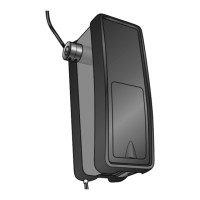
Mounts and wires the safety reversing sensors.

Wiring and Aligning Safety Sensors

Connects sensor wires and aligns sensors for proper operation.

Door Bracket Installation

Door Arm Connection

Adjustment Procedures

Programming Travel Limits

Sets the open and close positions for the garage door.

Setting the Door Force

Adjusts the force required to open and close the garage door.

Safety System Testing

Testing the Safety Reversal System

Verifies the door reverses upon striking an obstruction.

Testing The Protector System®

Ensures the safety reversing sensors are functioning correctly.
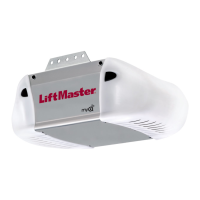
Opener Operation

Programming the Opener

Related product manuals