Do you have a question about the Chamberlain LiftMaster Security+ 2500DC and is the answer not in the manual?
Explains the meaning of safety symbols and signal words used in the manual.
Lists the hand tools required for assembly, installation, and adjustment of the opener.
Details the planning and requirements for installing the opener on a sectional garage door.
Details planning for one-piece doors, with and without tracks.
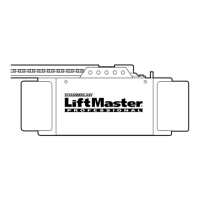
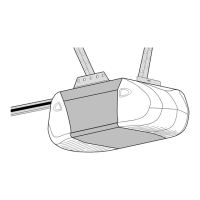
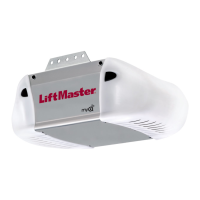
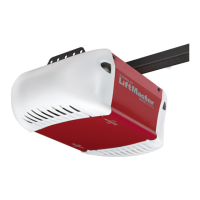
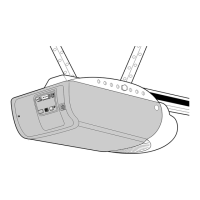
Lists the components included in the opener's packaging.
Lists all the hardware components included in the installation package.
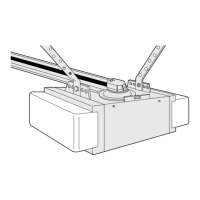
Guides the user on securely attaching the opener rail to the motor unit.
Details the procedure for correctly setting the belt tension for optimal operation.
Provides essential safety warnings and instructions to follow before starting installation.
Instructions for determining header bracket location for sectional and one-piece doors with tracks.
Details the process for securely installing the header bracket to the wall.
Details the process for securely installing the header bracket to the ceiling.
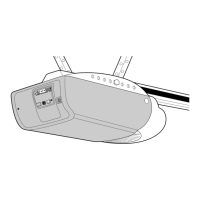
Guides positioning the opener for sectional and one-piece doors with tracks.
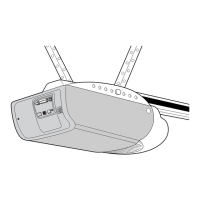
Guides positioning the opener for one-piece doors without tracks.
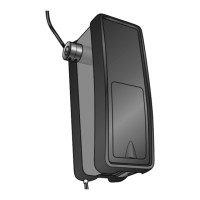
Instructions for mounting the door control on a standard wall.
Instructions for installing the door control in pre-wired applications.
Preferred method for attaching sensor brackets to the garage door track.
Instructions for mounting sensor brackets directly to the wall.
Instructions for mounting sensor brackets to the floor.
Guides the user on how to properly align the safety sensors for correct operation.
Provides solutions for common issues encountered with the safety reversing sensors.
Instructions for fastening the door bracket on sectional garage doors.
Specific instructions for securing the door bracket on reinforced doors.
Instructions for fastening the door bracket on wooden garage doors.
Detailed instructions for connecting the door arm to the trolley for sectional doors.
Lists crucial checks to perform after adjustments or repairs to ensure safety.
Guides testing the functionality of the Protector System safety sensors.
Provides essential safety warnings and instructions for operating the garage door opener.
Explains how to activate and use the garage door opener with various controls.
Details the motion sensor, light, automatic light, and lock features of the door control.
Explains how to program the remote for lights and multi-door operation.
Instructions on how to manually open and close the garage door using the release handle.
Outlines the recommended monthly and yearly maintenance tasks for the opener.
Information on replacing the remote control battery and safety warnings.
Step-by-step guide to program or re-program remote controls to the opener.
Instructions to clear all previously programmed remotes and keyless entries.
Information on using additional buttons on 3-button remotes for other openers.
Guide to adding or reprogramming a PIN for the Keyless Entry system.
Steps to change the current PIN for the Keyless Entry system.
How to set a temporary PIN that expires after a set time or number of uses.
Lists and illustrates the parts included in the rail assembly.
Lists and illustrates various parts required for the installation process.
Provides information on how to order replacement parts, including necessary details.
Details the terms and conditions of the five-year limited warranty for the opener.
| Brand | Chamberlain |
|---|---|
| Model | LiftMaster Security+ 2500DC |
| Category | Garage Door Opener |
| Language | English |