Do you have a question about the Chamberlain LiftMaster 2500 and is the answer not in the manual?
Explains safety symbols and signal words used in the manual for hazard identification.
Lists hand tools required for assembly, installation, and adjustment of the opener.
Details planning considerations for sectional and one-piece garage doors.
Lists all components and hardware included in the opener package.
Covers connecting the T-rail to the motor unit and setting belt tension.
Secures the belt cap retainer over the opener sprocket.
Provides critical warnings and instructions before starting installation.
Guides on finding the correct position for the header bracket based on door type.
Details the process of securely mounting the header bracket to the wall or ceiling.
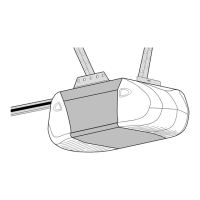
Connects the T-rail assembly to the installed header bracket using a clevis pin.
Instructs on how to correctly position the opener unit for sectional or one-piece doors.
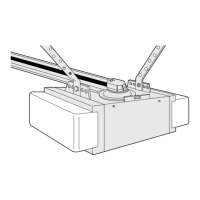
Describes how to securely hang the opener unit using brackets and fasteners.
Guides on mounting the wall-mounted door control panel and wiring it.
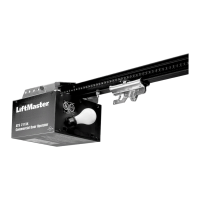
Instructions for installing the light bulb and lens into the opener unit.
Connects the emergency release rope and handle to the trolley.
Covers necessary electrical connections and safety precautions for the opener.
Details the installation of the safety reversing sensors.
Explains how to mount the safety sensor brackets using different methods.
Covers how to mount and connect the safety sensor wires to the opener.
Guides on aligning the safety sensors for proper operation.
Details how to attach the door bracket to the garage door, considering different door types.
Specific instructions for attaching the door bracket to one-piece garage doors.
Describes how to connect the door arm to the trolley mechanism.
Specific instructions for assembling the door arm for one-piece doors.
Sets the desired open and close positions for the garage door.
Fine-tunes the force required to open and close the garage door.
Verifies the safety reversal and protector systems' functionality.
Crucial safety guidelines for operating the garage door opener.
Explains how to activate and use the opener with various controls.
Details wall control functions and manual door operation procedures.
Covers limit/force adjustments and remote battery replacement.
Addresses various operational problems and their potential solutions.
Guides on programming remotes, erasing codes, and managing Keyless Entry PINs.
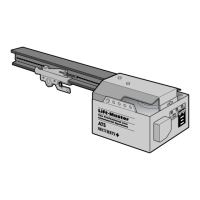
Lists parts for rail assembly and general installation components.
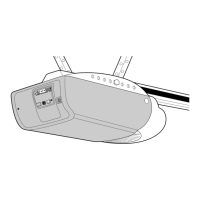
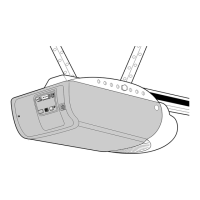
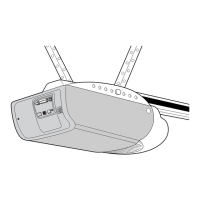
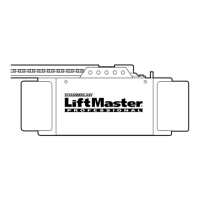
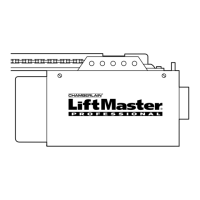
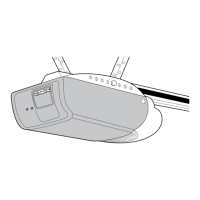
Identifies and illustrates the components of the motor unit assembly.
Provides contact info for service and guidance on ordering repair parts.
Details the five-year limited warranty for the garage door opener.
| Brand | Chamberlain |
|---|---|
| Model | LiftMaster 2500 |
| Category | Garage Door Opener |
| Language | English |