EasyManua.ls Logo

Chamberlain ATS 211 User Manual

Chamberlain ATS 211
32 pages
To Next Page IconTo Next Page
Page #1 background imageLoading...
Page #1 background image
©
The Chamberlain Group, Inc.
A DUCHOSSOIS ENTERPRISE
845 Larch Avenue, Elmhurst, Illinois 60126
OWNER'S MANUAL
MODEL ATS 211
COMMERCIAL DOOR OPENER
For Residential and Light Duty Commercial Use
Install on Sectional Doors Only
Please read this manual and the enclosed safety materials carefully!
Fasten the manual near the garage door after installation.
Periodic checks and adjustment of the opener are required to ensure safe operation.
The model number label is located on the operator cover.
As of date of
manufacture, meets
all ANSI/UL 325
Safety Standards
and requirements
for residential and
commercial applications.
®
TM
H
I
G
H
L
O
W
N
O
R
M
A
L
H
I
G
H
L
O
W
N
O
R
M
A
L
UP
FORCE
DOWN
FORCE
Includes Lift-Master
"Protector System"
Question and Answer IconNeed help?

Do you have a question about the Chamberlain ATS 211 and is the answer not in the manual?

Chamberlain ATS 211 Specifications

General IconGeneral
BrandChamberlain
ModelATS 211
CategoryGarage Door Opener
LanguageEnglish

Summary

You'll Need Tools

Opener Carton Inventory

Hardware Inventory

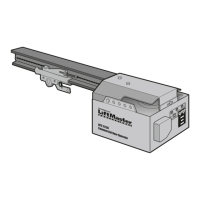
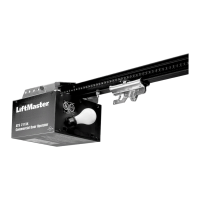
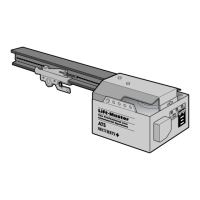
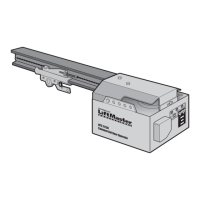
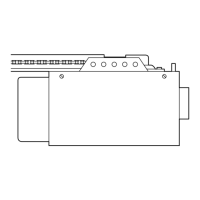
Lists all hardware components required for assembly and installation.

Assembly Section

Attach the Rail to the Opener

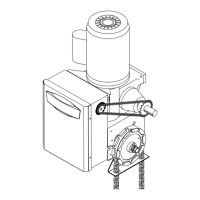
Guides attaching the opener rail to the main opener unit using specific screws.

Attach the Chain to the Sprocket & Install the Rail Support Bracket

Details connecting the drive chain to the sprocket and mounting the rail support bracket.

Tighten the Chain

Explains how to adjust the chain tension to the correct slack for proper operation.

Important Installation Instructions

Installation: Determine Header Bracket Location

Installation: Install the Header Bracket

Installation: Attach the Rail to the Header Bracket

Installation: Position the Opener

Installation: Hang the Opener

Installation: Install the Door Control

Installation: Install the Light

Installation: Attach the Manual Release Rope and Handle

Installation: Electrical Requirements

Safety Reversing Sensor Installation

Install the Safety Reversing Sensor (Receiving and Sending Eyes)

Provides step-by-step instructions for installing the safety reversing sensor units and their wiring.

Trouble Shooting

Installation: Fasten Door Bracket & Plate

Installation: Connect Door Arm to Trolley

Adjustment Section

Adjust the UP and DOWN Limits

Explains how to set the fully open and fully closed positions for the garage door.

Adjust the Force

Guides adjusting the force settings for smooth and safe opening and closing of the door.

Test The Safety Reversing Sensor

Outlines the procedure to verify the correct functioning of the safety reversing sensor.

Test the Safety Reverse System

Details testing the door's automatic reversal mechanism upon encountering an obstruction.

Important Safety Instructions

Care of Your Opener

Provides guidance on regular maintenance and checks for optimal opener performance and longevity.

Maintenance Schedule

Outlines a schedule for monthly, twice-yearly, and yearly checks and maintenance tasks.

Operation of Your Opener

Having a Problem?

Repair Parts

Rail Assembly Parts

Lists replacement parts specifically for the opener's rail assembly.

Installation Parts

Lists replacement parts related to the installation and mounting of the opener.

Opener Assembly Parts

Lists replacement components for the main opener unit's internal assembly.

Accessories Available for Your Opener

Service and Warranty Information

Related product manuals