Do you have a question about the Chamberlain SECURITY+ 2280 1/2 HP and is the answer not in the manual?
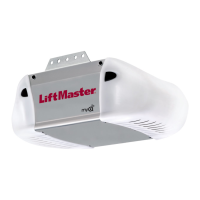
| Type | Chain Drive |
|---|---|
| Horsepower | 1/2 HP |
| Battery Backup | No |
| Speed | 7 inches per second |
| Max Door Height | 7 ft |
| Security Features | Security+ technology |
| Remote Controls Included | 1 |
Steps to check if the garage door is balanced and free of binding before installation.
Identifies the necessary hand tools for the opener installation process.
Surveying the garage space and confirming door type for opener placement.
Lists all parts included in the packaging and the necessary hardware for installation.
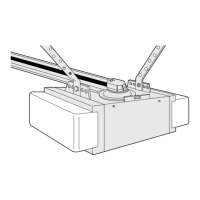
Securing the opener rail to the motor unit using provided hardware.
Adjusting the belt tension for optimal opener performance and operation.
Securing the belt cap retainer to the motor unit sprocket assembly.
Essential safety warnings and guidelines to follow during opener installation.
Identifying the optimal location for the header bracket based on door type and clearance.
Procedures for securely fastening the header bracket to structural supports.
Attaching the opener rail to the header bracket using a clevis pin and fastener.
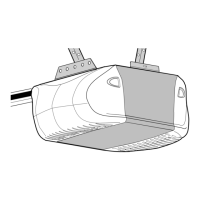
Placing the opener unit onto a stepladder at the correct height relative to the door.
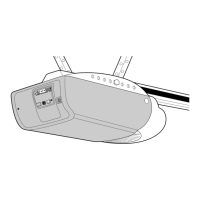
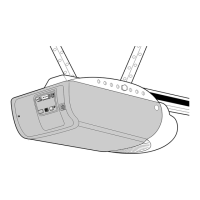
Fastening the opener to hanging brackets attached to structural supports.
Mounting the door control and connecting its wiring to the opener.
Inserting the light bulb into the socket and closing the lens cover.
Connecting the release rope and handle to the trolley for manual operation.
Connecting the opener to power, ensuring correct grounding and wiring compliance.
Mounting the safety reversing sensors and ensuring their proper alignment.
Securing sensor brackets to door tracks, walls, or floors.
Wiring the safety sensors to the opener's quick-connect terminals.
Adjusting sensors for optimal beam detection and indicator light function.
Fastening the door bracket to the garage door panel using appropriate hardware.
Specific instructions for attaching the door bracket on one-piece garage doors.
Attaching the sectional door arm to the trolley and door bracket.
Assembling and connecting the door arm to the trolley for one-piece doors.
Setting the door's open and close travel limits for proper operation.
Regulating the motor's force for opening and closing the door.
Verifying the door reverses correctly upon encountering an obstruction.
Confirming the functionality of the safety reversing sensors.
Critical safety guidelines for using the garage door opener safely.
How the opener functions when activated and conditions for light activation.
Using the control panel for door, light, and lock functions.
Procedures for disengaging the trolley for manual door movement.
Factors affecting adjustments and the need for re-calibration.
Guidelines for monthly and annual maintenance tasks.
Instructions for safely replacing the battery in the remote transmitter.
Diagnosing safety sensor issues and initial setup problems.
Troubleshooting remote control connectivity and programming issues.
Addressing intermittent reversals due to force, limits, or binding.
Understanding and managing the security light feature.
Diagnosing motor unit hums and trolley stop bolt issues.
Understanding error codes indicated by the motor unit's diagnostic LED.
Pairing hand-held remotes with the garage door opener.
Resetting all programmed remotes and keyless entry devices.
Managing personal identification numbers for keyless entry access.
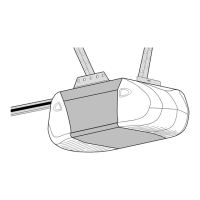
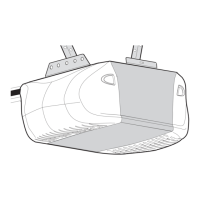
Identifying individual components of the opener's rail assembly.
Listing the various parts included in the installation hardware bag.
Detailed identification of parts within the motor unit assembly.
Description of available accessories and their functionalities.
Contact details for LiftMaster service, installation, and parts inquiries.
Procedures and required information for ordering replacement parts.
Information on the one-year limited warranty and lifetime motor/belt warranty.