Do you have a question about the Chamberlain SECURITY+ 3265M 1/2 HP and is the answer not in the manual?
Explains warning symbols and signal words used in the manual for safety awareness.
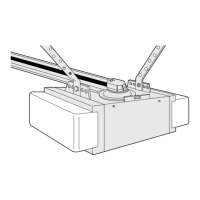
Lists and illustrates necessary hand tools for installation.
Crucial safety guidelines for proper installation and operation of the garage door opener.
Details about the safety reversing sensor's function and installation requirements.
Describes different methods for mounting safety reversing sensor brackets.
Instructions for mounting and wiring the safety reversing sensors.
Steps for aligning sensors and resolving common issues.
Adjusting travel limits for one-piece doors before connecting the door arm.
Guidance on when and how to adjust travel limits for proper opener function.
Guidance on adjusting force settings for opening and closing the garage door.
Essential safety checks to perform after adjustments or repairs.
Critical safety guidelines for operating the garage door opener.
How to activate and operate the opener using various controls.
Explains operation, light, lock features, and remote control integration.
Steps to manually disconnect and operate the door.
Guidance on re-adjusting limits and forces due to weather or wear.
Regular maintenance tasks for the garage door opener.
Information on replacing the remote control battery.
Addresses common issues like door not closing, remote failure, and motor hum.
Steps to program or reprogram remote controls.
Procedure to erase all previously programmed codes.
Instructions for managing Keyless Entry PINs, including temporary PINs.
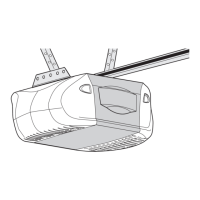
Lists and illustrates parts for the rail assembly.
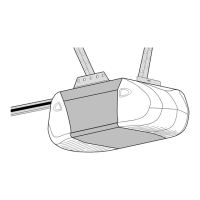
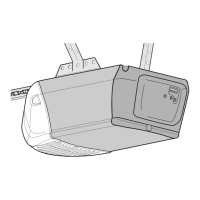
Lists and illustrates common installation parts.
Instructions for ordering replacement parts.
Details of the product's limited warranty terms and conditions.
| Type | Chain Drive |
|---|---|
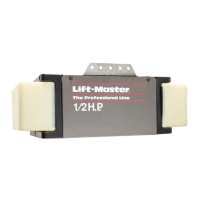
| Horsepower | 1/2 HP |
| Drive System | Chain |
| Keypad Compatibility | Yes |
| Battery Backup | No |
| Operating Voltage | 120V AC |
| Remote Control | 3-Button Remote Control |
| Safety Features | Safety Sensors |
| Security Features | Security+ 2.0 rolling code technology |
| Security Protocol | Security+ 2.0 |