3
Advanced Programming
Adjusting Settings in the Programming Sub-Menu
1. While on any idle screen, navigate to the standard programming
menu by pressing (YES/+) and (EX) simultaneously.
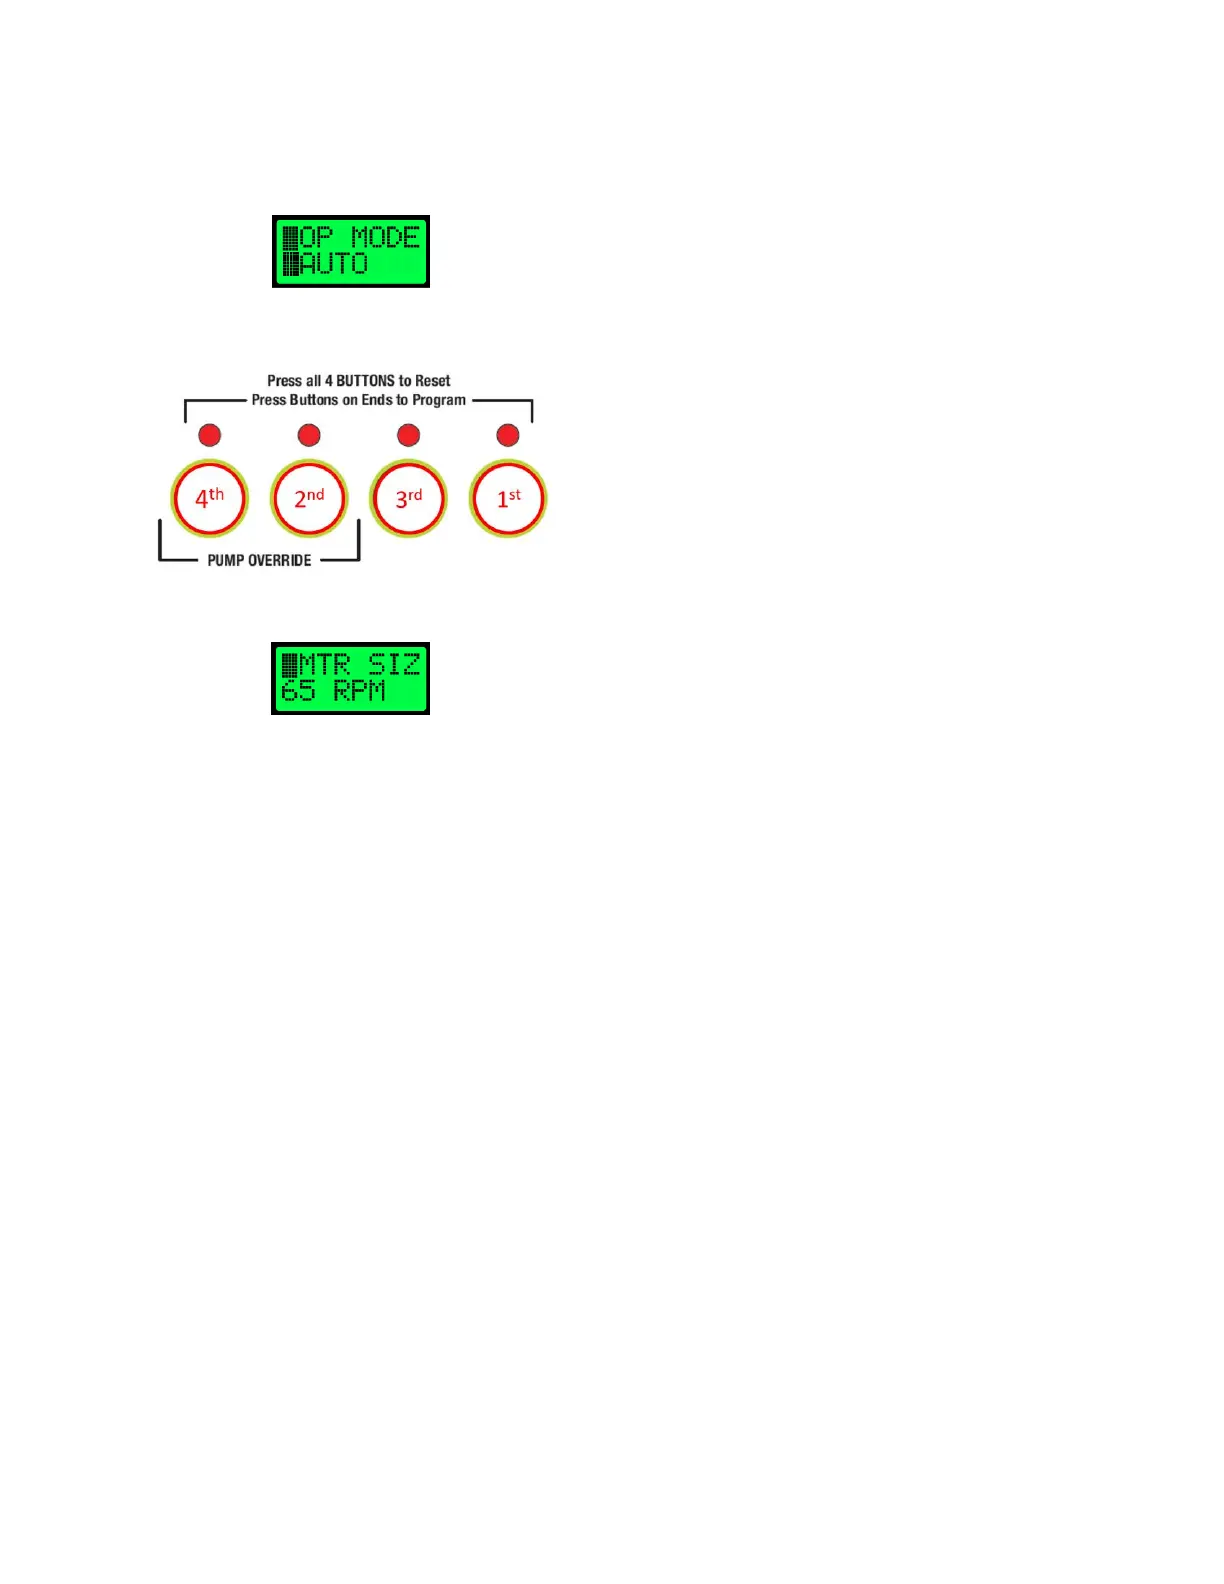
2. Ensure that OP MODE selection screen is shown, with the option set
to AUTO. This screen displayed must be exactly as shown below to
enter the programming sub-menu.
3. Within a timeframe of 3 seconds, press the buttons in the following
order.
(EX) > (NO/-) > (SCROLL/MENU) > (YES/+)
4. If performed correctly, the first screen displayed will be the Motor Size
(MTR SIZ) selection screen. Programming mode in the sub-menu will
be indicated by one ‘block’ in the upper left side of the screen.
Save the current settings and resume normal operation at any time by
pressing the (YES/+) and (EX) buttons simultaneously.
Alternatively, (EX) may be pressed individually to return to the
standard programming menu.
5. Setting the Motor Size (□MTR SIZ) - Use the (YES/+) and (NO/-)
buttons to manually adjust the motor RPM. Press (SCROLL/MENU) to
lock in the motor RPM that is currently displayed and advance to the
next screen.
Pump systems sold with a DigiMax controller should be pre-set to the
nameplate RPM of the motor used.
NOTE: If changes are needed, the motor nameplate RPM may be used,
but it is recommended to measure the actual RPM while in use for
increased accuracy. Voltage and pressure (torque) may directly affect
motor speed.
6. Enabling Serial Communication (□COMM EN) - Use the (YES/+) and
(NO/-) buttons to cycle between enabled (ON) and disabled (OFF)
serial communication. Press (SCROLL/MENU) when the desired
option is shown and to advance to the next screen.
7. Setting Modbus Address (□MOD ADD) - Use the (YES/+) and (NO/-)
buttons to increase/decrease the address used for Modbus RTU
communication. Default Modbus address is 16. Press (EX) when the
desired address is shown to select and exit the programming sub-
menu. Pressing (SCROLL/MENU) will cycle back to the motor size
selection screen.
Resetting the Cycle Counter
To perform a cycle count reset:
1. Press and hold ALL KEYS simultaneously while on any screen. Screen
will remain blank while keys are held. After release, a confirmation
prompt will appear displaying YOU SURE.
2. Pressing the (YES/+) key will reset the current cycle count. Pressing
(NO/-) will cancel the reset and resume normal operation.
Calibrating Temperature and Voltage
To increase accuracy in temperature and voltage readings, additional calibration
may be required. To enter the Temp/Voltage Calibration Menu:
1. Restart controller using the on/off switch provided.
2. During the startup process, press and hold (YES/+) and (NO/-) buttons
simultaneously. Keys must be pressed after power is turned on. LED’s
above buttons will be lit if done correctly.
3. Calibrating the Voltage (VOLTAGE) - Adjust the value to match the
current, known voltage using the (YES/+) and (NO/-) buttons. Press
(SCROLL/MENU) to lock in the voltage shown and proceed.
4. Calibrating the Temperature (TEMP) - Adjust the value to match the
current, known temperature using the (YES/+) and (NO/-) buttons.
Pressing (SCROLL/MENU) will lock in the current calibration and begin
normal controller operation.


 To Next Page