EasyManua.ls Logo

Char-Broil Charcoal Grill 800 User Manual

Char-Broil Charcoal Grill 800
20 pages
To Next Page IconTo Next Page
Page #1 background imageLoading...
Page #1 background image
Product Guide
Model 13301865
Tools needed for assembly:
Phillips Screwdriver
Adjustable Wrench
Hammer
FOR OUTDOOR USE ONLY
If you have questions or need assistance during assembly, please call Char-Broil at 1-800-241-7548.
To insure your satisfaction and for follow-up service, register your appliance online at www.charbroil.com/register
42804838 - 07/19/12
Date Purchased
IMPORTANT: Fill out the product record information below.
Charcoal Grill 800
© 2012 Char-Broil, LLC
Printed in China
• Columbus, GA 31902 •
Read and follow all safety statements, assembly
instructions, and use and care directions before
attempting to assemble and cook.
INSTALLER/ASSEMBLER:
Leave this manual with consumer.
CONSUMER:
Keep this manual for future reference.
Some parts may contain sharp edges! Wear
protective gloves if necessary.
CAUTION
THIS UNIT IS HEAVY! DO NOT attempt to assemble
without a helper.
CAUTION
CAUTION
WARNING
CARBON MONOXIDE HAZARD
Burning charcoal inside can kill you. It gives off carbon
monoxide, which has no odor. NEVER burn charcoal
inside homes, vehicles, or tents.
WARNING
Failure to follow all manufacturer’s instructions could
result in serious personal injury and/or property
damage.
Question and Answer IconNeed help?

Do you have a question about the Char-Broil Charcoal Grill 800 and is the answer not in the manual?
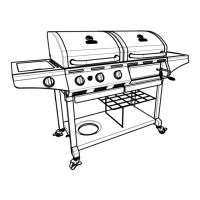
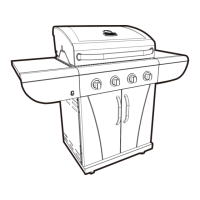
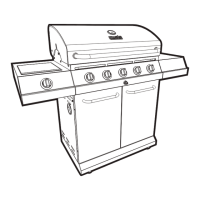
Char-Broil Charcoal Grill 800 Specifications

General IconGeneral
BrandChar-Broil
ModelCharcoal Grill 800
CategoryGrill
LanguageEnglish

Summary

Preparing and Maintaining Your Grill

Cooking Tips

Building Your Fire

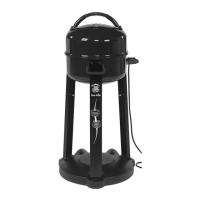
Step-by-step guide for starting and managing a charcoal fire.

Limited Warranty Information

Assembly Instructions - Step 1 & 2

Attaching Firebox Side Panels

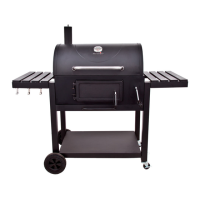
Connecting side panels to front/rear panels using screws and flange nuts.

Attaching Legs to Firebox

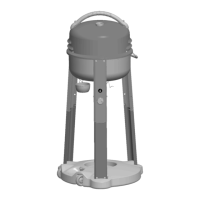
Securing short and long legs to the upside-down firebox assembly.

Assembly Instructions - Step 3

Attaching Charcoal Pan Assembly

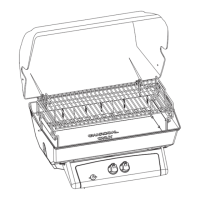
Securing the charcoal pan assembly to the inside front panel of the firebox.

Assembly Instructions - Step 4 & 5

Attaching Bottom Shelf to Legs

Connecting the bottom shelf to the grill legs using screws.

Inserting Leg Extenders

Tapping leg extenders into the front/rear legs of the grill.

Assembly Instructions - Step 6 & 7

Attaching Wheels to Axle

Assembling wheels, washers, and hair pin clips onto the axle.

Attaching Air Damper Wheel

Connecting the air damper wheel to the inside of the firebox.

Assembly Instructions - Step 8 & 9

Attaching Ash Pan Handle

Securing the handle to the ash pan and sliding it into the firebox.

Attaching Lid Handle and Seats

Mounting the lid handle and its seats to the grill lid.

Assembly Instructions - Step 10 & 11

Assembly Instructions - Step 12 & 13

Assembly Instructions - Step 14 & 15

Assembly Instructions - Step 16 & 17

Assembly Instructions - Step 18 & 19

Related product manuals