4
ASSEMBLY GUIDE
Part Qty
A1–
Cart RH Side Fascia
1
A2
– Cart Base 1
A3
–
Cart Leveling Foot
2
A4
–
Fasteners
#10x3/4"
(qty 2)
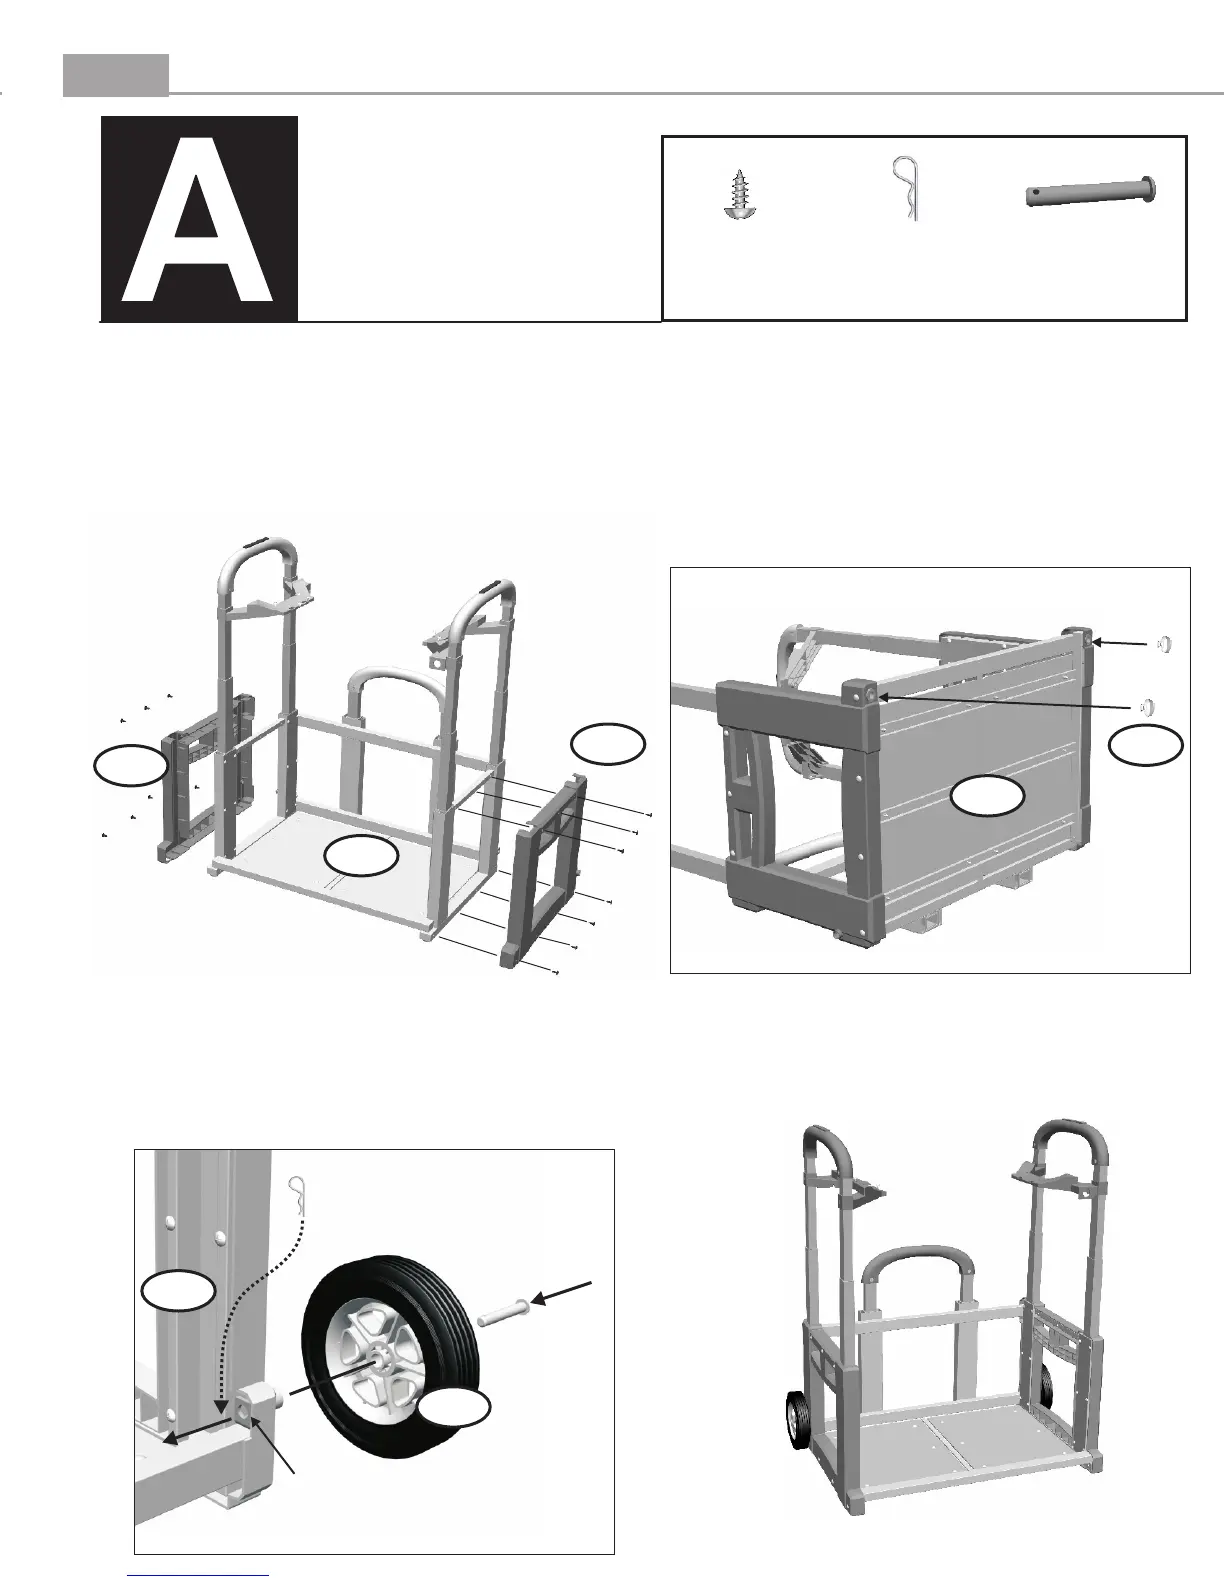
GRILL CART Assembly
Wheels
2
(qty 14)
screw
Axle Rod
(qty 2)
Wheel Retaining
Clip
Step 2: Carefully place the cart assembly on its
back. Install the Cart Leveling Feet (A4) by
threading them into the bushings as shown.
These leveling feet can be used to adjust your
grill when using it on uneven surfaces. After
installation of the leveling feet, place the cart
in the upright position.
Step 3: Assemble the Wheels (A5) to the Cart Base
(A3) by first sliding an axle rod through the wheel,
then sliding the axle rod through the axle rod holes
in the cart base. Secure with a wheel retaining clip.
Repeat for the other side.
Wheel Retaining Clip - install after
placing wheel and axle rod through
axle hole.
Axle Rod
Axle Hole
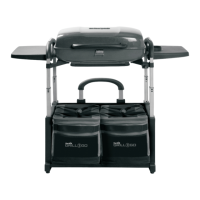
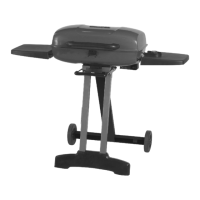
Completed Cart!
A5
A3
–
Cart LH Side Fascia
1
A5
A1
A2
A3
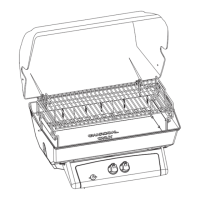
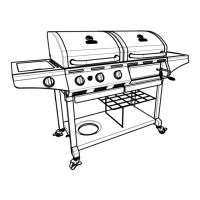
Step 1: Assemble the LH and RH Side Fascia (A1 & A2)
to the Cart Base (A3) by aligning screw holes in the
fascias with corresponding holes in the cart base.
Secure with 7 each, #10x3/4 screws (7 per side) using a
phillips screwdriver. Repeat for other side. NOTE: The
lift handles are shown in the up position. You can
complete steps 1 and 2 with the handles lowered if
desired.
A4
A3
 Loading...