OM2137 B.2 ™ & © Char-Griller / A&J Mfg. 10
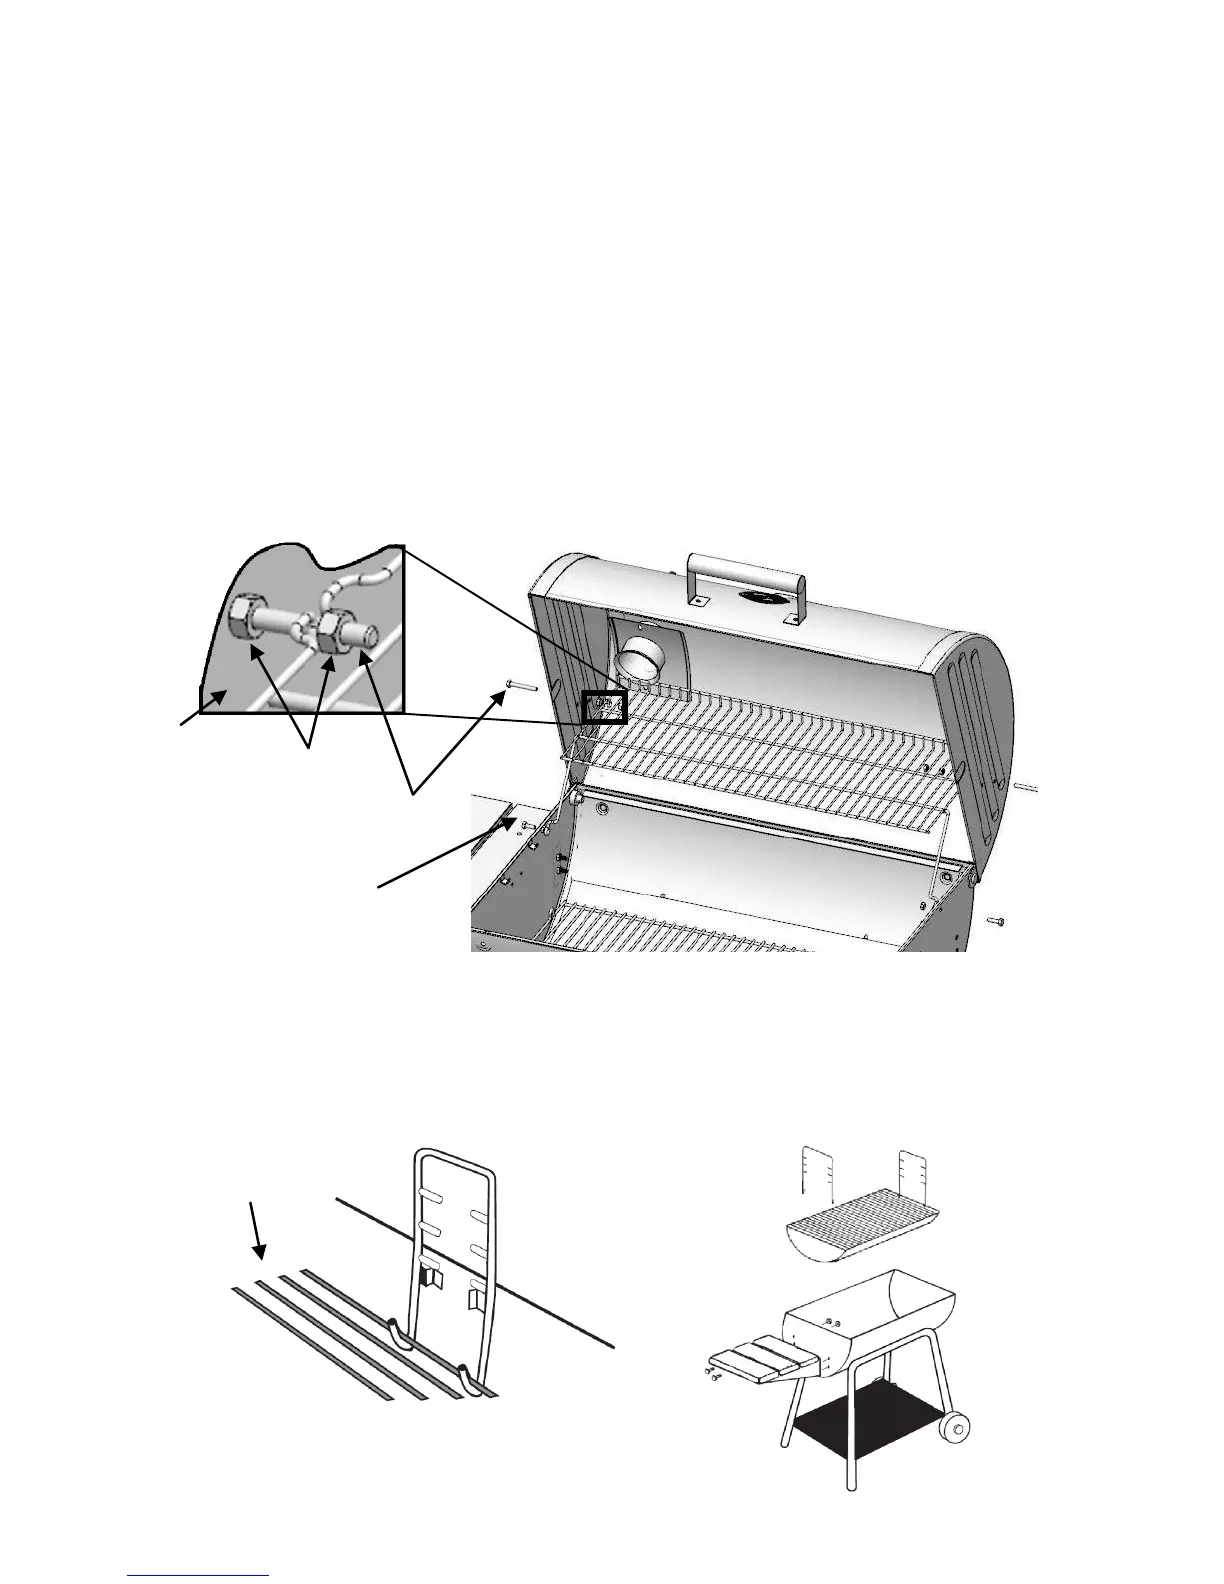
15. ATTACHING WARMING RACKS PIVOT BOLTS: On each END of the HOOD just
back of center, insert one (1) 2" HEX BOLT (total 2) (from outside in) in holes (A)
with HEX NUTS on inside of HOOD. See Below.
On each END of the LOWER GRILL BODY 4" from the back corner, insert one (1)
3/4" HEX BOLT (total 2) (from outside in) in holes (B) with HEX NUTS on inside
of GRILL BODY. See below.
Do not install WARMING RACK until after tightening all four WARMING RACK
PIVOT BOLTS.
ATTACH THE WARMING RACK’S (4) WIRE LOOP HOLES, located on the WARM-
ING RACK’S SIDES and WIRE LEGS, over the four (4) PIVOT BOLTS in the HOOD
and GRILL BODY. Attach left side first. Hint: You may flex the WIRE LEG out-
wards for a tighter fit and to center. See below.
16. Tighten ALL nuts and bolts.
17. Place FIRE GRATE, with ADJUSTABLE HANGERS attached, into BOTTOM HALF of
grill body. See Below. Install the COOKING GRATES.
CONGRATULATIONS, ASSEMBLY COMPLETE!
Fire Grate
2” Bolt
3/4” Bolt
A
B
A
B
Inside of
Hood
Hex Nut