11
WASHING
The hood, internal lining of the carrycot, and mattress
are removable and may be washed; it is advised to care-
fully follow the washing instructions shown on the item’s
label.
9- Remove the hood of the carrycot following the in-
structions in point 3; then release the two press studs
that fasten the metal arch to the fabric, and only pull
out the metal arch by pulling it from one of the two
ends (gure 9); do not pull out the rear arch with the
4 tabs for washing.
10- Remove the mattress padding through the opening
located on the back of the cover (gure 10).
11- To remove the internal lining of the carrycot, slip the
plastic band located in the baby’s head zone, releas-
ing the lateral press studs, velcro, and the two tabs in
the feet area (gure 11).
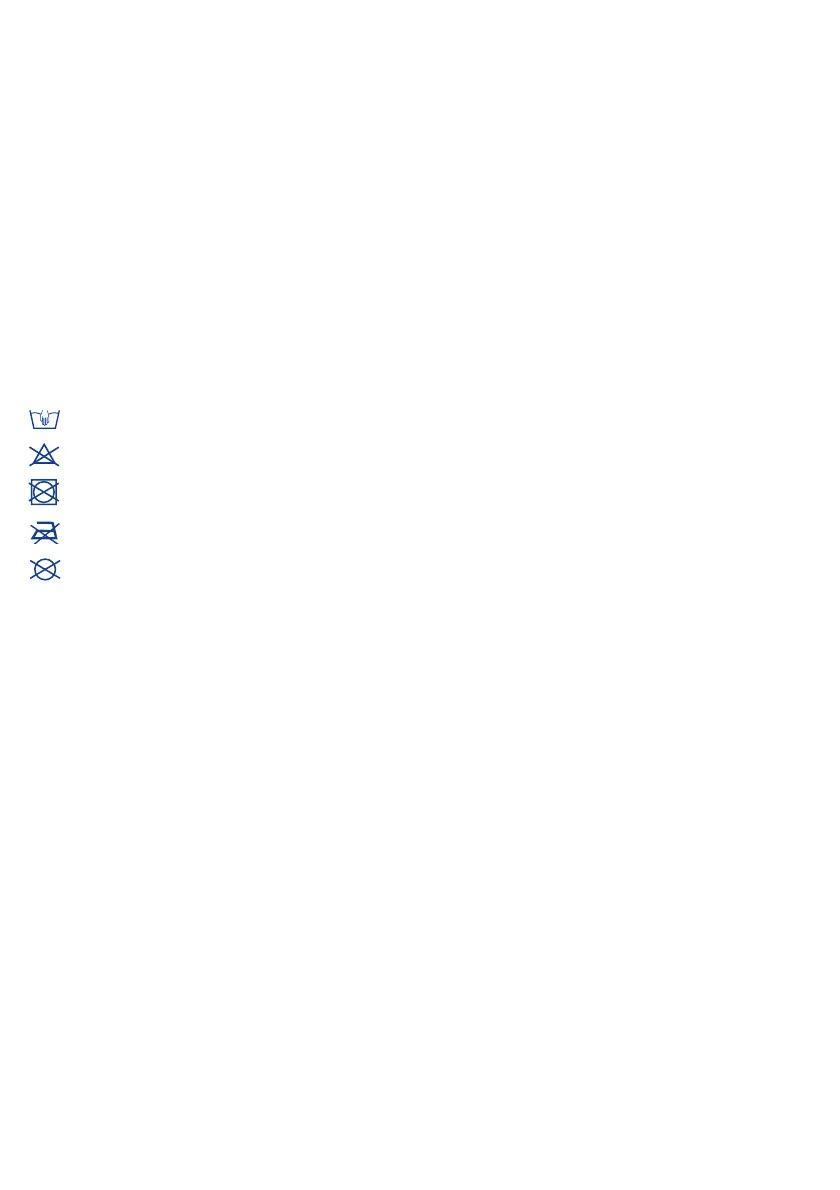
The washing symbols and their signicance are as fol-
lows:
Wash by hand in cold water
Do not bleach
Do not tumble dry
Do not iron
Do not dry clean
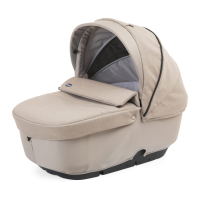
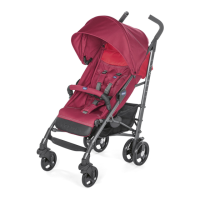
USING THE CARRYCOT AS A BABY CARRIAGE
This carrycot can be used as a baby carriage mounted on
Chicco strollers that have the “Click Clak” system.
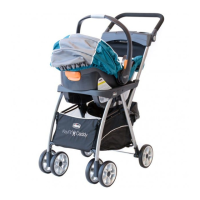
HOW TO ATTACH THE CARRYCOT TO THE STROLLER
Prepare the stroller, equipped with the Clik Clak system,
to mount the carrycot as shown in the instructions of the
specic stroller.
NB: For strollers equipped with a backrest or removable
seat, it is advisable to unhook the backrest or seat as
shown in the specic stroller instructions sheet.
12- Grip the carrying handle in the transport position and
place the carrycot on the arms. The baby’s feet end of
the carrycot should be closest to the stroller’s handle
(gure 12).
13- Align the pins on the two sides of the carrycot with
the openings located on the arms of the stroller (g-
ure 13 A), then carefully set down the carrycot until
you hear the lock click (gure 13 B).
WARNING: Before using, make sure that the carrycot is
properly locked on by pulling on it upwards.
REMOVING THE CARRYCOT
14- Bring the handle to its vertical position (transport
mode) until you hear a click which means it is locked
in place (gure 14).
15- Push the button located on the front part of the baby
carriage (gure 15 A), therefore, keeping the button
pressed; lift the carrycot o of the structure (gure
15 B).
WARNING: The carry cot can be fastened and unfas-
tened with the child inside; these procedures could
prove more dicult due to the weight of the child. Be
very careful when performing the above indicated pro-
cedures.
WARNING: Incorrect attachment of the carrycot to the
frame (e.g. mounting backwards) could result in mal-
function of the locking system, making it impossible to
remove: In this case, refer to the stroller instructions or
contact Artsana Customer Service.
WARRANTY
The product is guaranteed against any conformity de-
fect in normal conditions of use as provided for by the
instructions for use.
The warranty shall not therefore apply in the case of
damages caused by improper use, wear or accidental
events.
For the duration of warranty on conformity defects
please refer to the specic provisions of national laws
applicable in the country of purchase, where provided.
 Loading...